Detached Garage
We are having a detached garage/workshop built. I used Chief Architect Home Designer Essentials to create the floorplan and the 3D renderings. There will be enough room to store our 21 foot bay boat. a spot for our Ford Excursion, space for woodworking and tool benches, storage, kayaks, an air conditioned 10x14 workshop and 28x32 model train layout room, and a full bathroom.
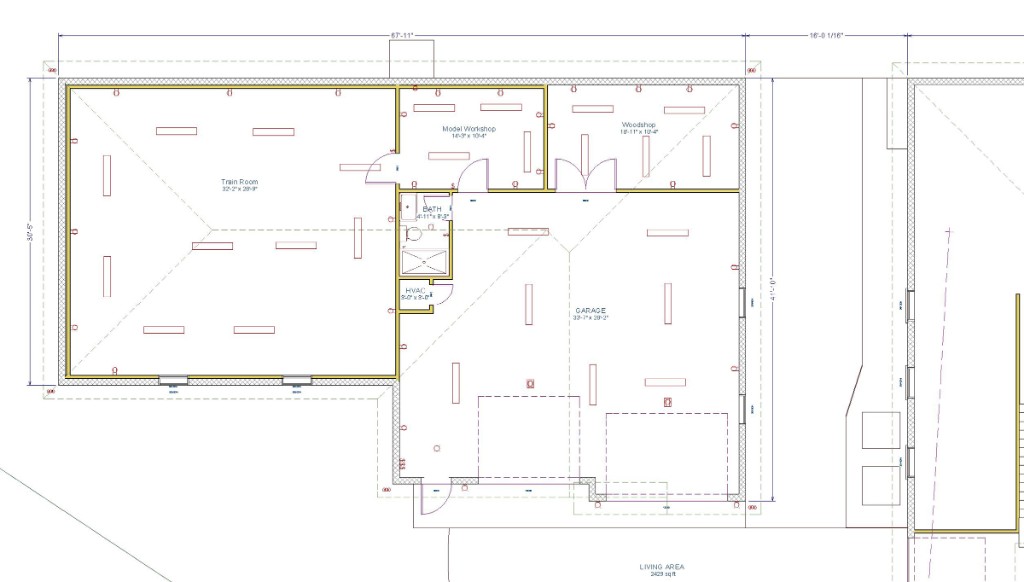 1 July 2014 - The floorplan I designed with Home Designer Essentials 10 There is a 12 foot wide door for the boat and a 10 foot wide door for the SUV. |
 2 I was not able to figure out how to edit the terrain of our lot in Designer Essentials so the 4 ft drop in elevation between the garage floor level and the left side of detached garage is not depicted in these renderings. |
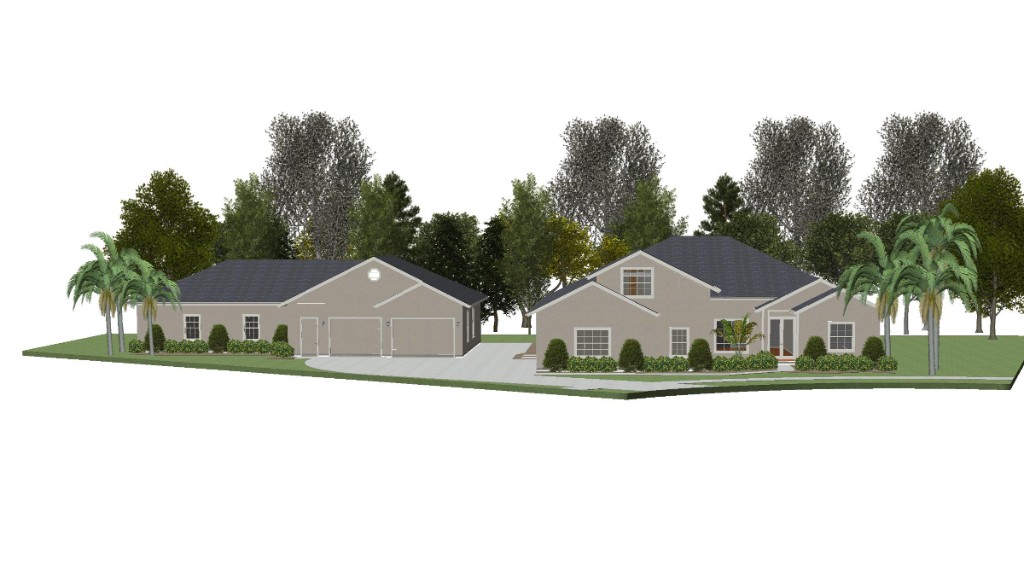
 3 We plan to have a 12 foot wide parking spot between the detached garage and the house. |
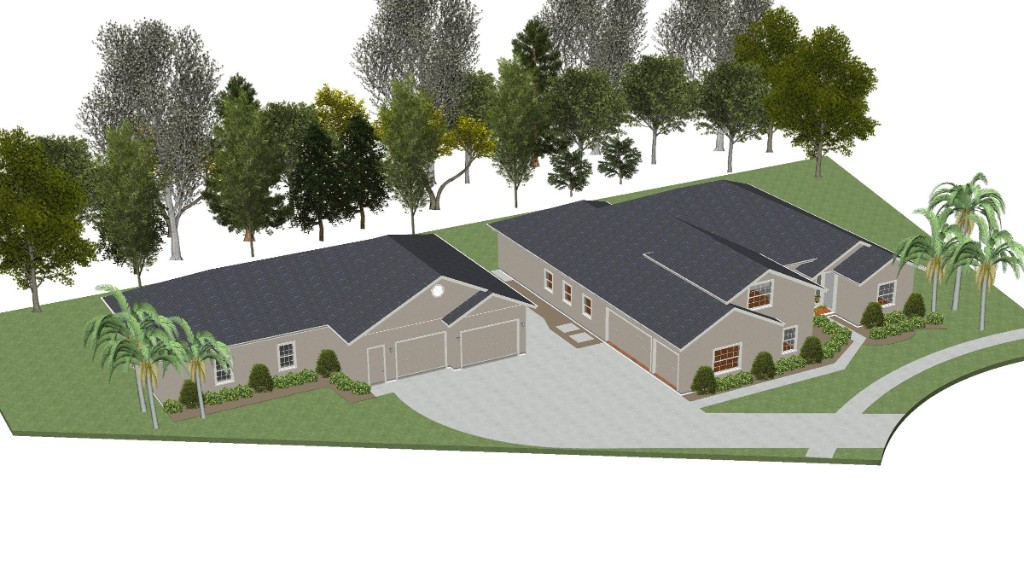 4 3D rendering I created with Designer Essentials 10 |
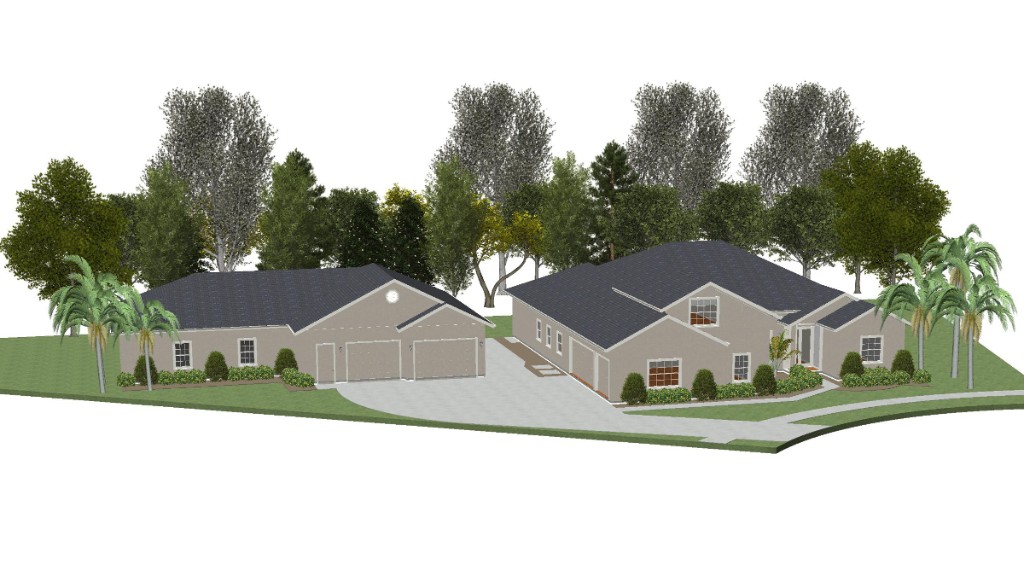
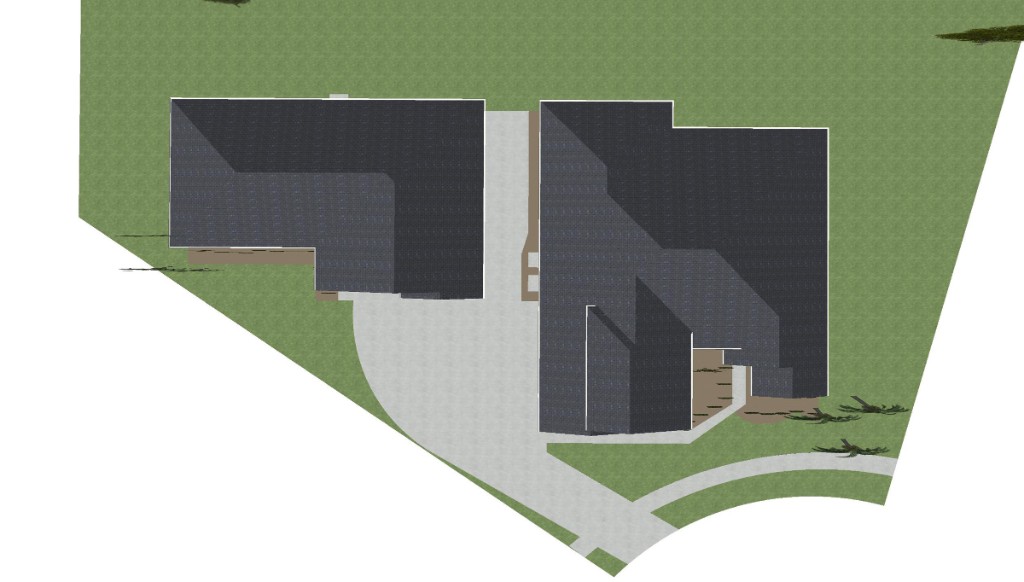 5 View from above |
 6 Floorplan with preliminary model train layout overlay. |
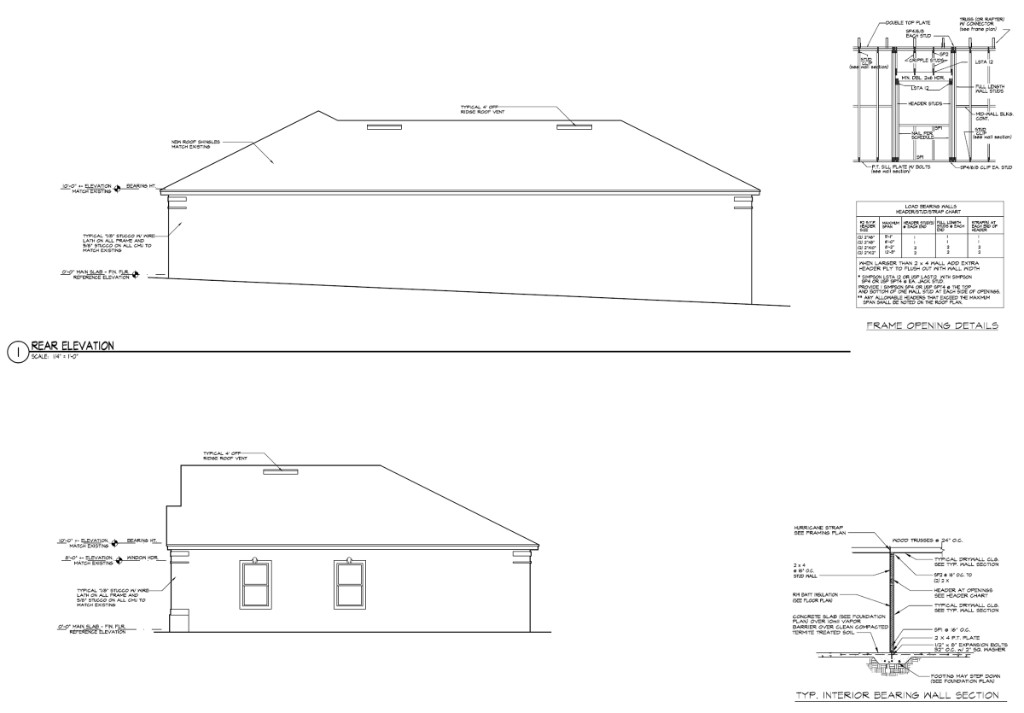
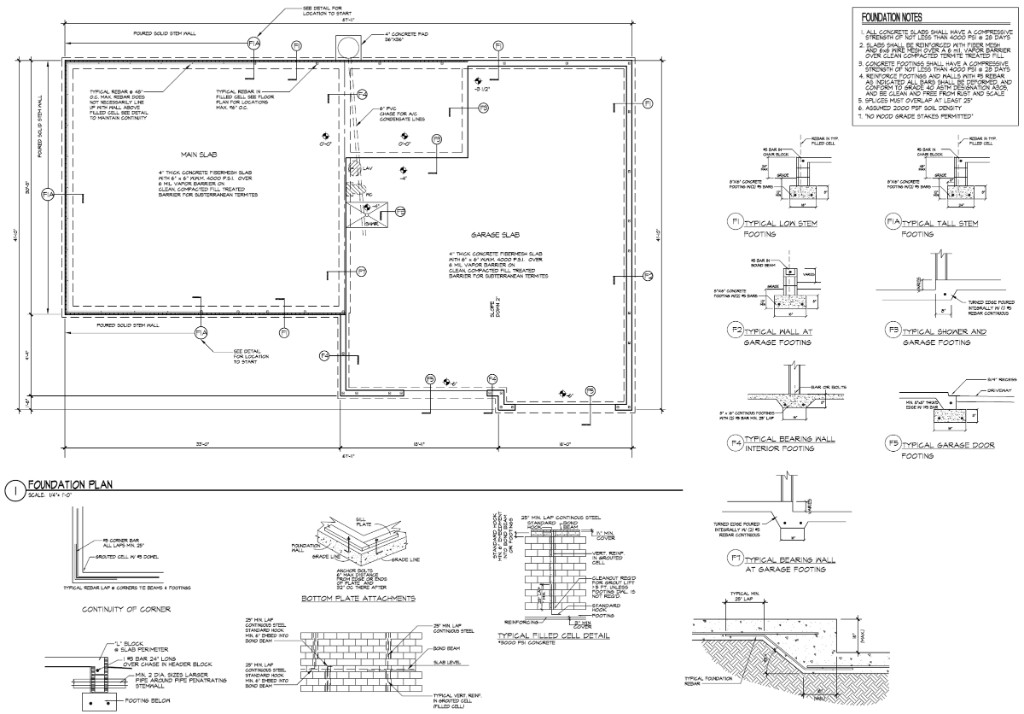
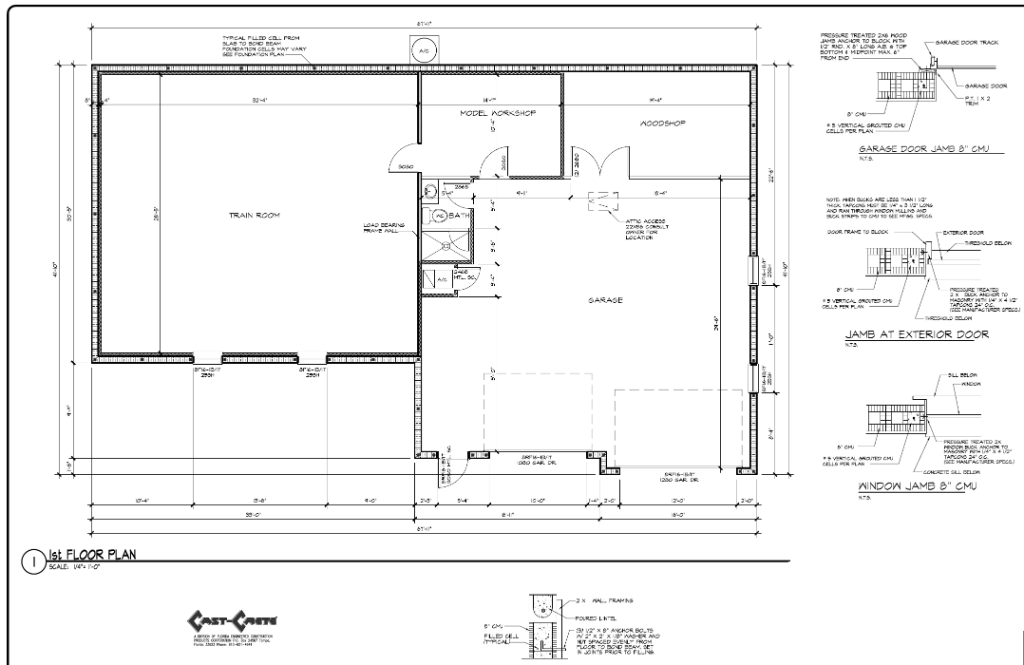 7 August 2014 - Eventually we got the actual engineering blueprints. |
 8 |
 9 |
 10 |
 11 I have changed the 7 dual T8 flourescent light fixtures in the garage area to 8ft quad T8 fixtures. The wood shop and model workshop should have plenty of light. I added three additional dual T8 fixtures to the train room so there are 13 fixtures for 'general lighting' but the layout itself will be lit with LED light strips. |
 12 |
 13 There will be some storage space above the garage in the attic. |
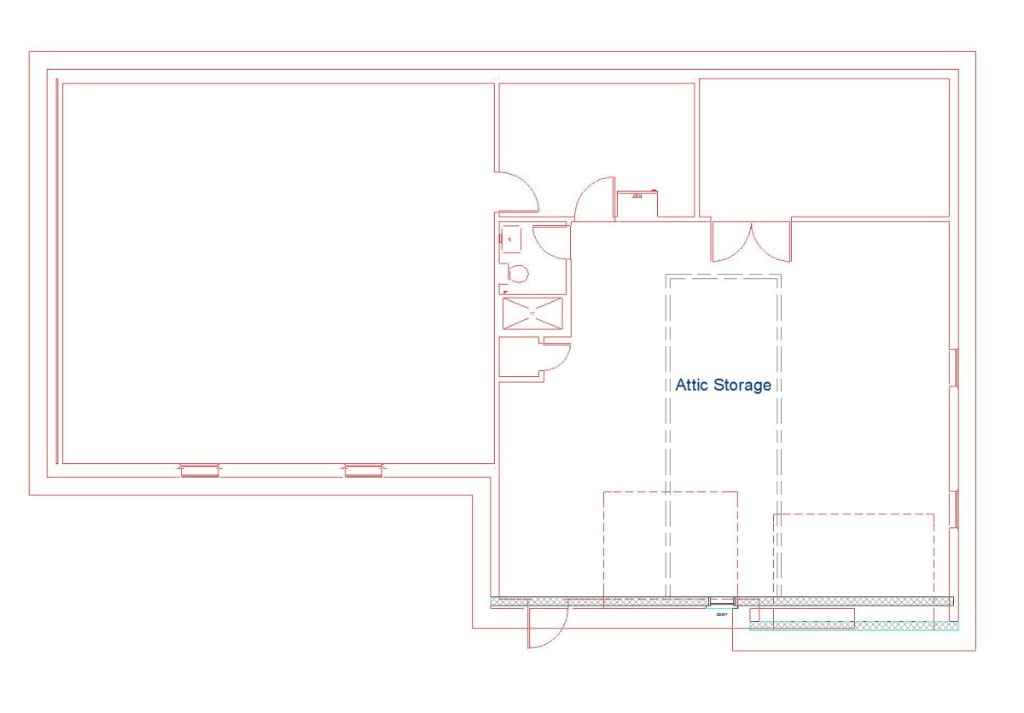 14 The attic storage area will be 8 ft X 24 ft. |
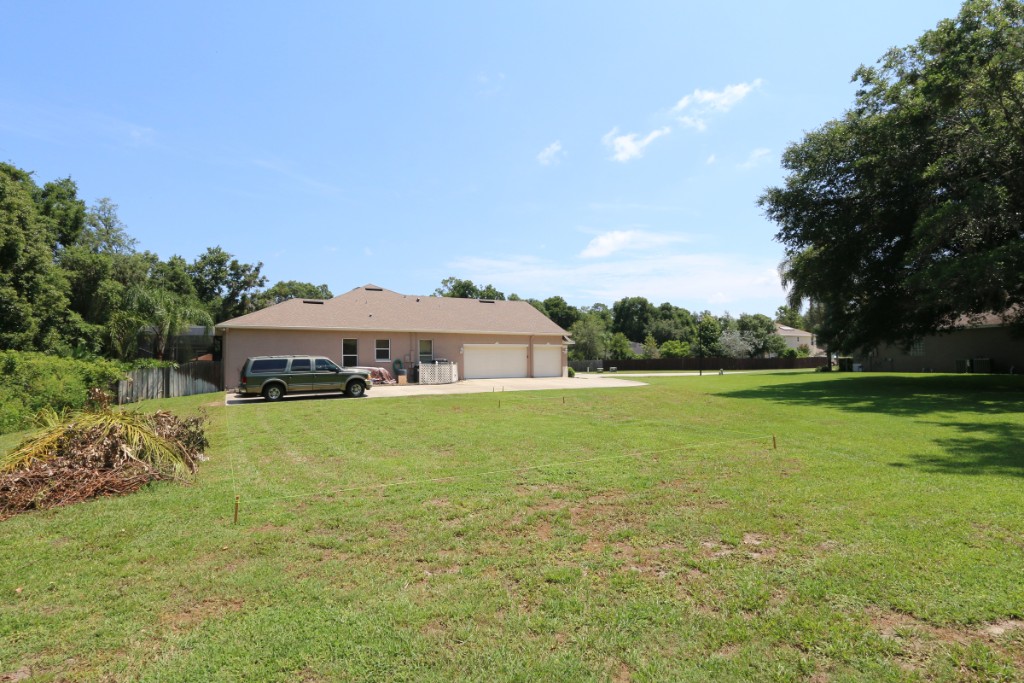
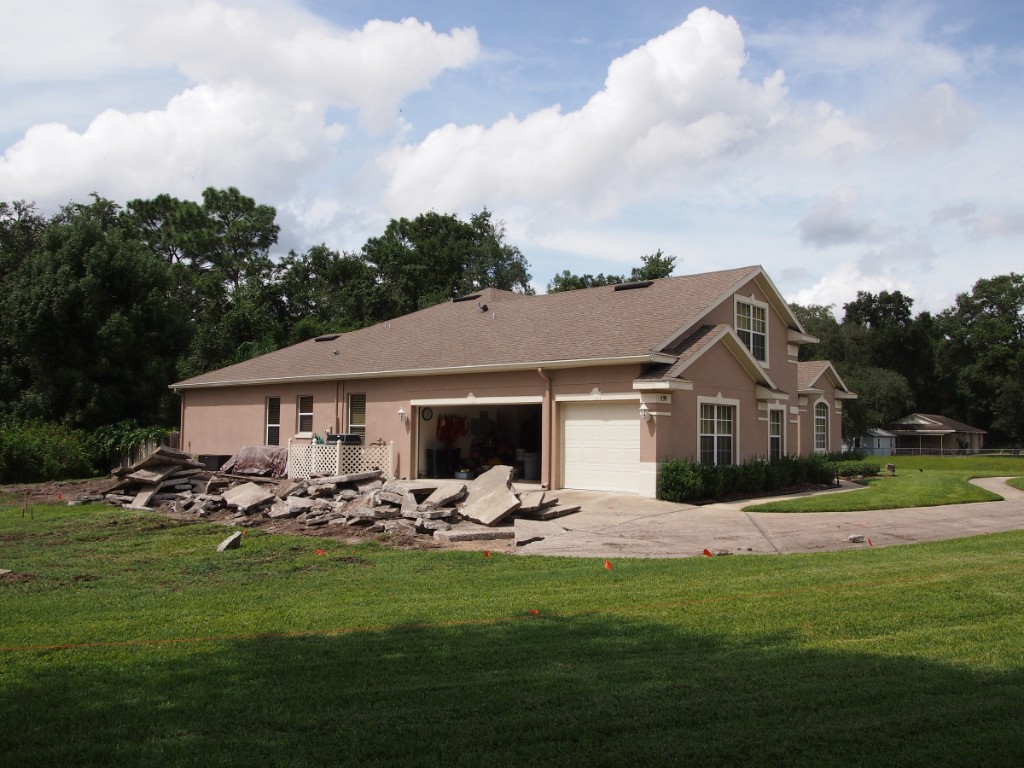
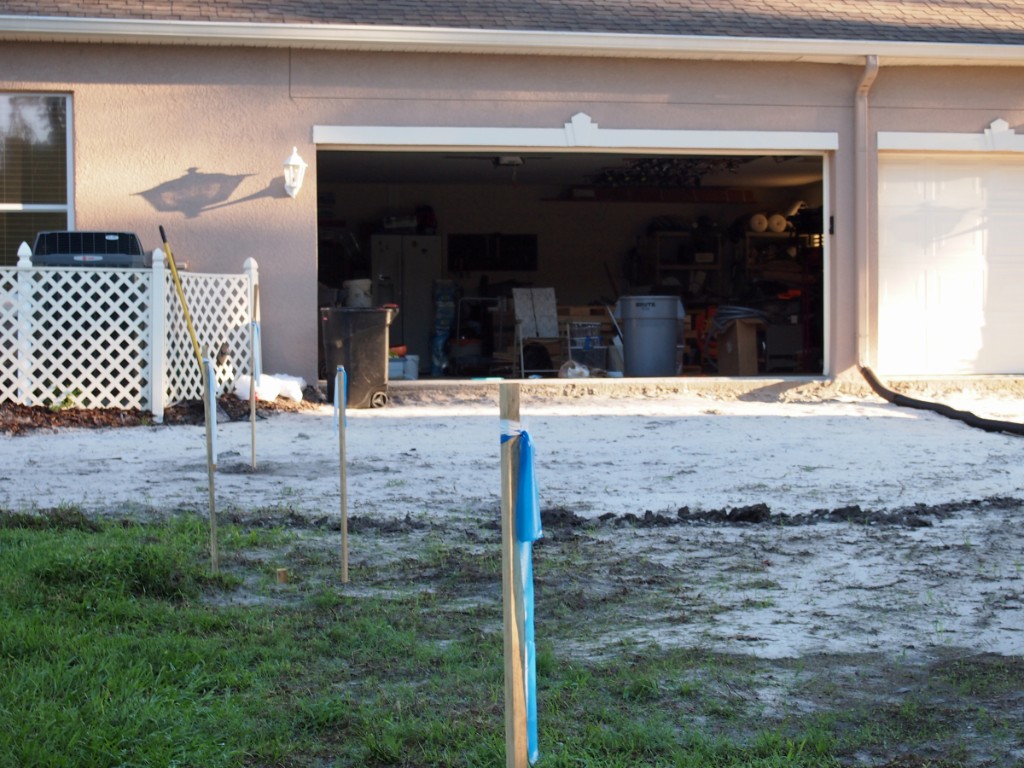
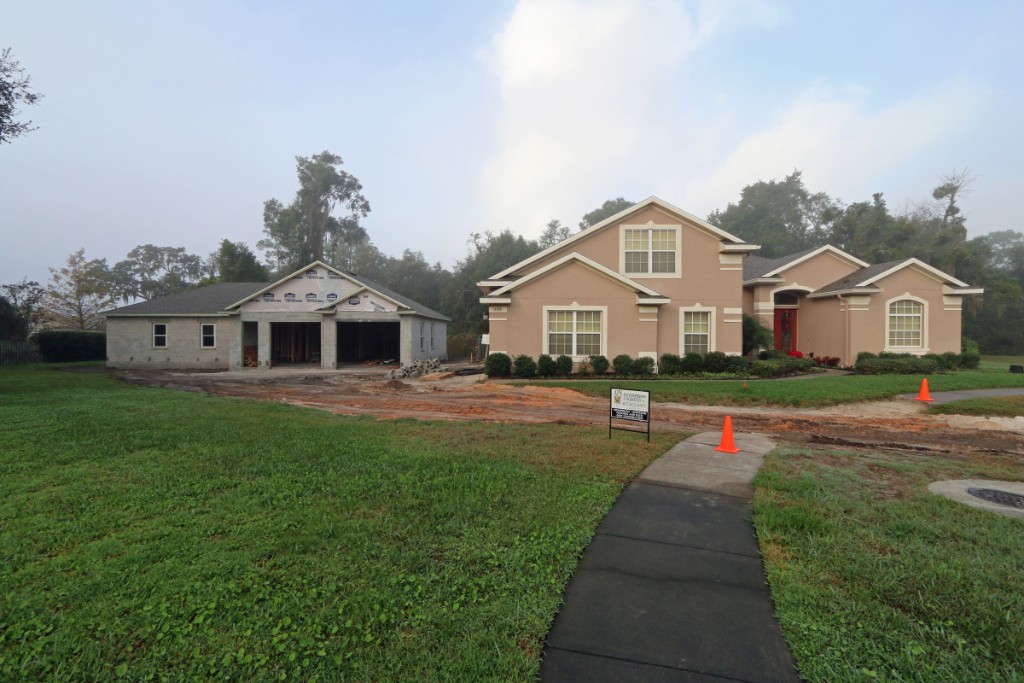
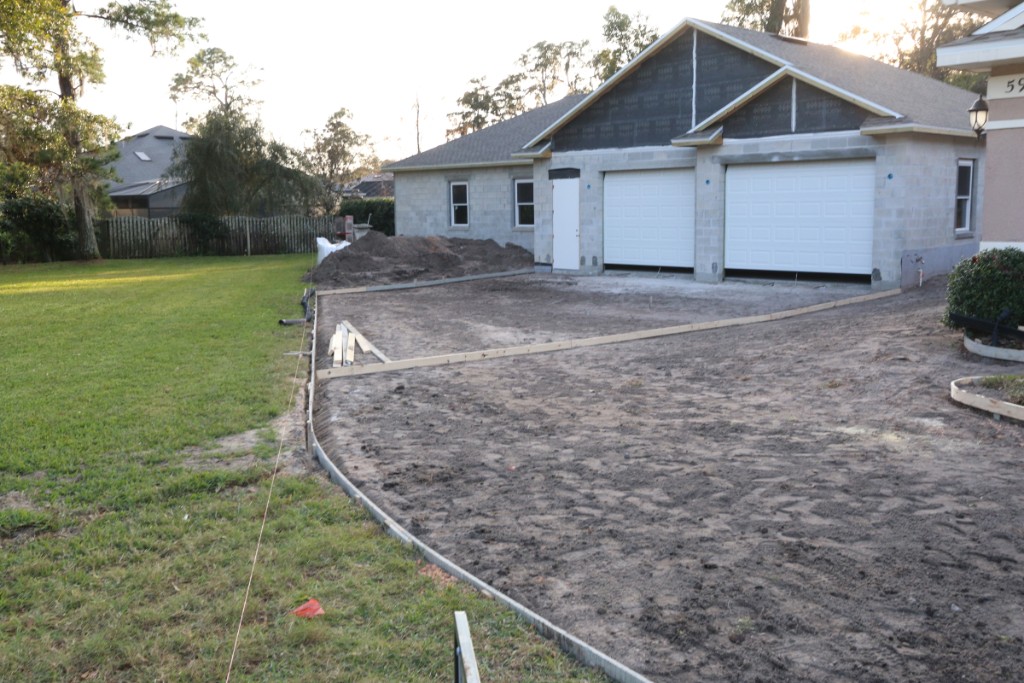
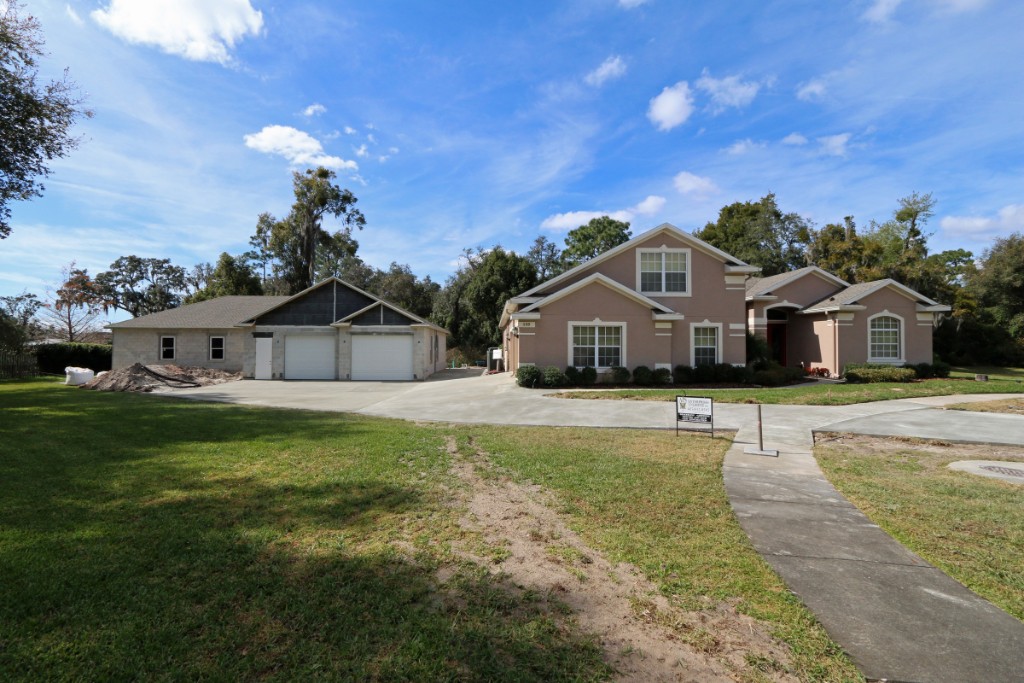
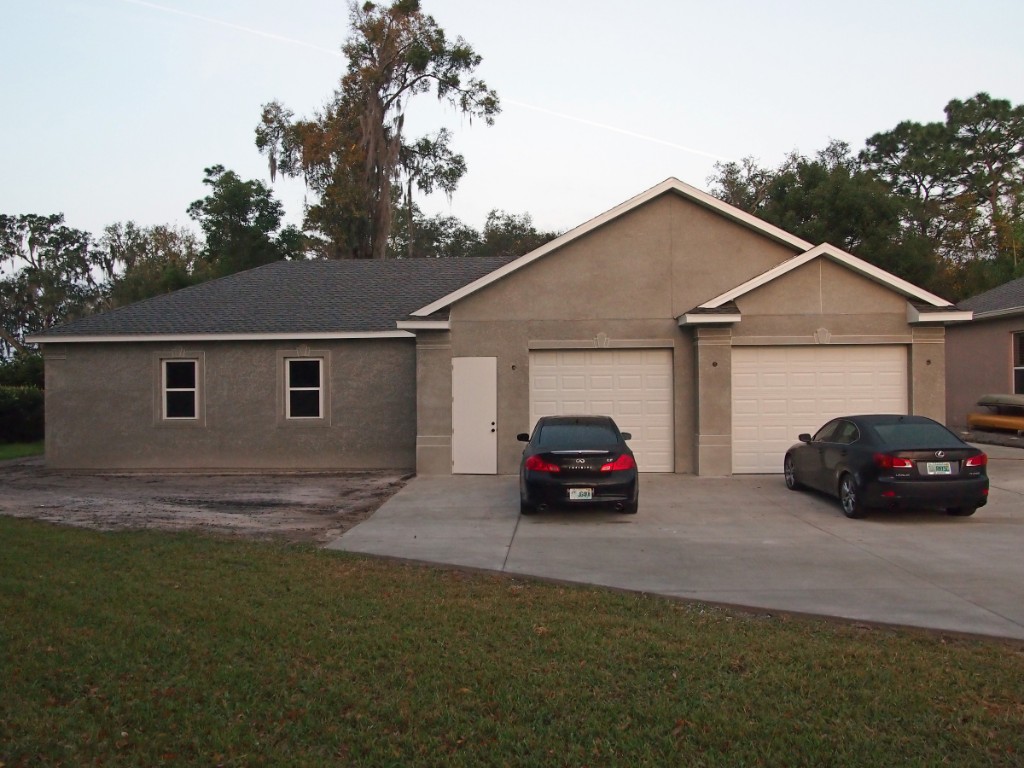
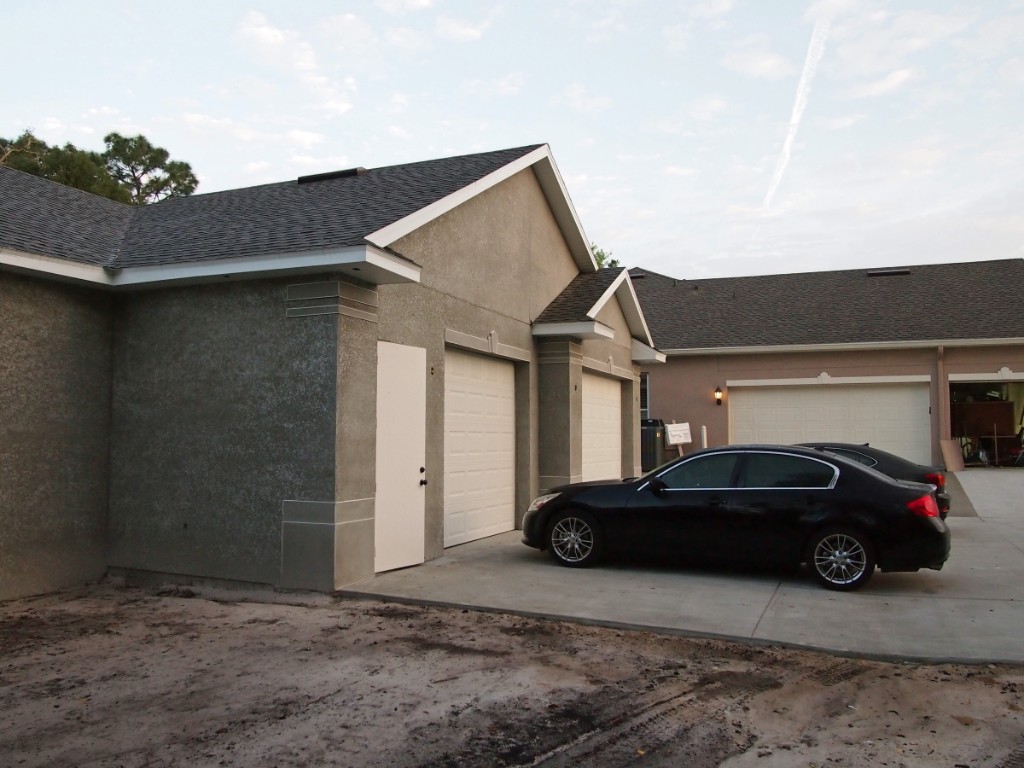
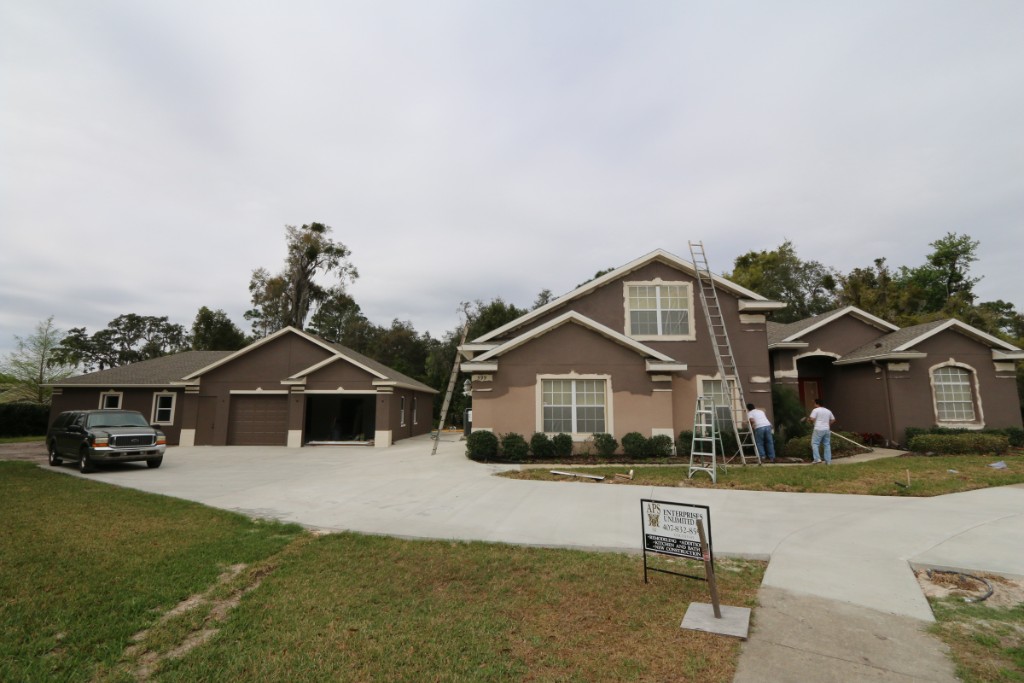
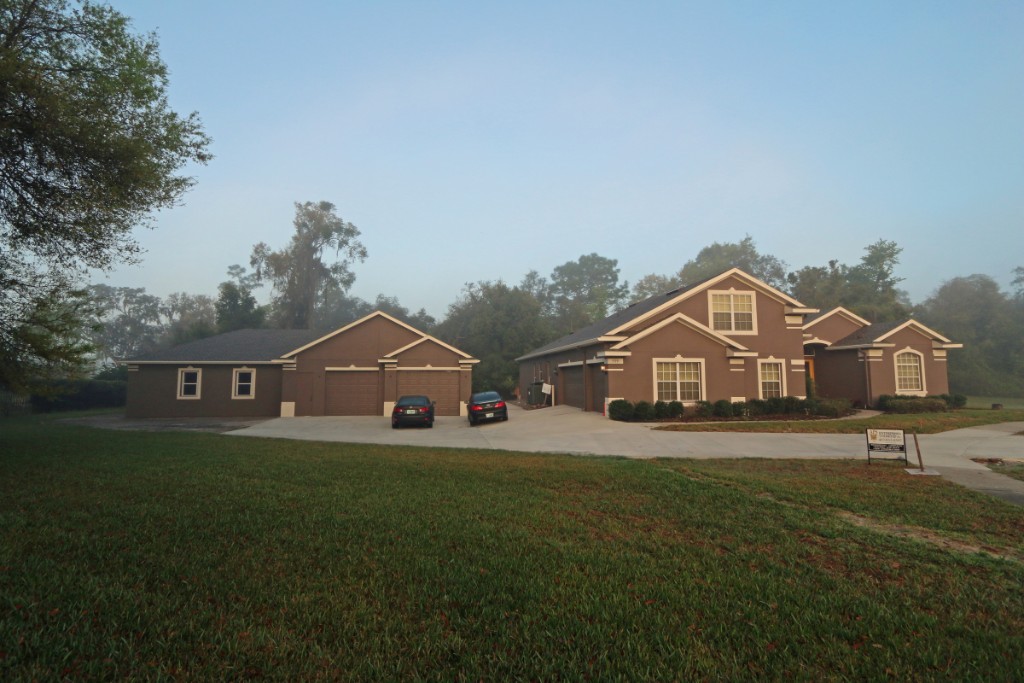
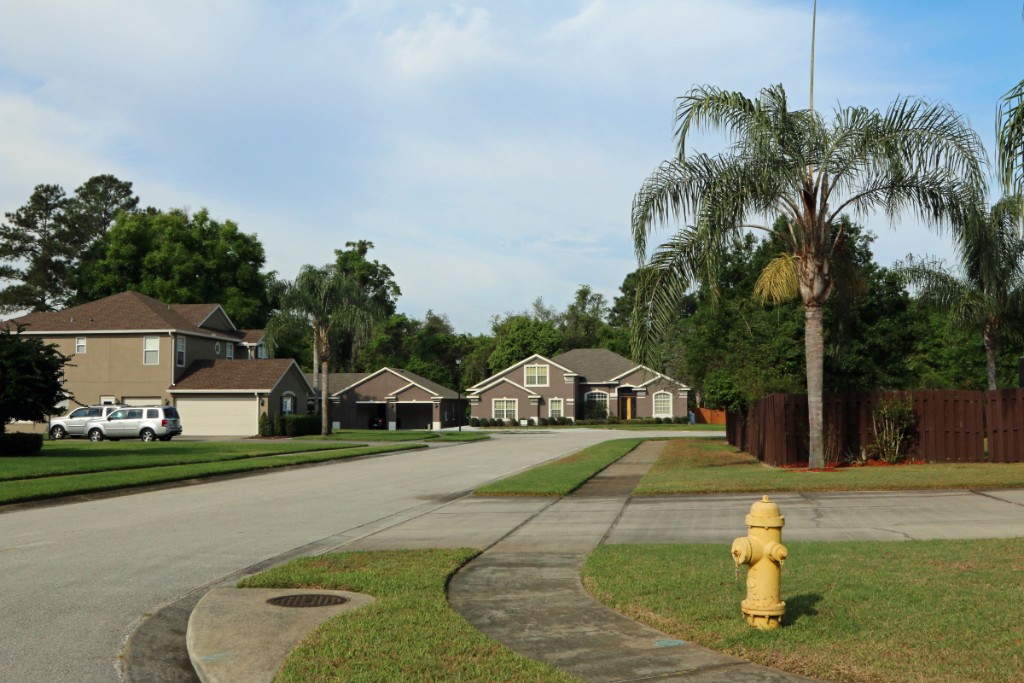
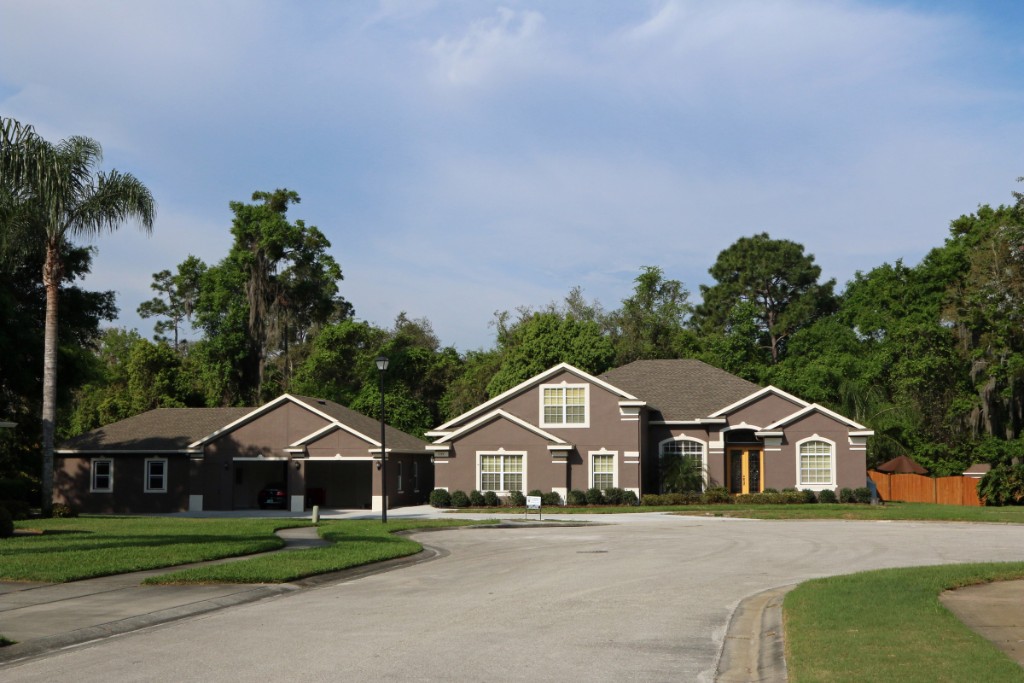
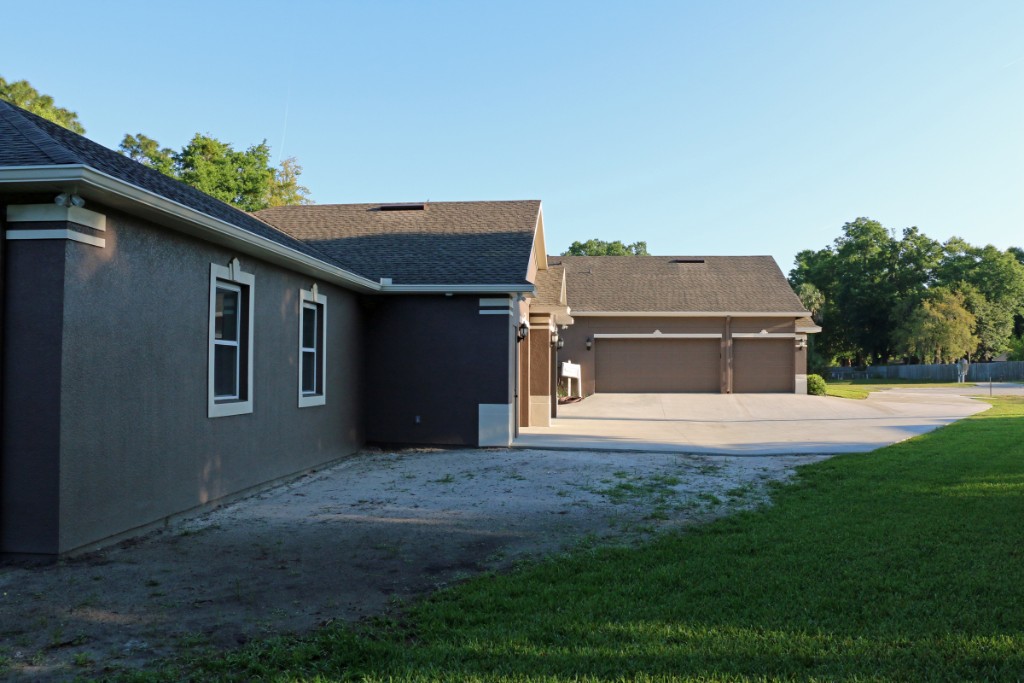
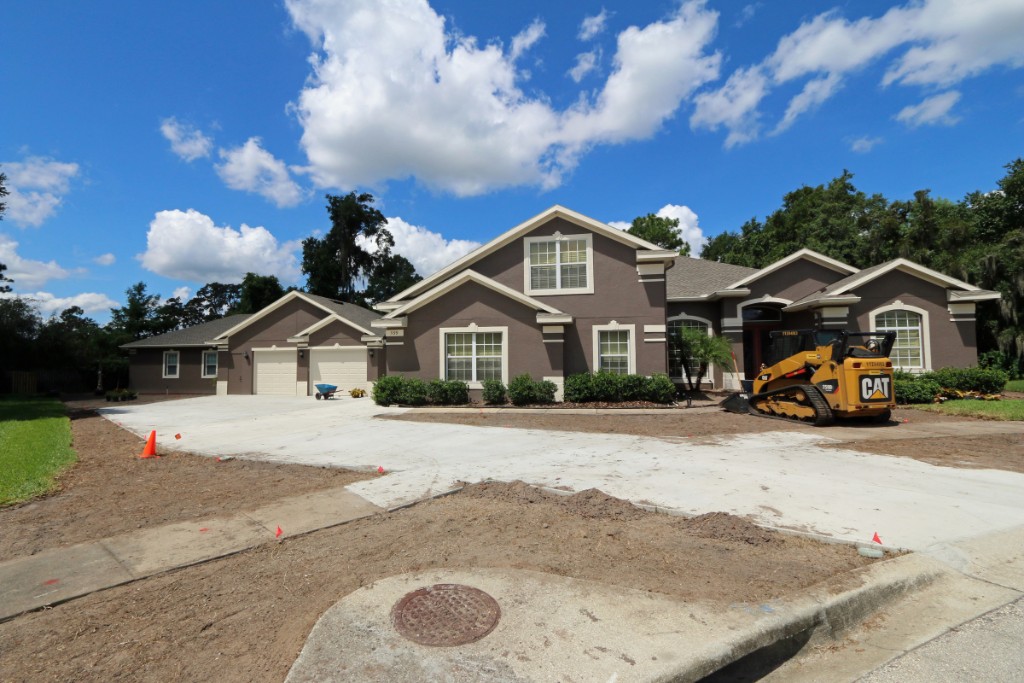
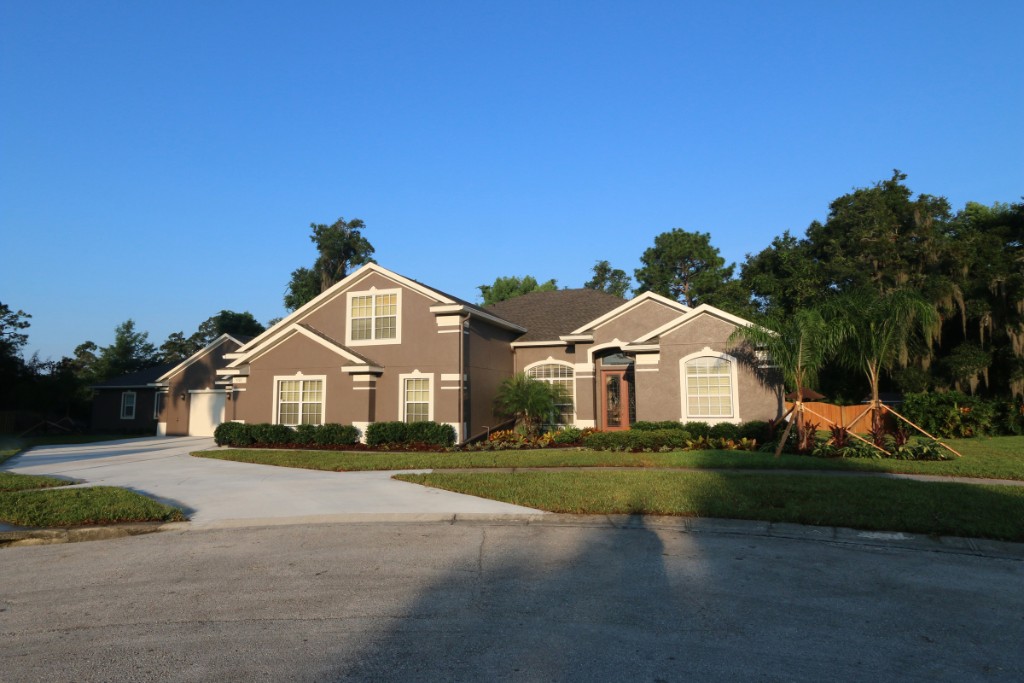
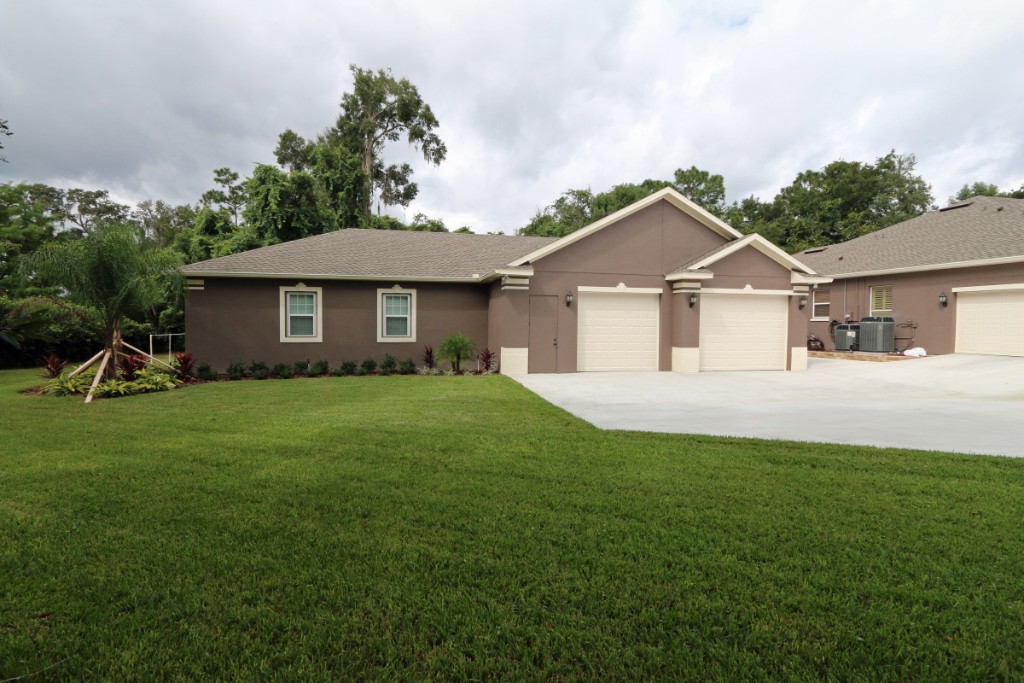
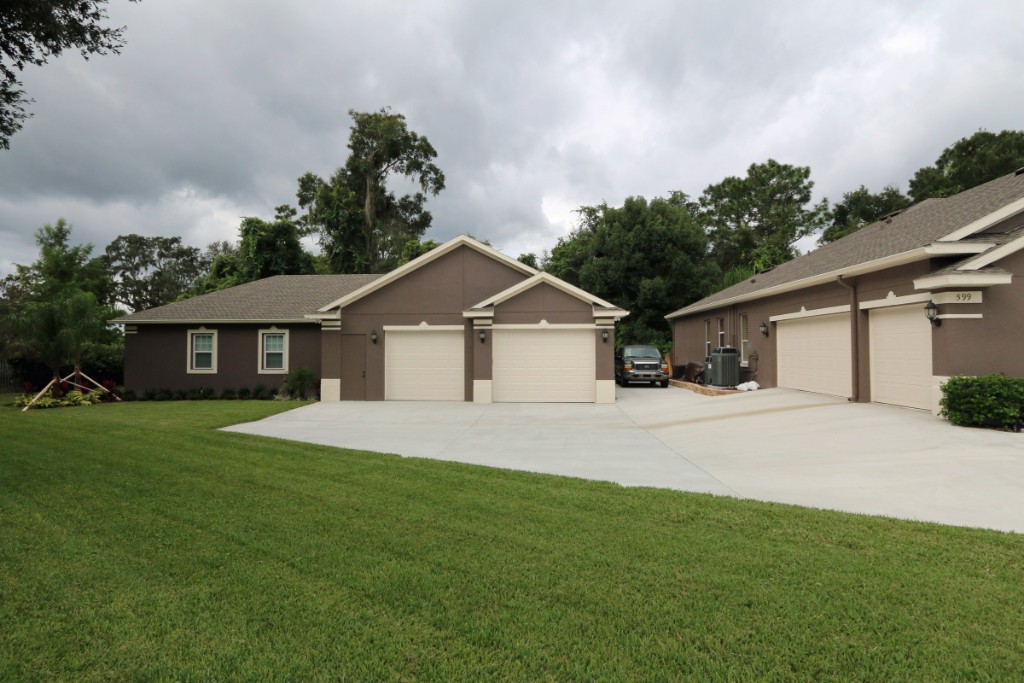
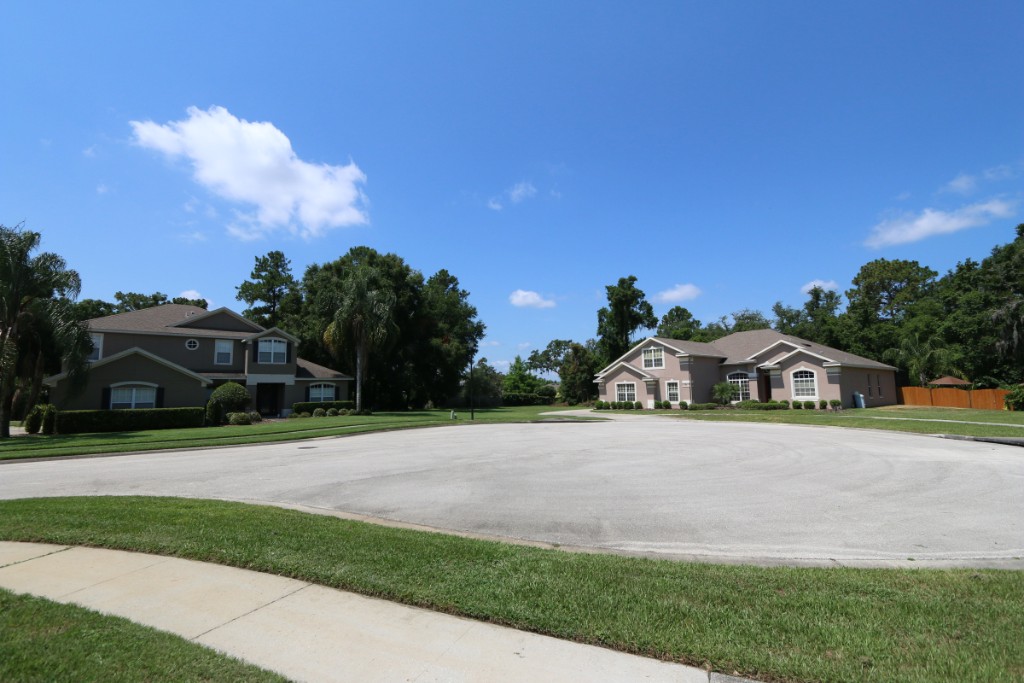 15 August 2014 - Before Photo - Our house and our neighbor's house on the left. |
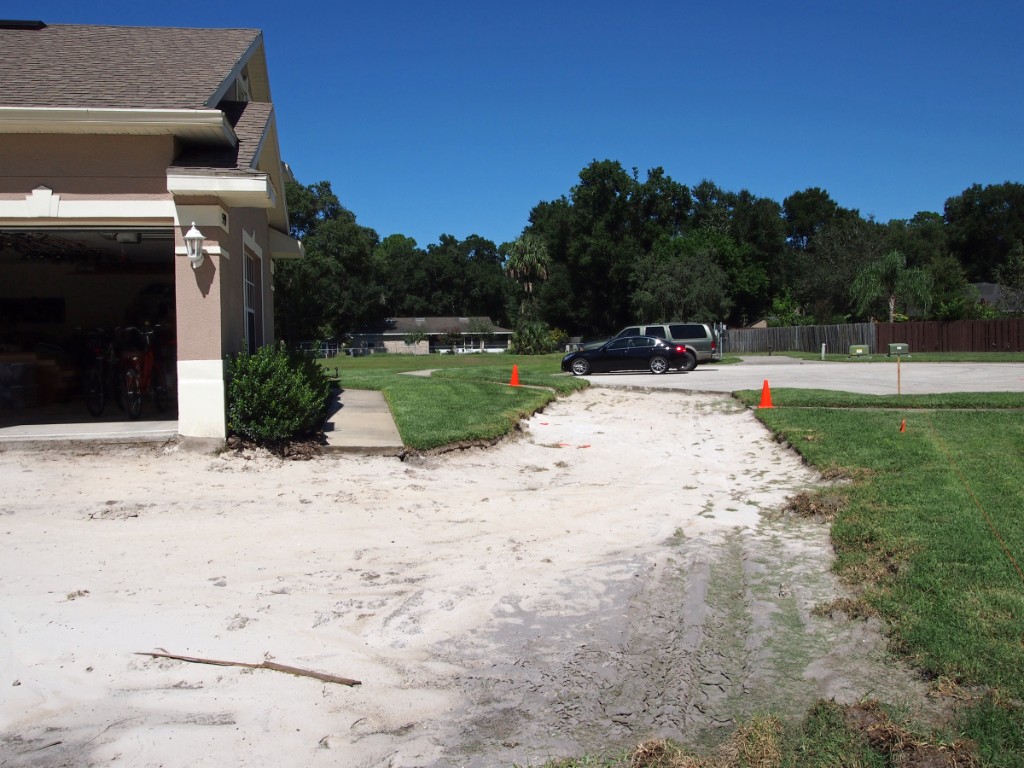
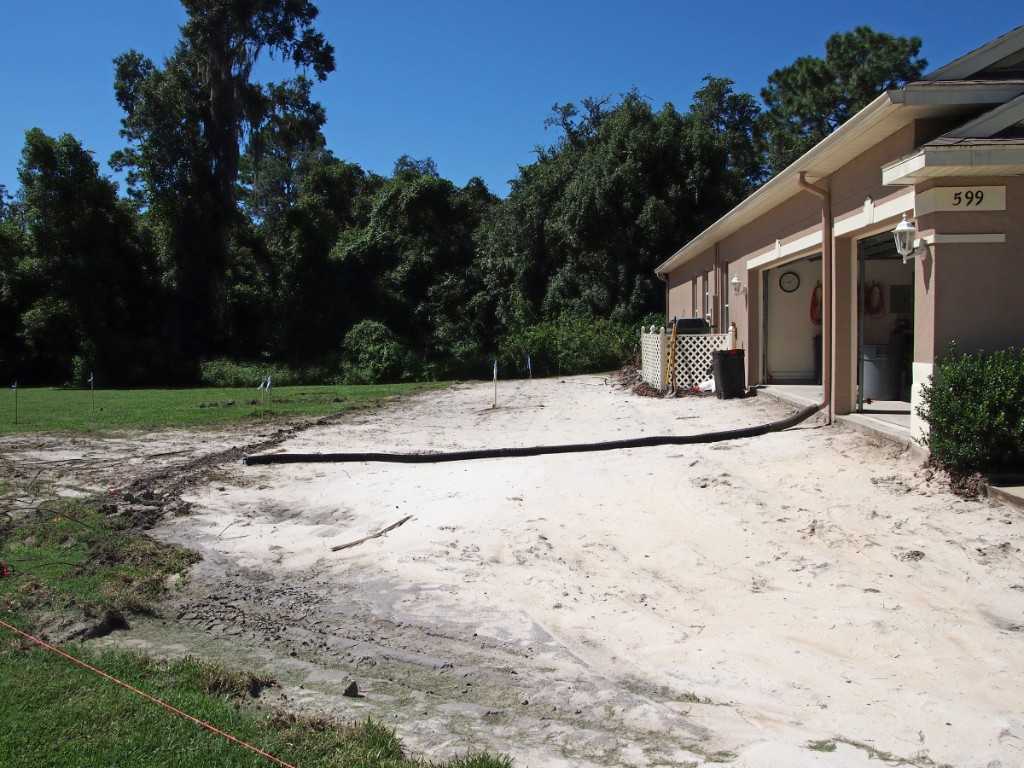
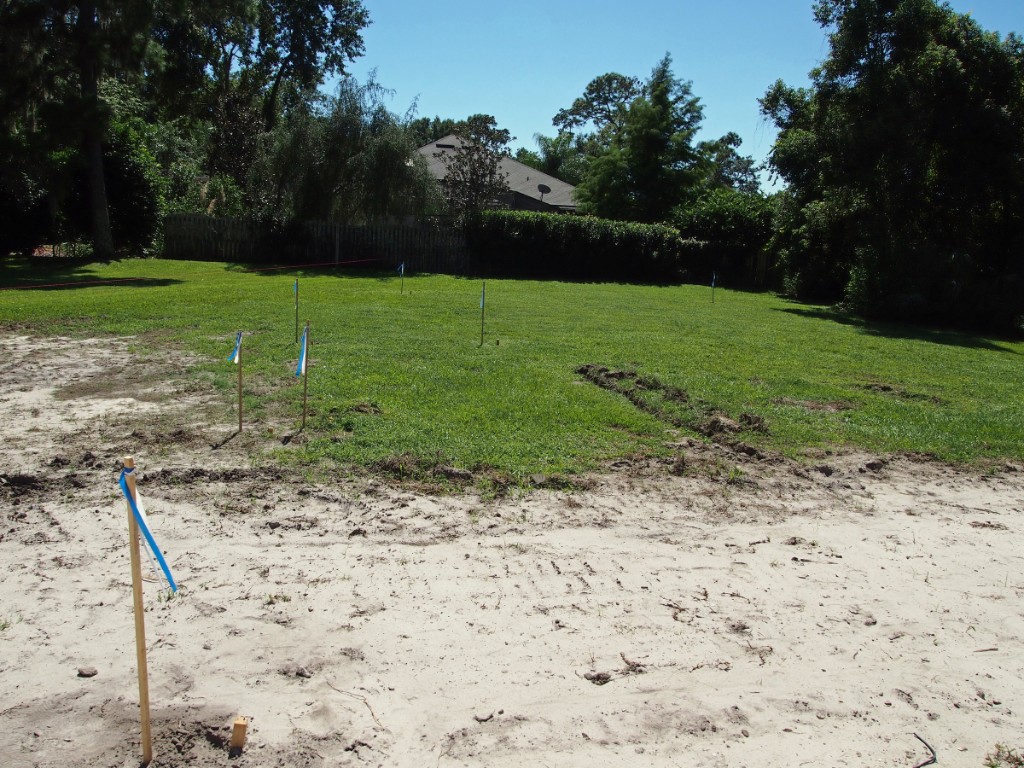
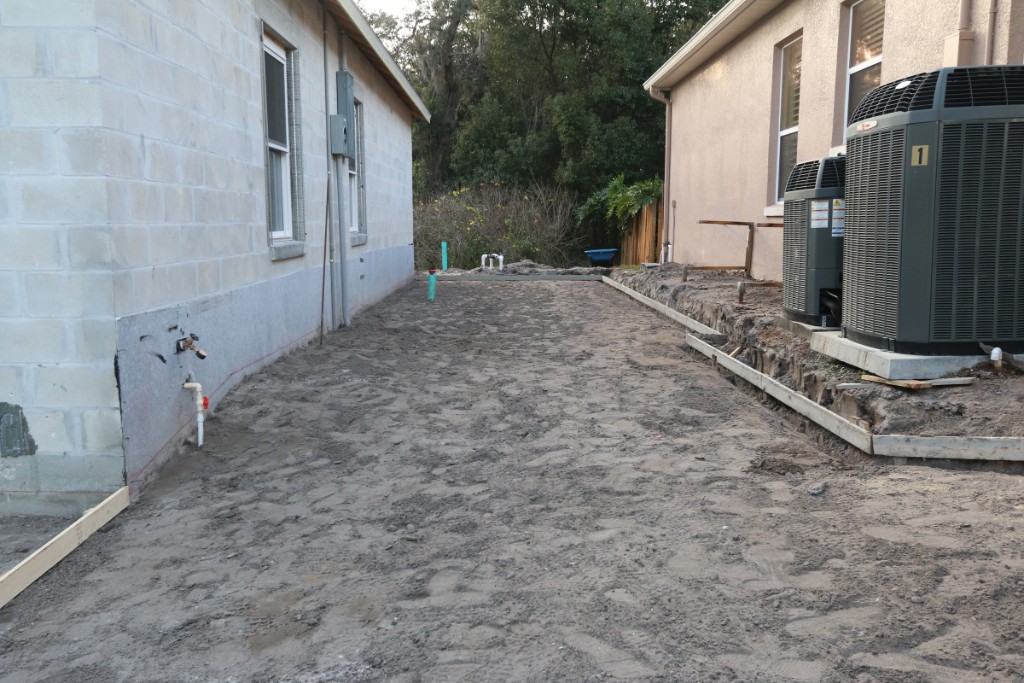
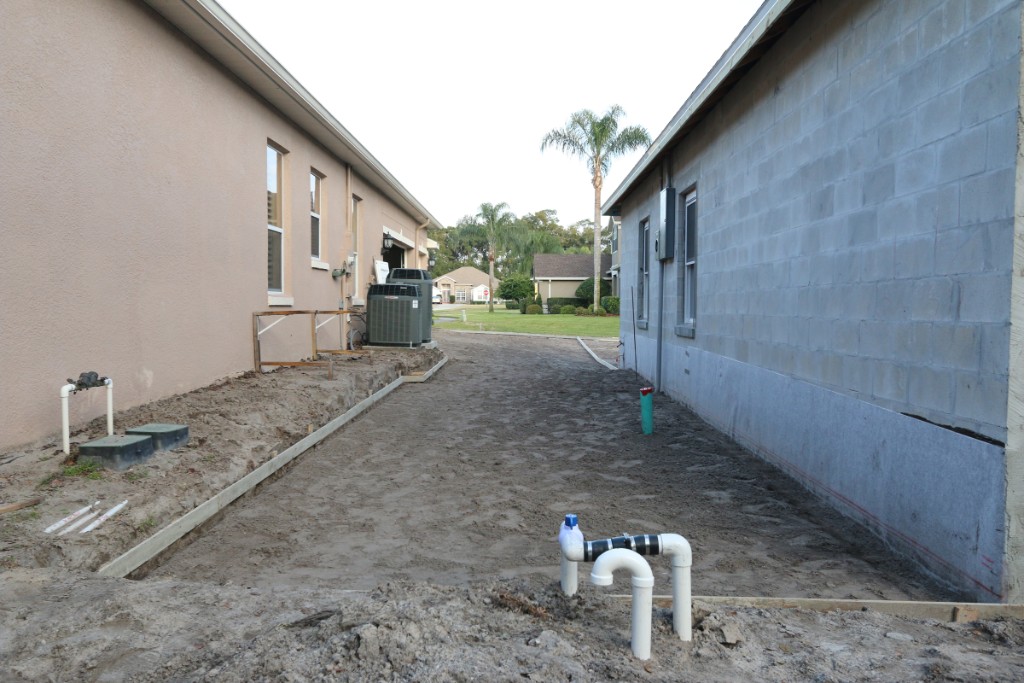
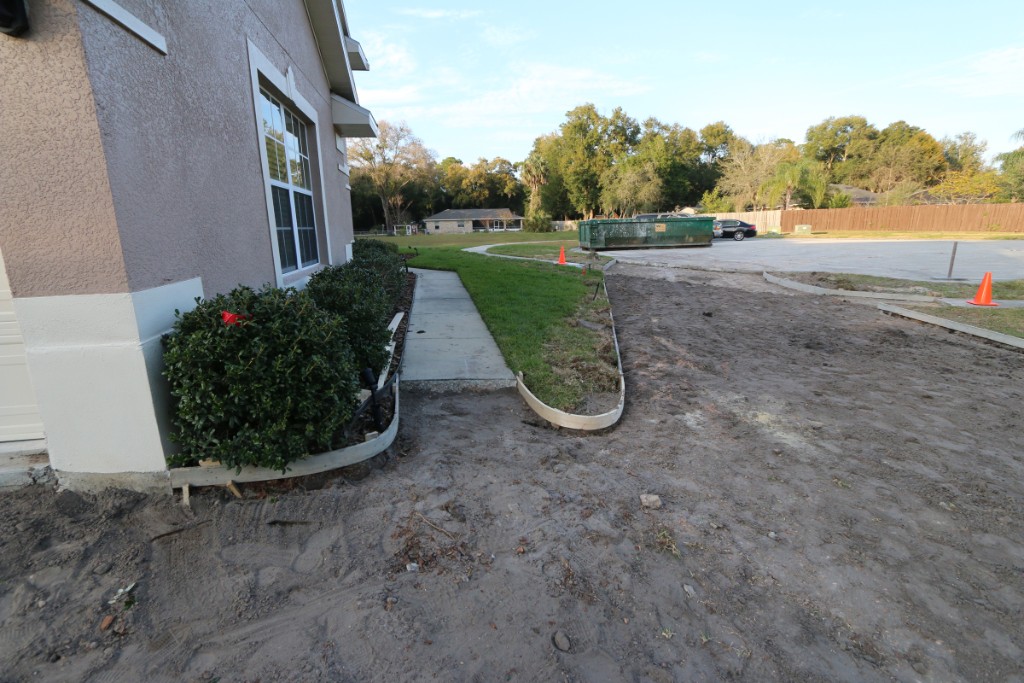
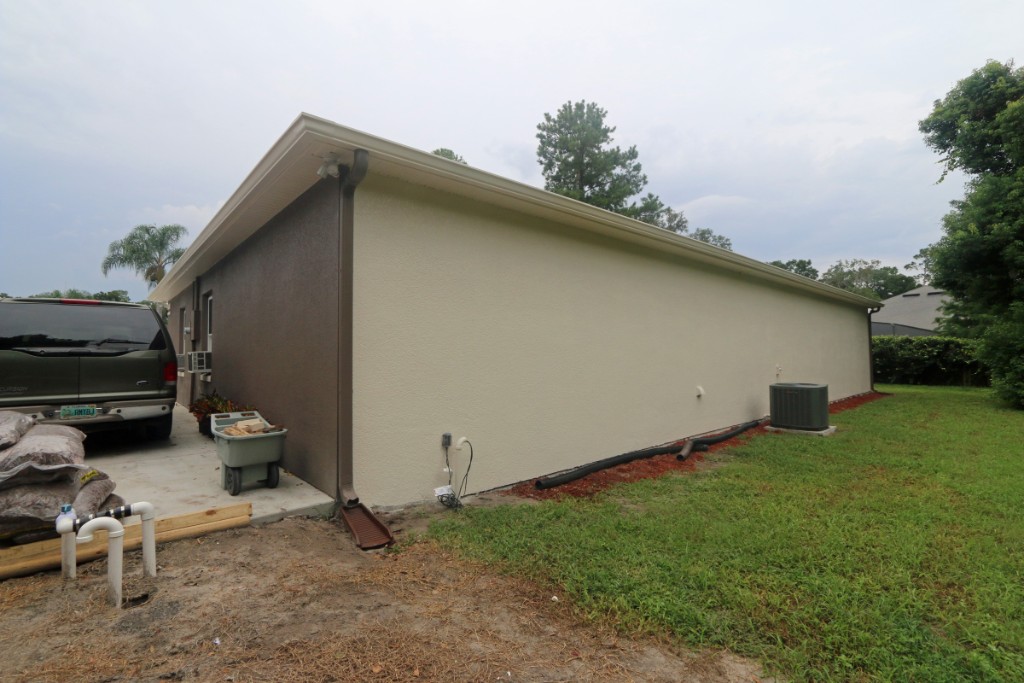
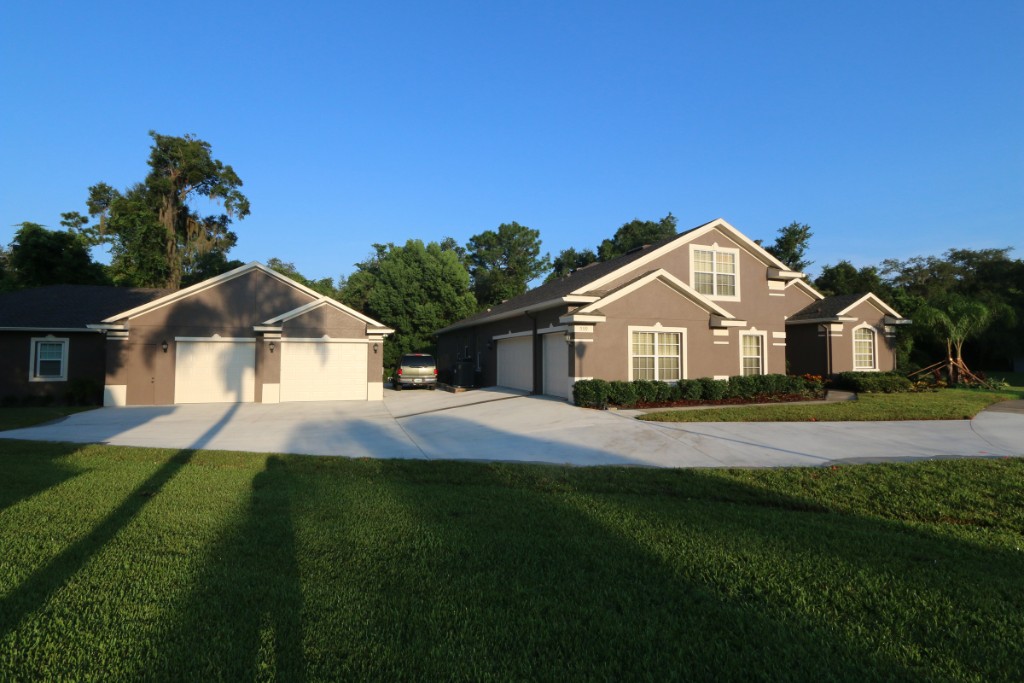
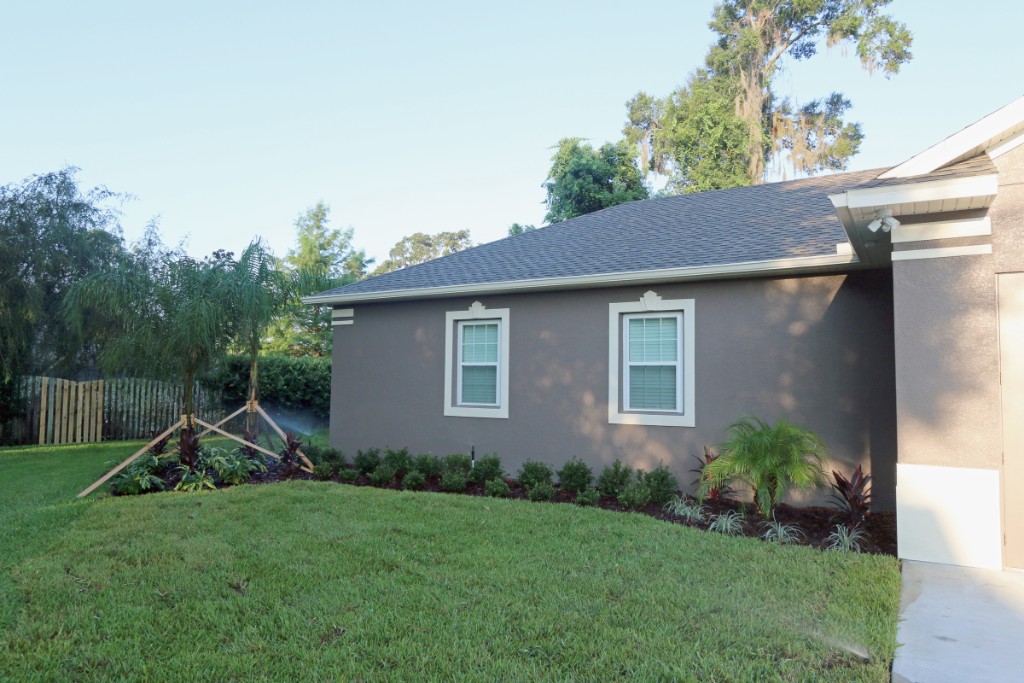
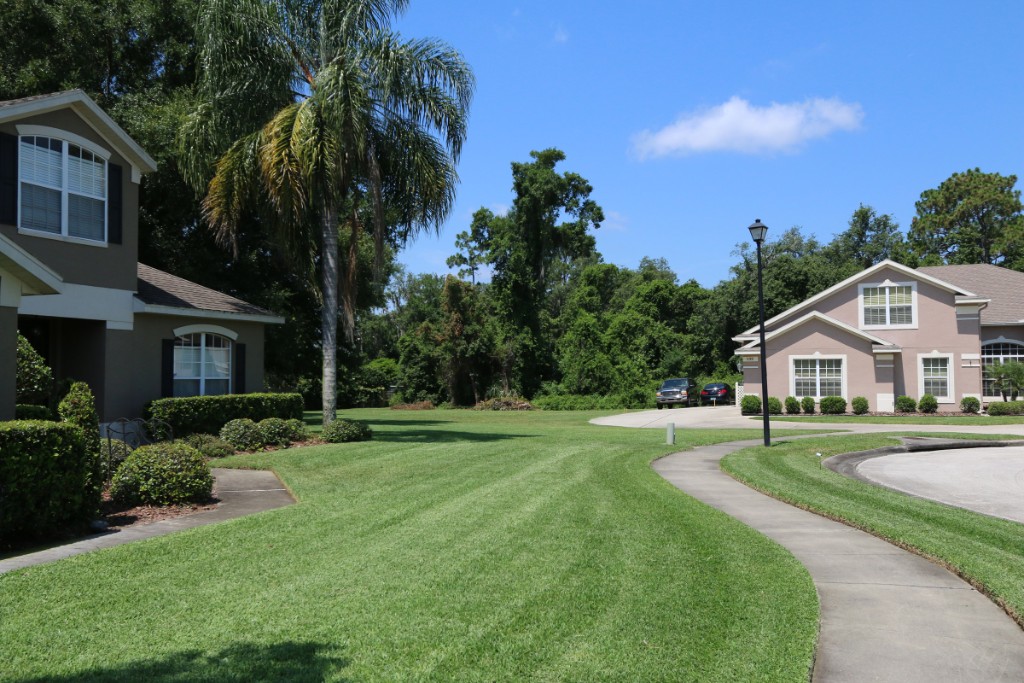 16 Before Photo - Where the detached garage will be located. |
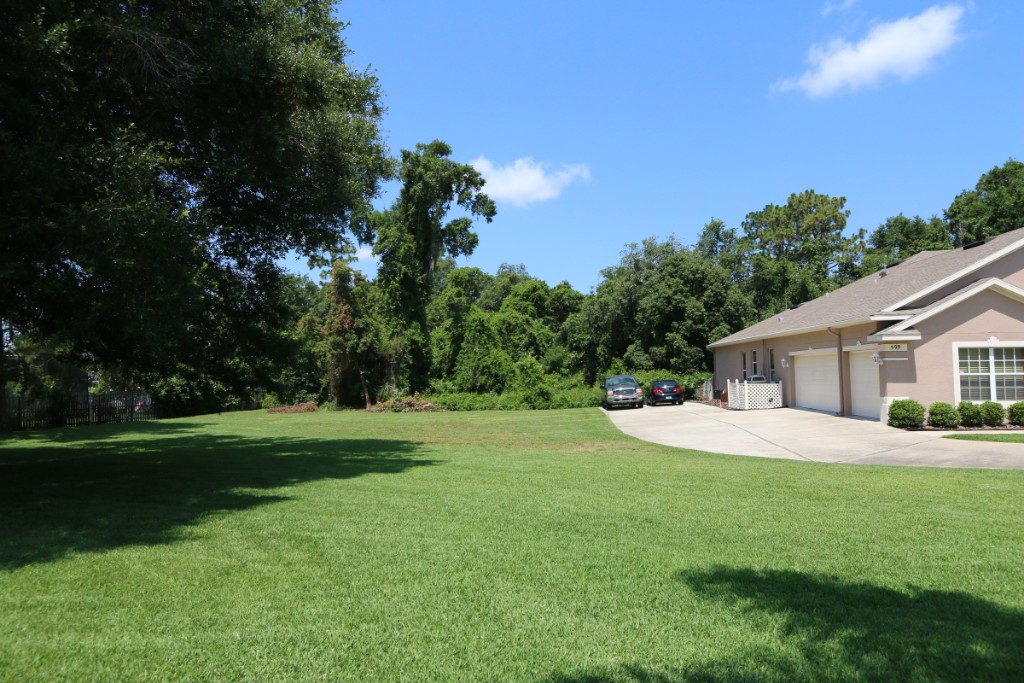 17 Before Photo - Where the detached garage will be located. |
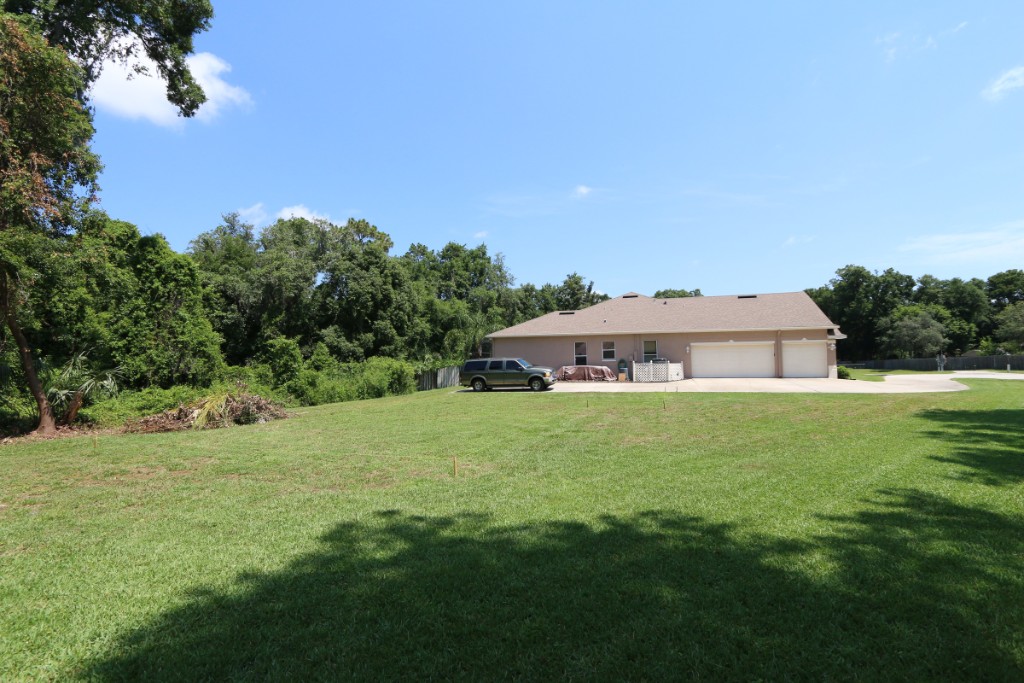 18 Before Photo - Where the detached garage will be located. |
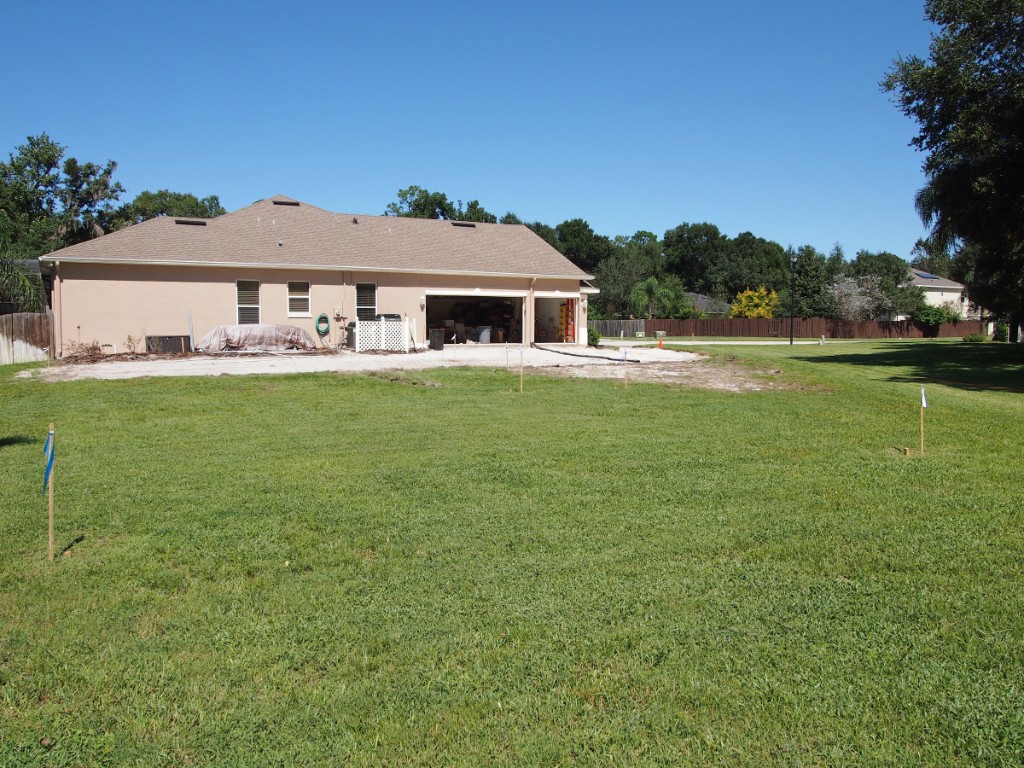
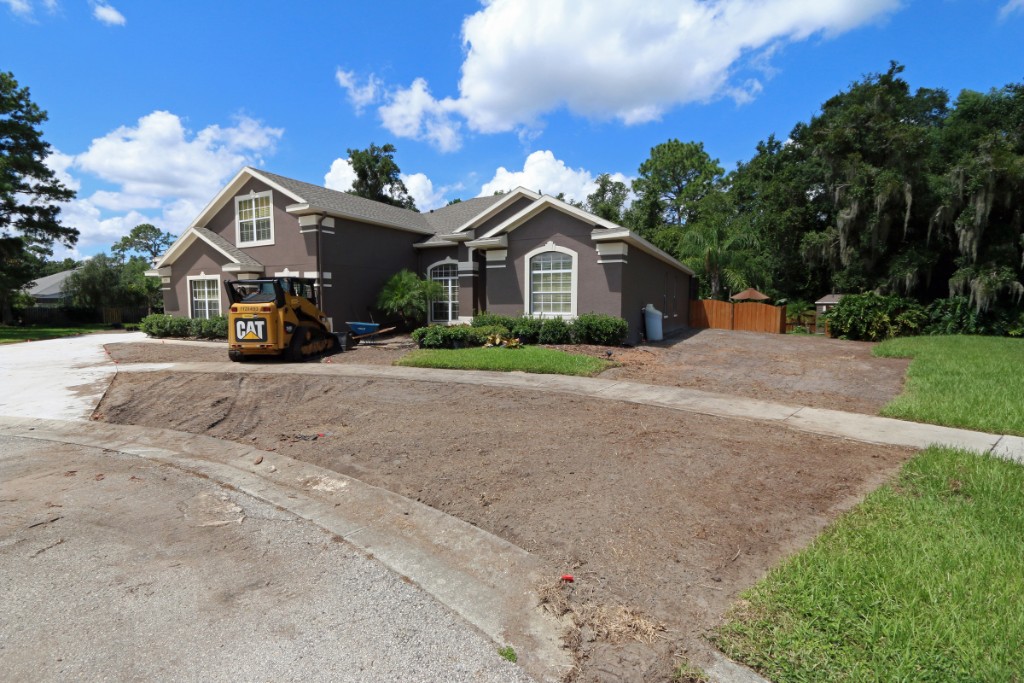
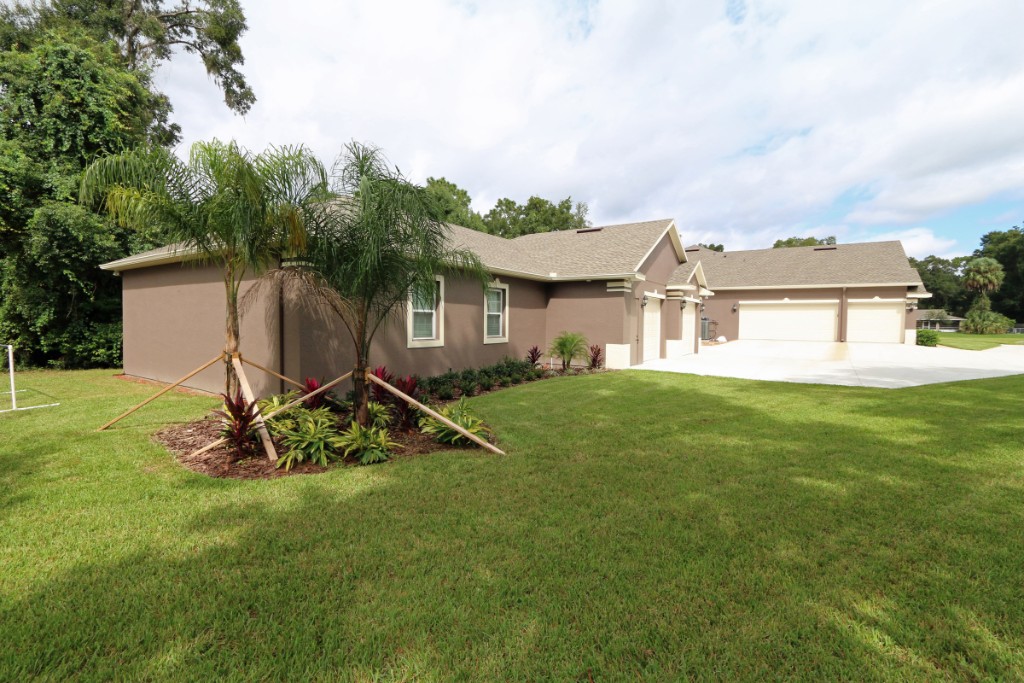
 19 Before Photo - Can't wait to get rid of the "South Pasture". |
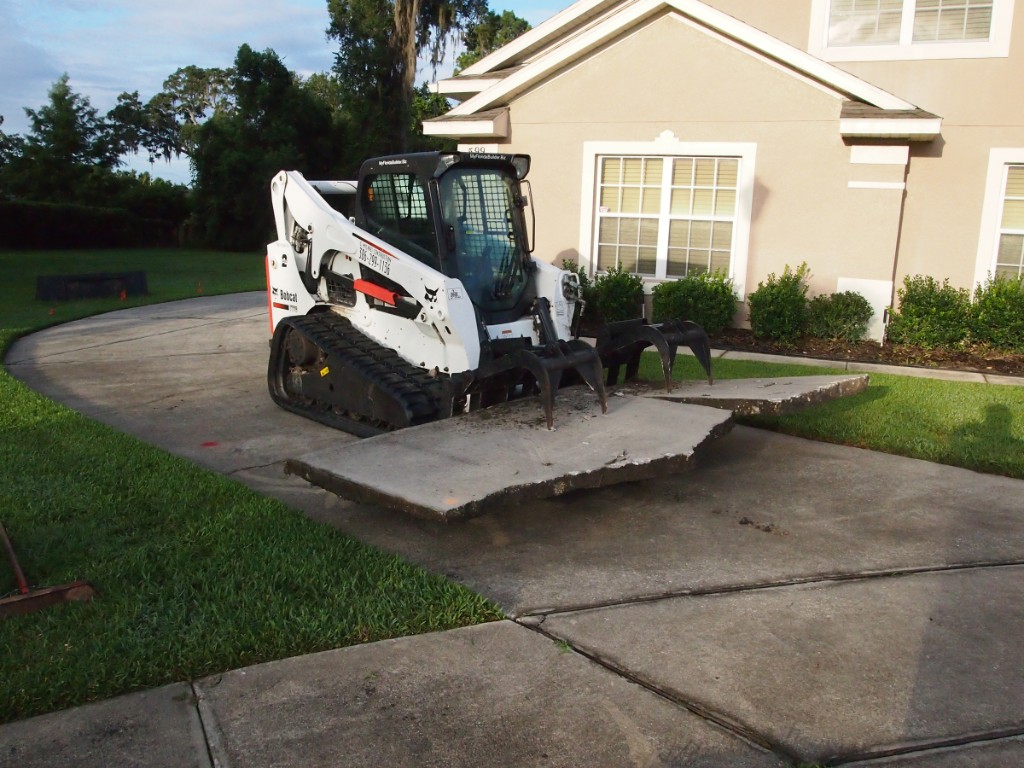
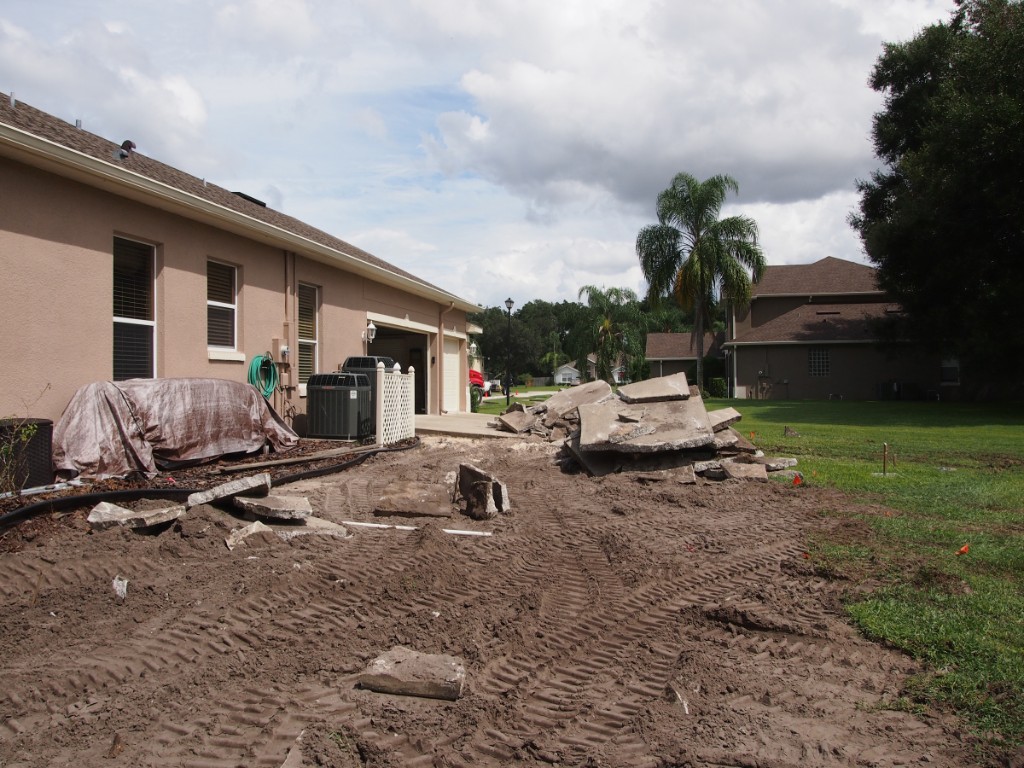
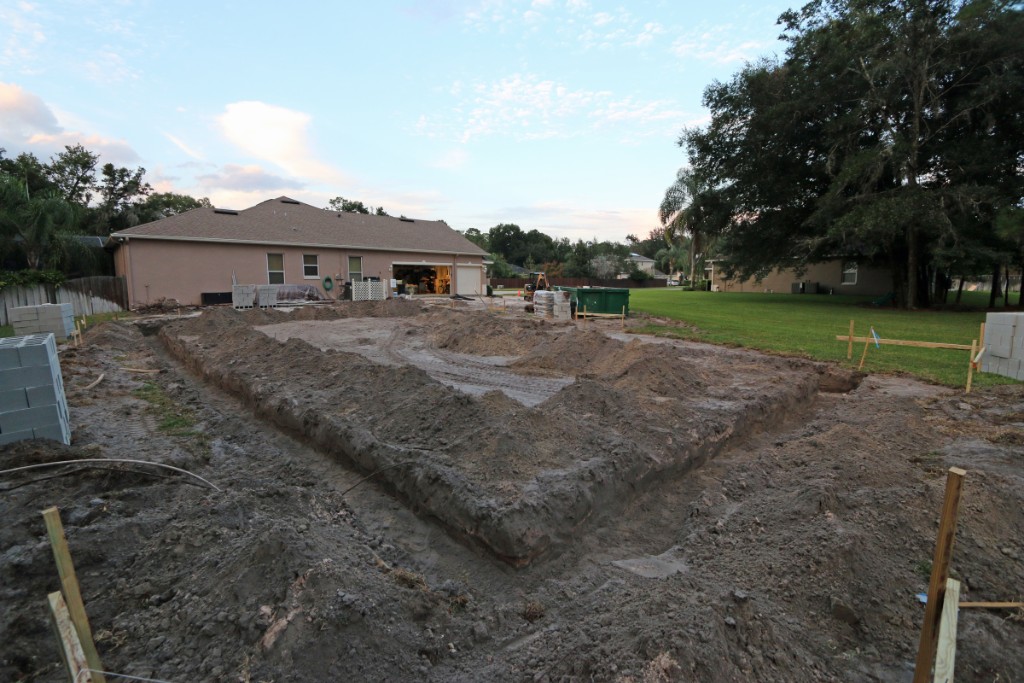
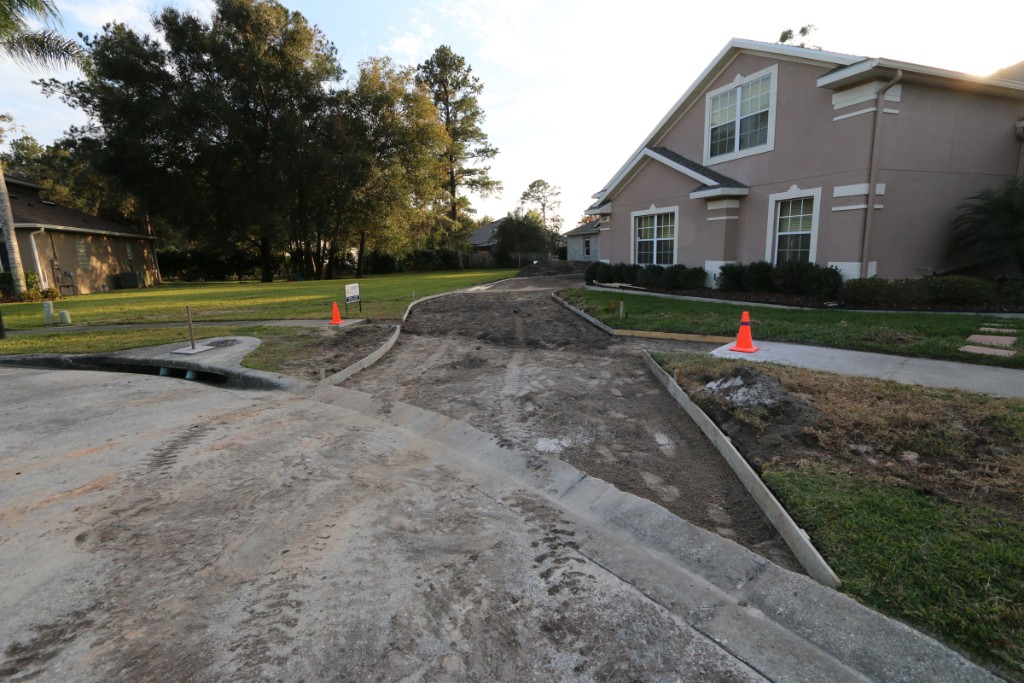
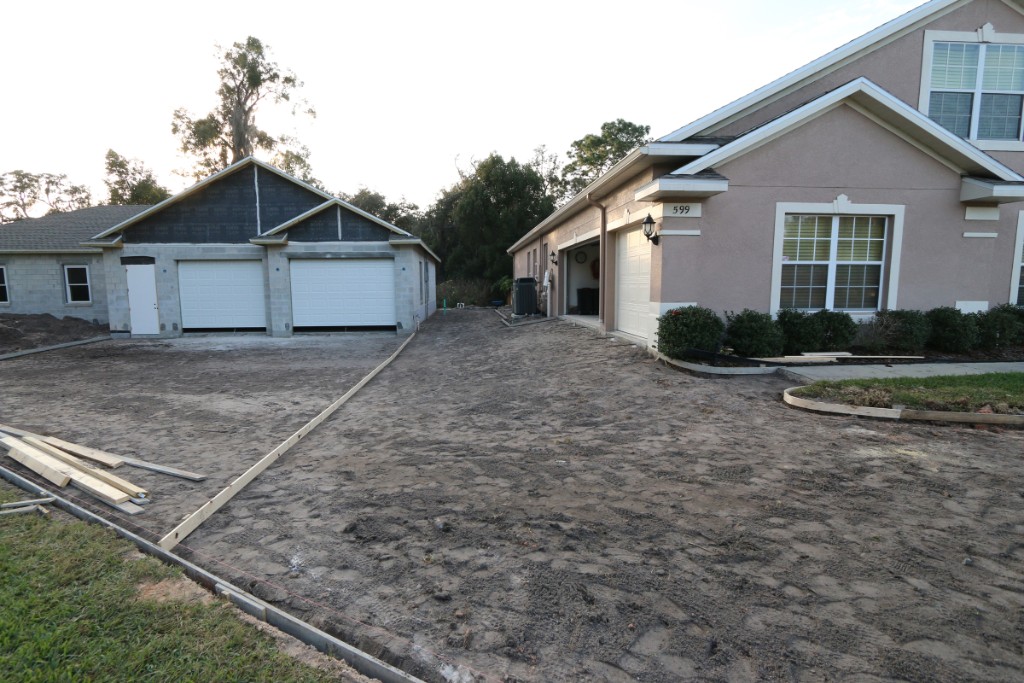
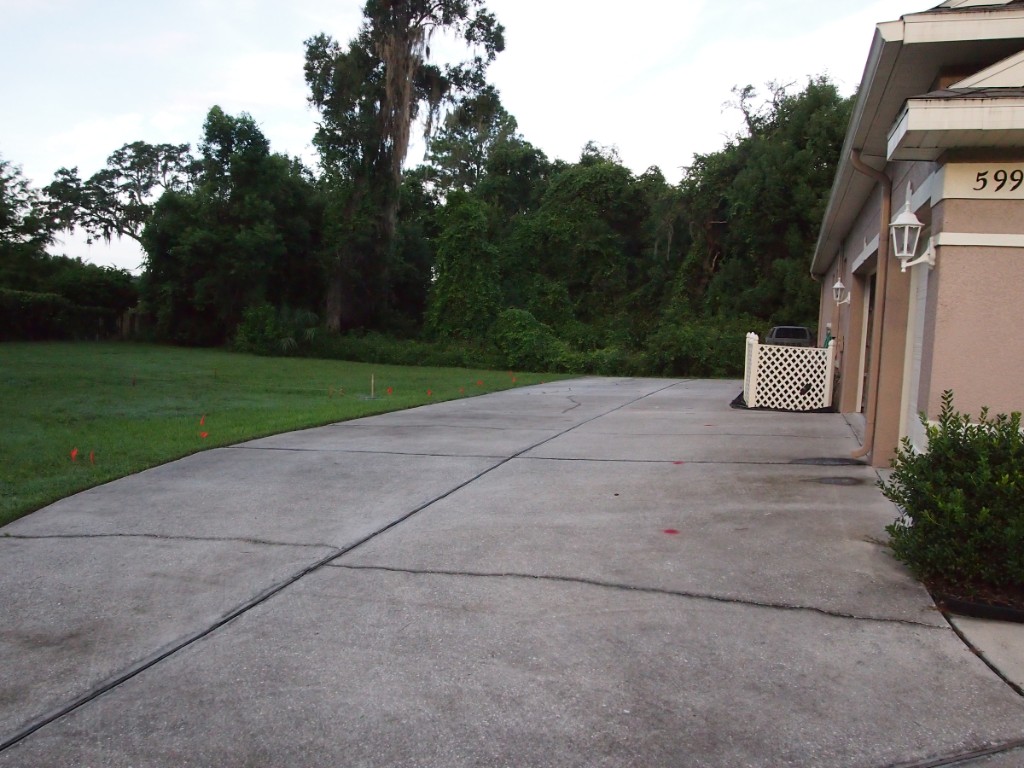 20 Sept 23 2014 - The morning before the old driveway was removed and construction started. |
 21 |
 22 |
 23 |
 24 |
 25 |
 26 |
 27 |
 28 October 2014 |
 29 |
 30 |
 31 |
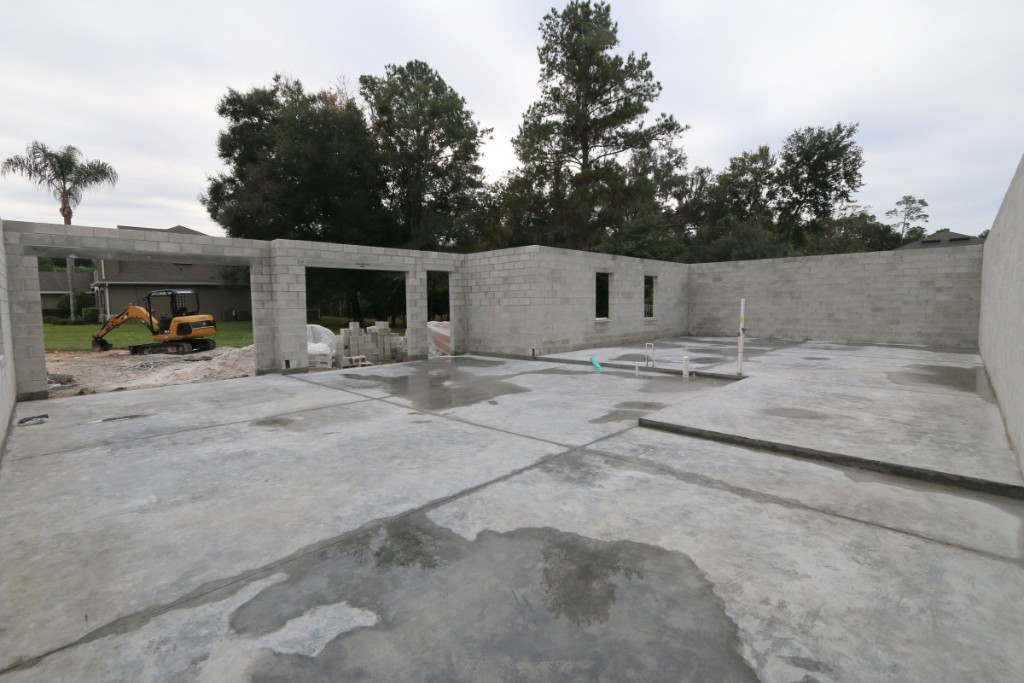
 32 October 20 2014 - The foundation trench has been excavated and they are ready to start forming rebar for the foundation and stem walls. |
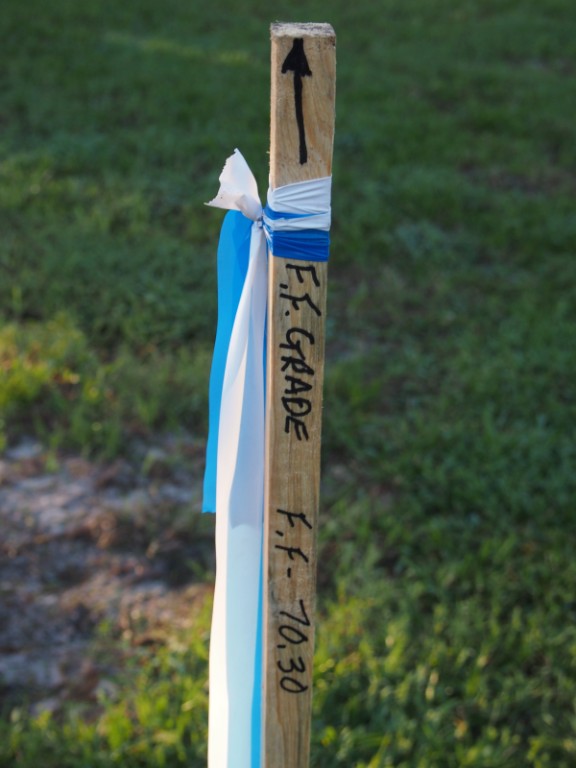
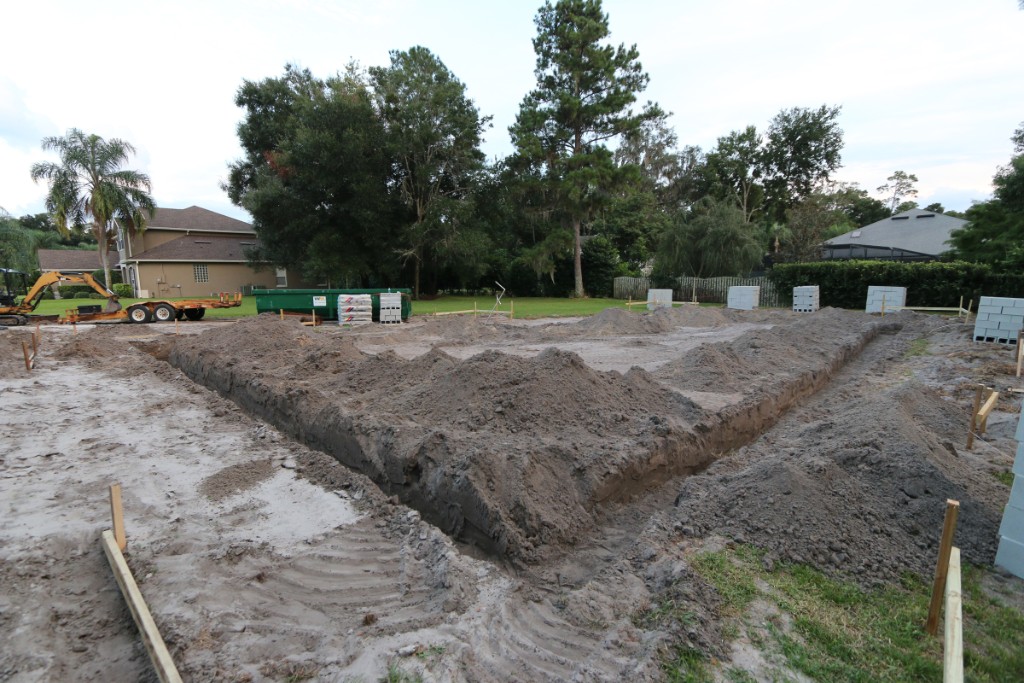 33 The 2x4s outside the garage boundary are at the finished floor elevation of the garage . |
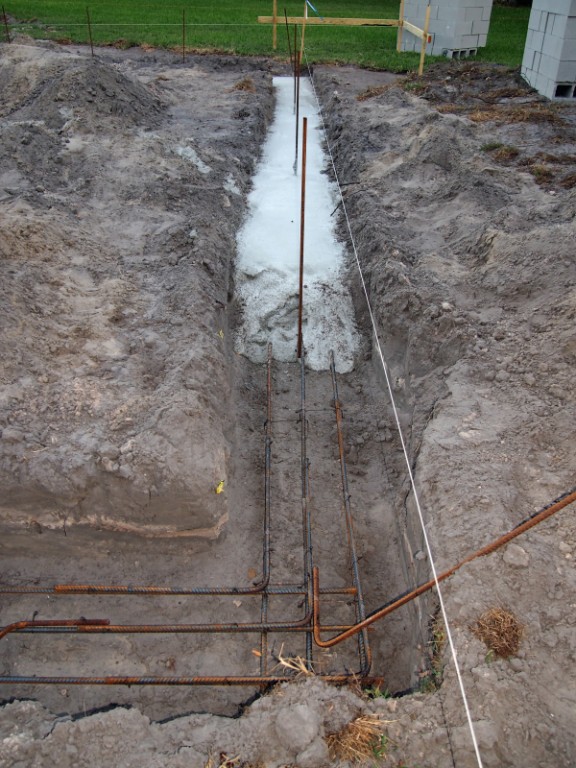
 34 . |
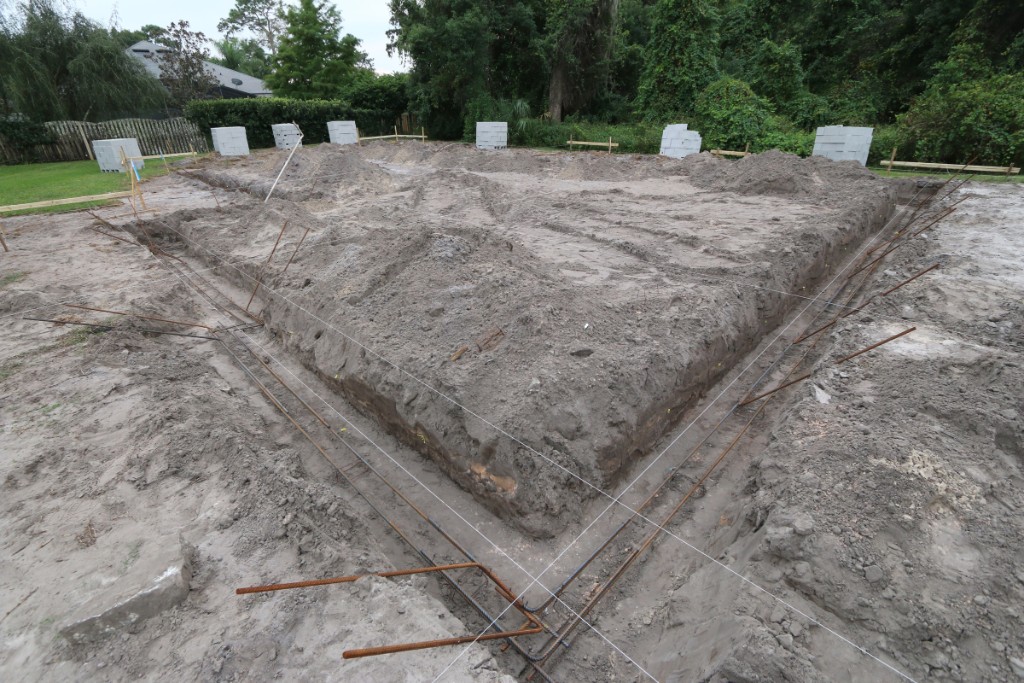 35 October 21 2014 - They installed the rebar for the foundation footers today. |
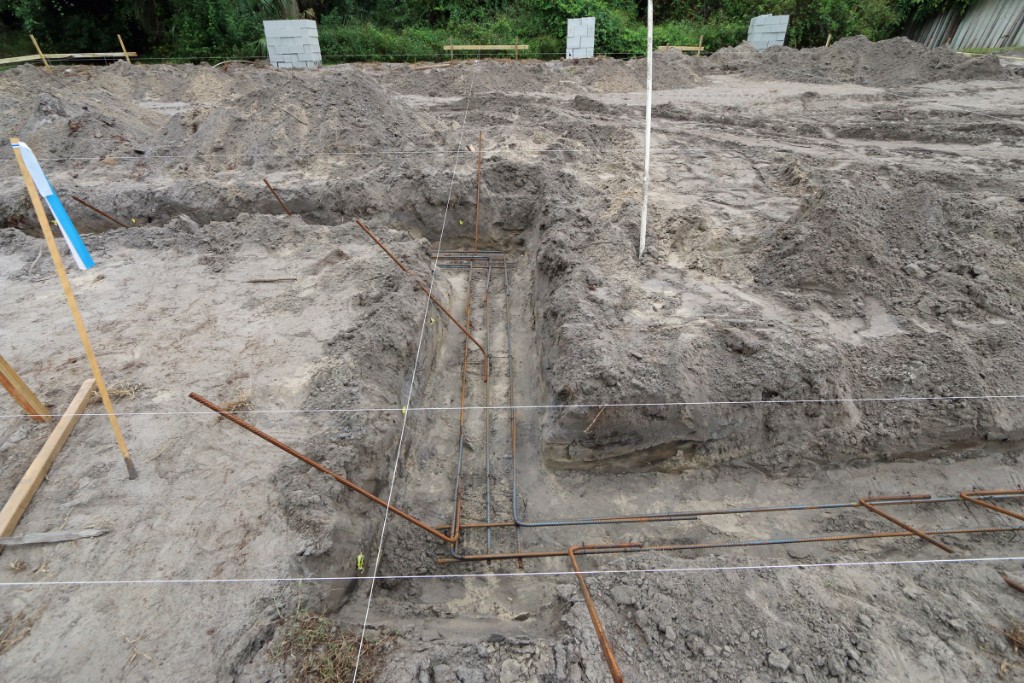 36 Where the rebar goes from two to three is the transition from the low to high stem wall design. |
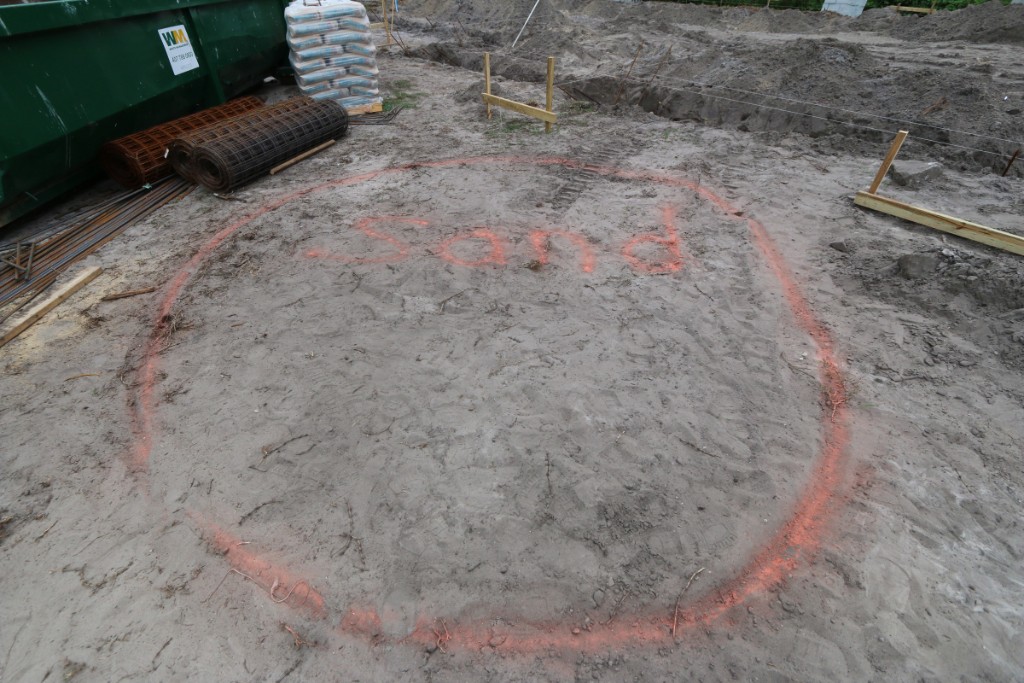 37 They clearly marked where they wanted the sand to be delivered. The sand will be used in the concrete when the CBS stem walls are built. |
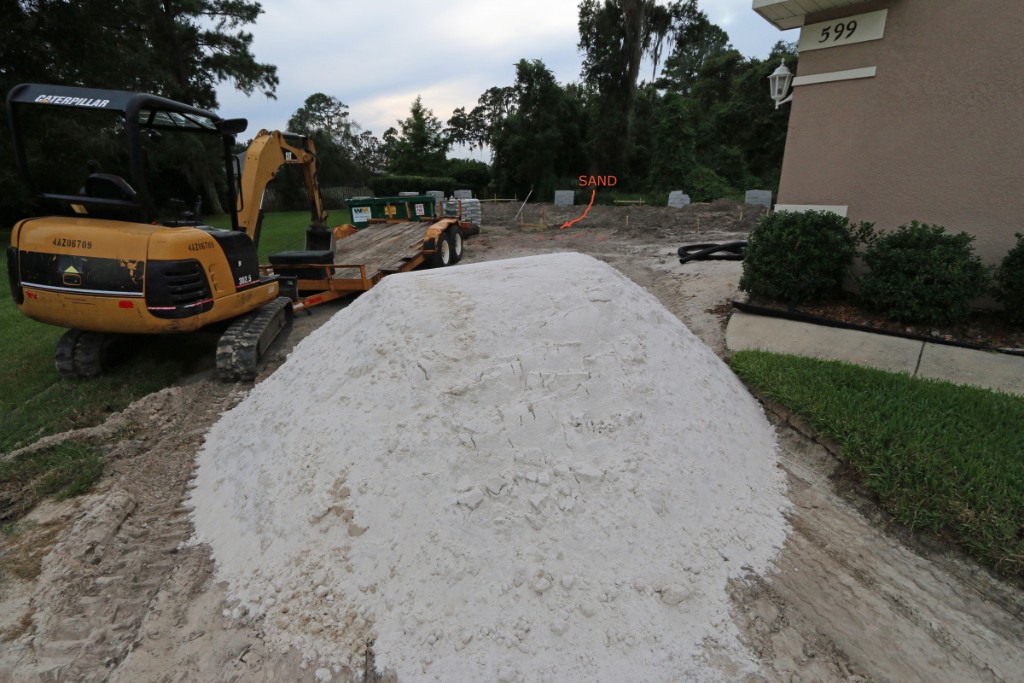 38 Apparently the sand delivery guy didn't notice or couldn't get over to the preferred location for the sand pile. |
 39 October 27 2014 |
 40 October 28 2014 |
 41 |
 42 |
 43 |
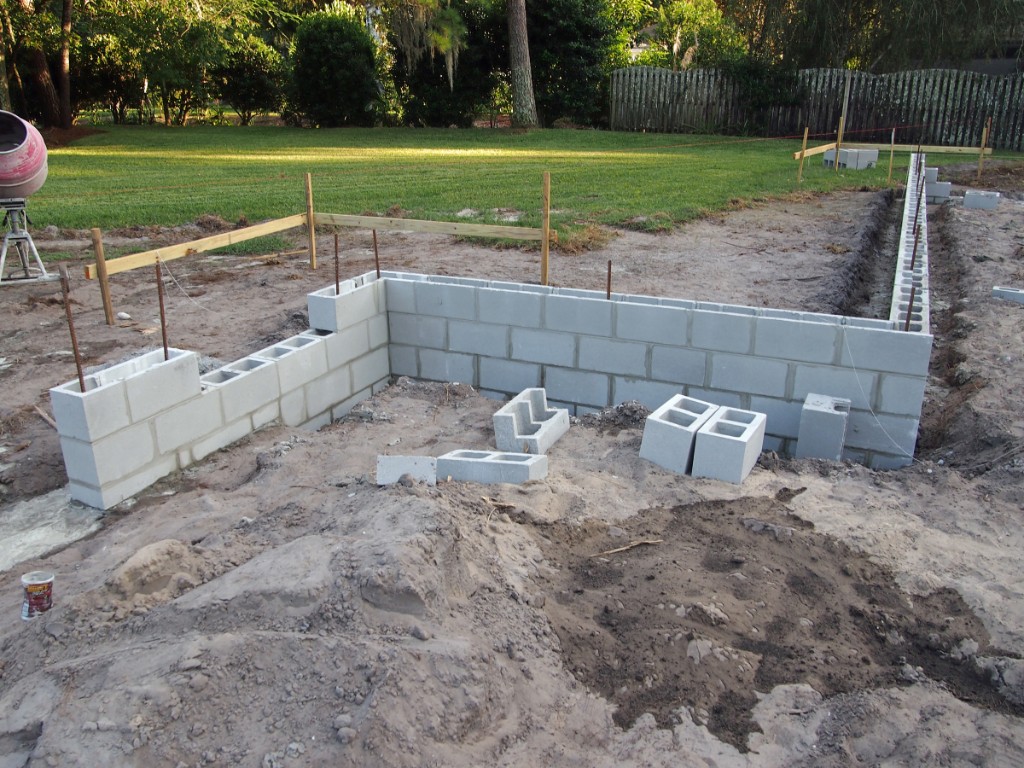
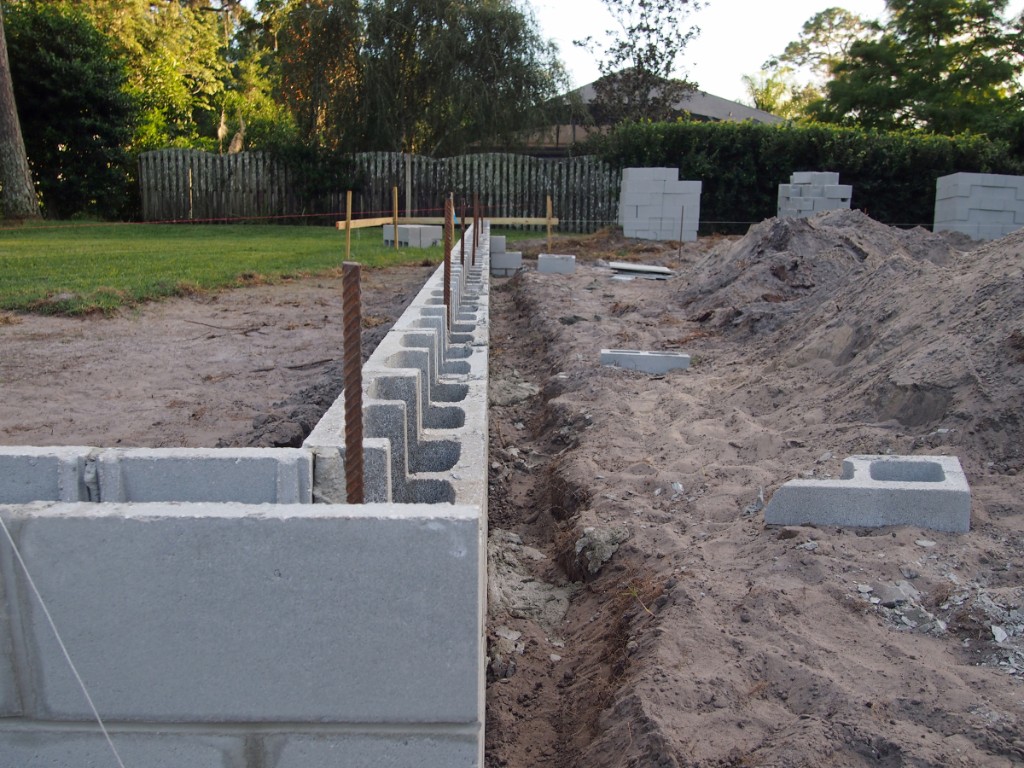
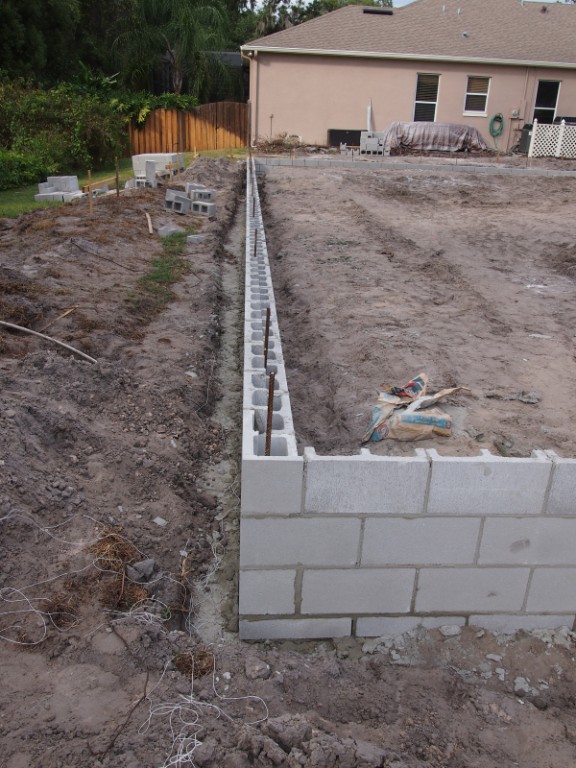
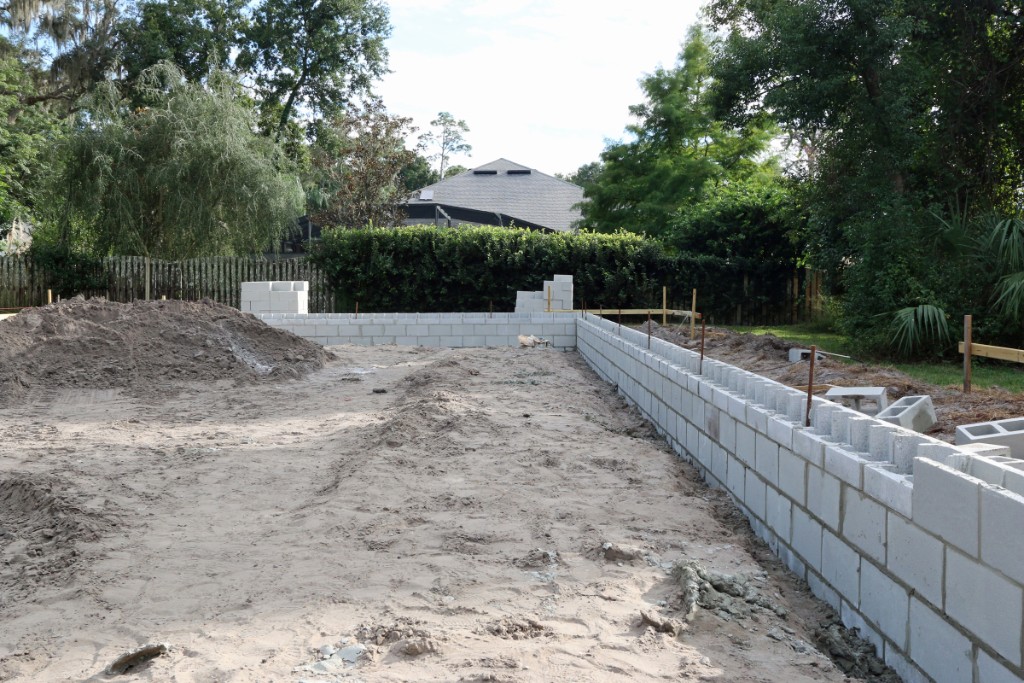
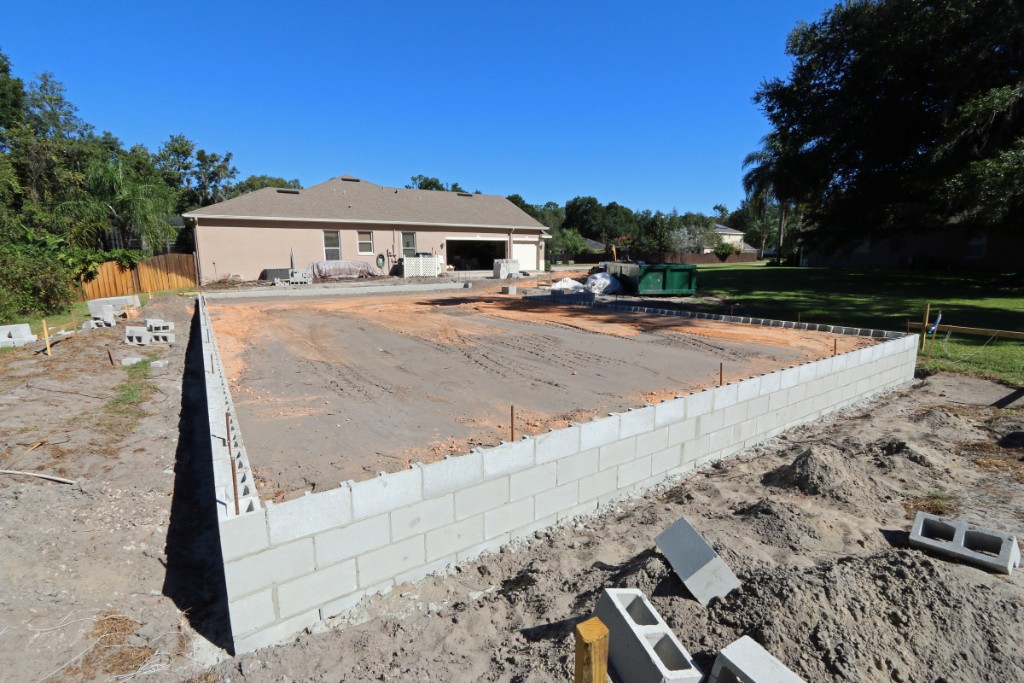
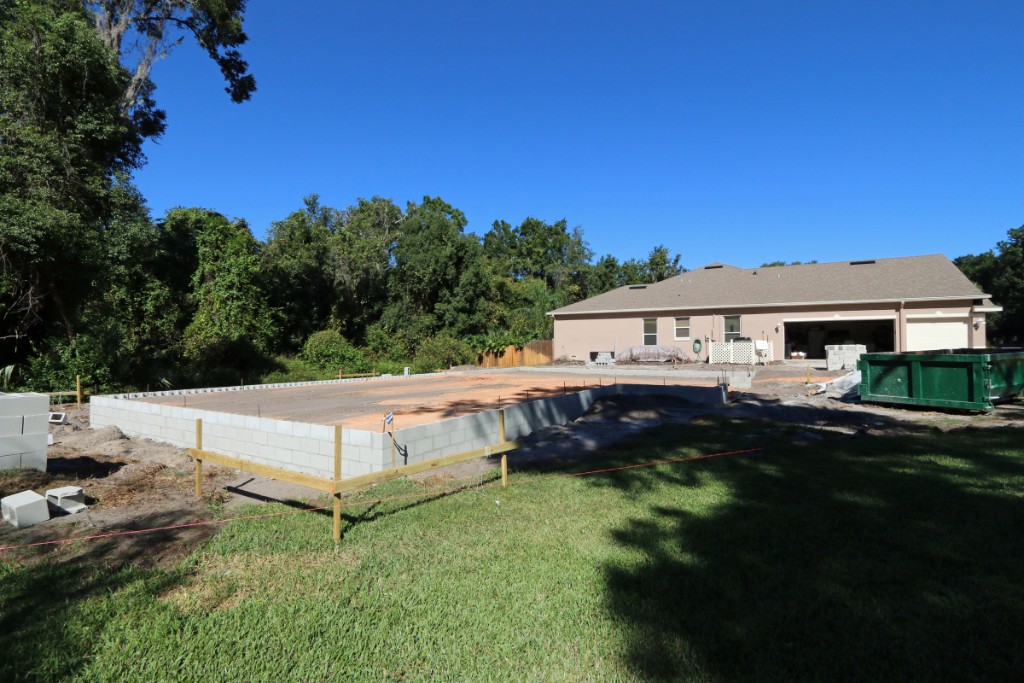
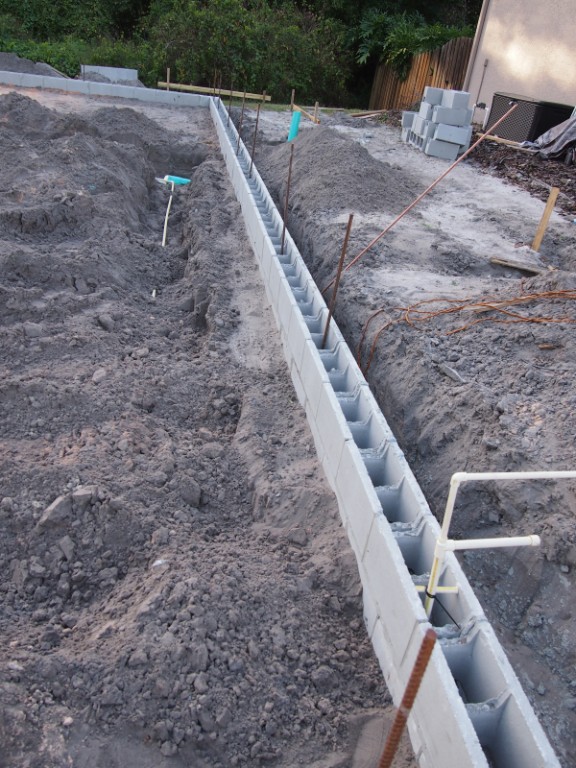
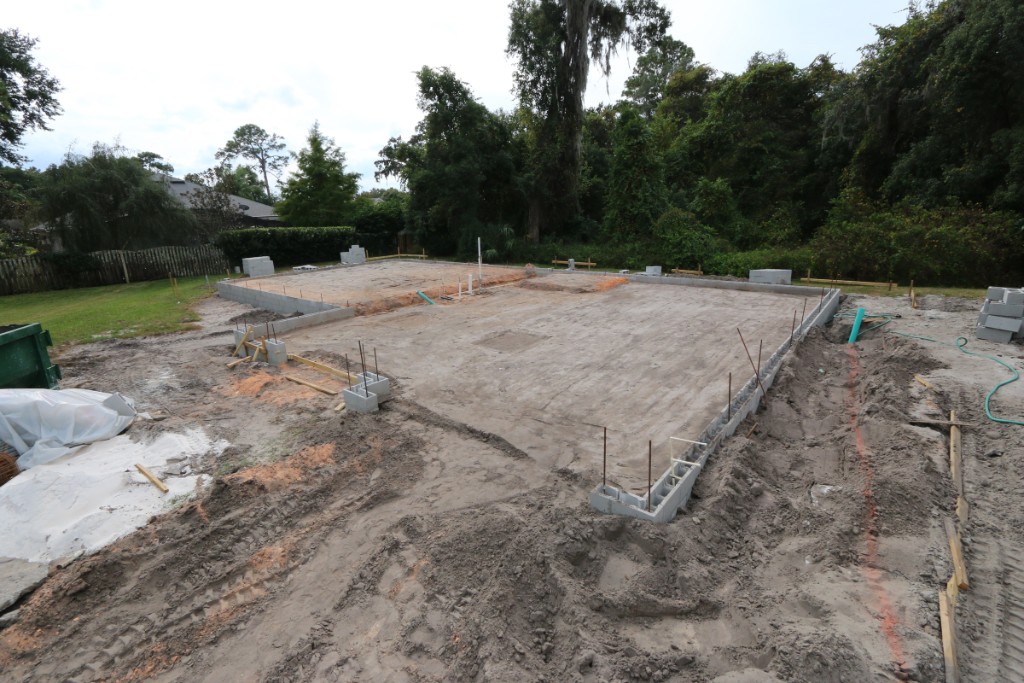
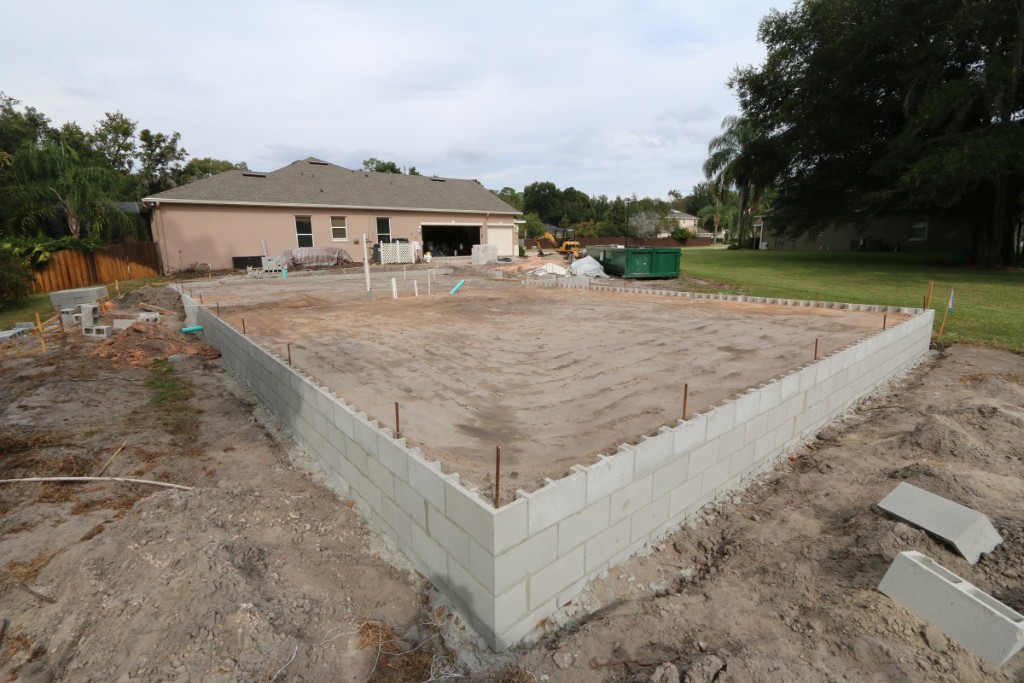
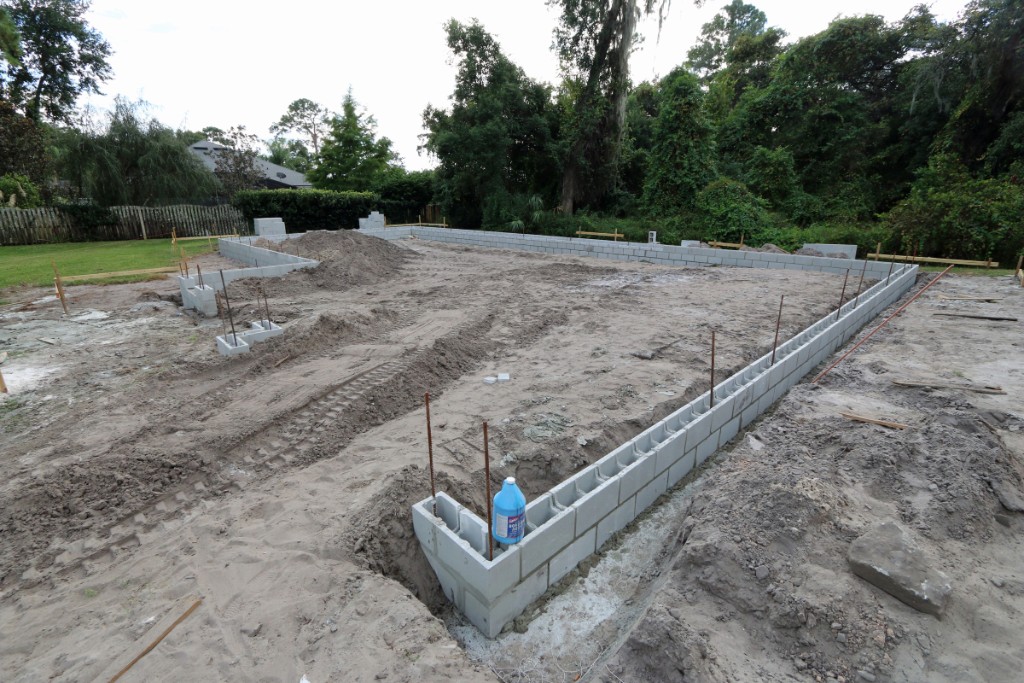 44 October 30 2014 - The stem wall is complete and they have started moving fill dirt over to the left where the train room will be located. |
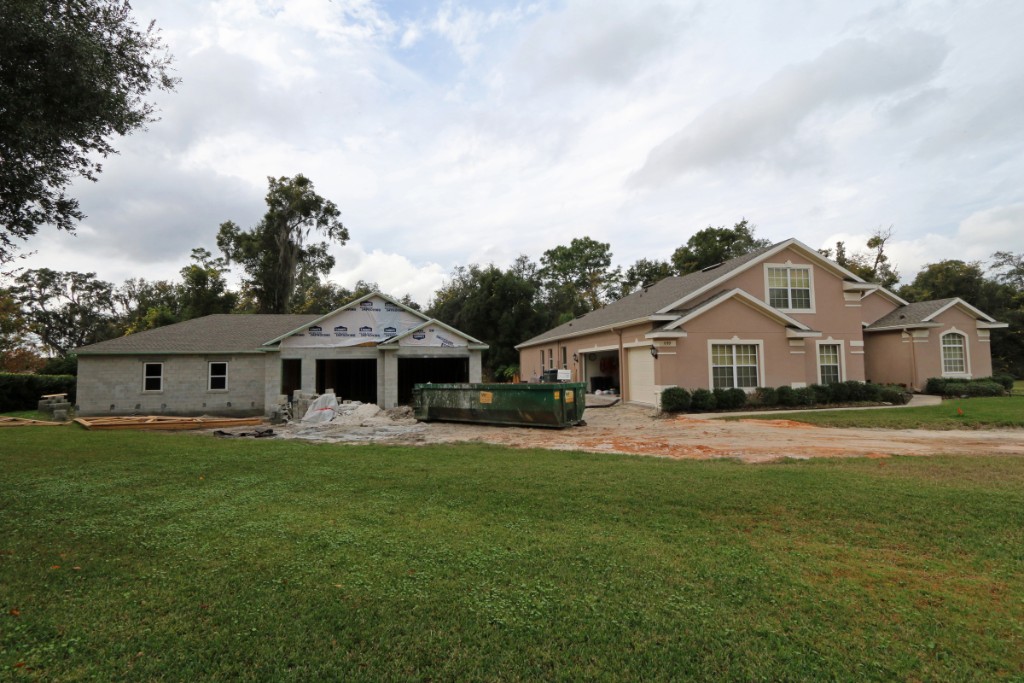
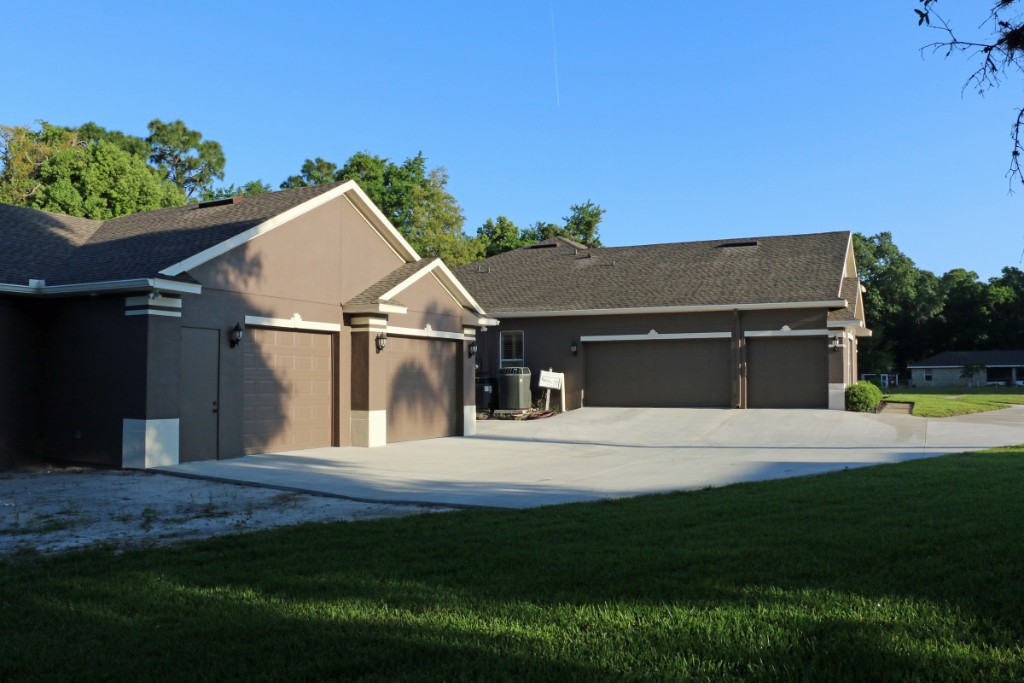
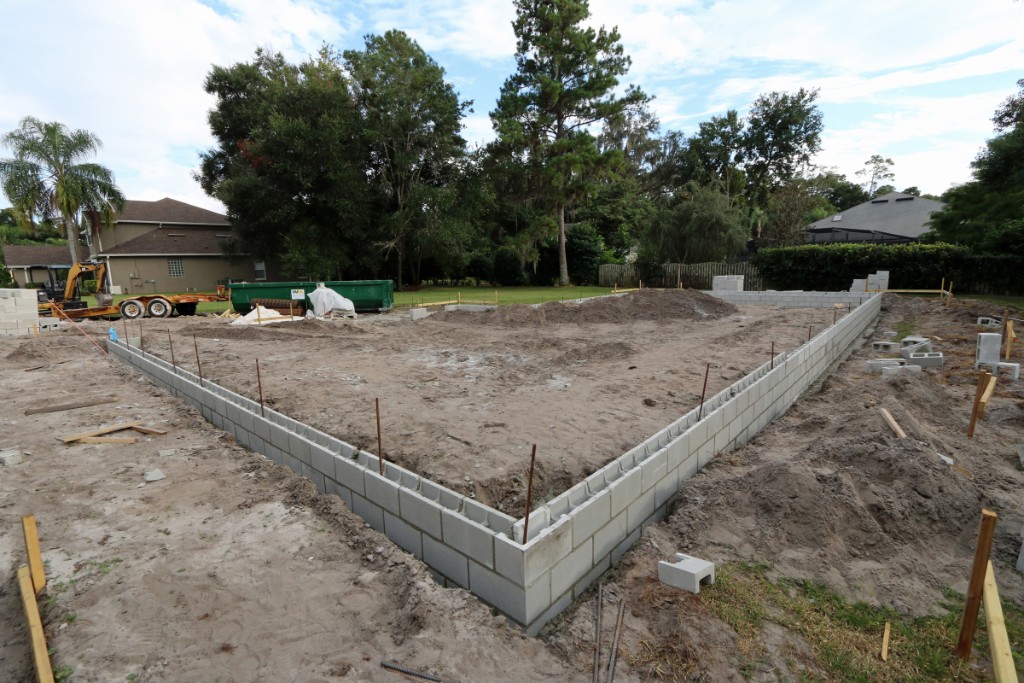 45 |
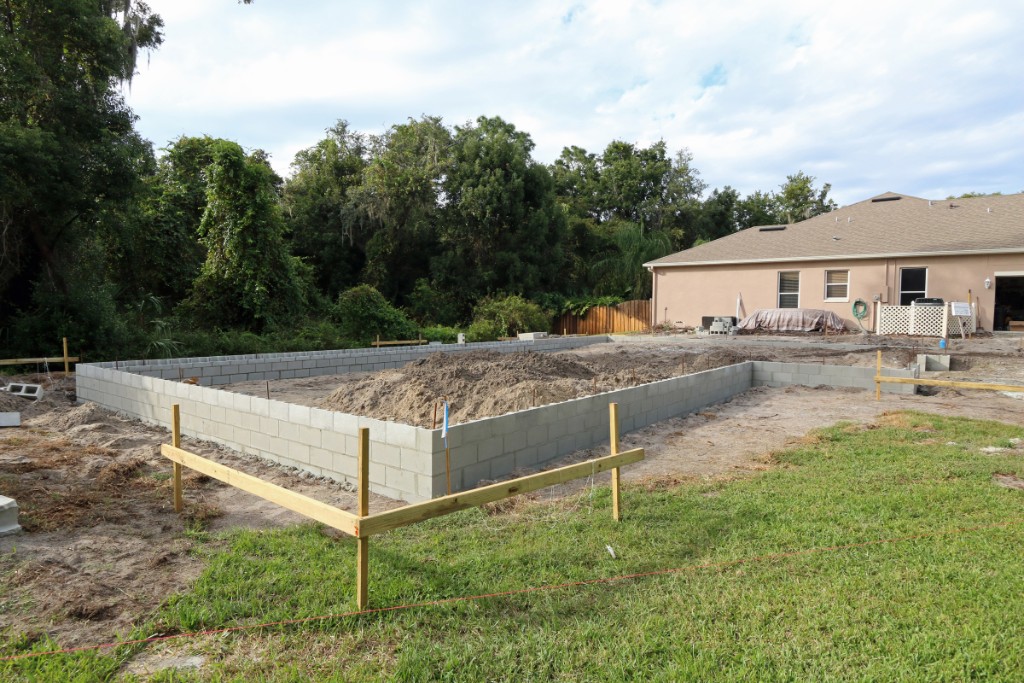 46 Shows how the front of the detached garage will line up with the attached garage. |
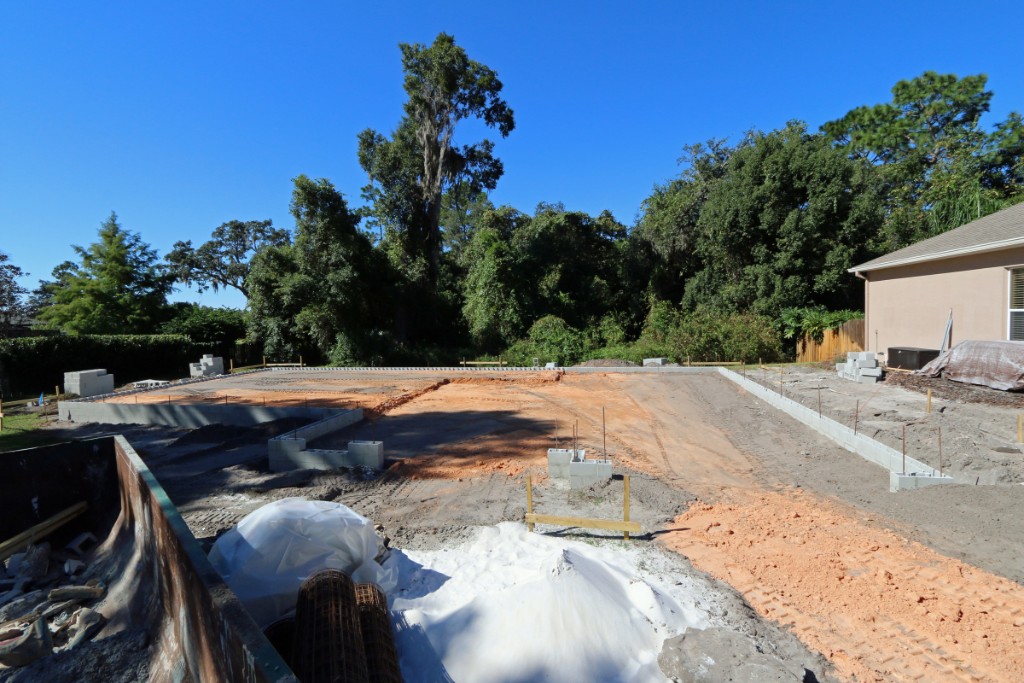
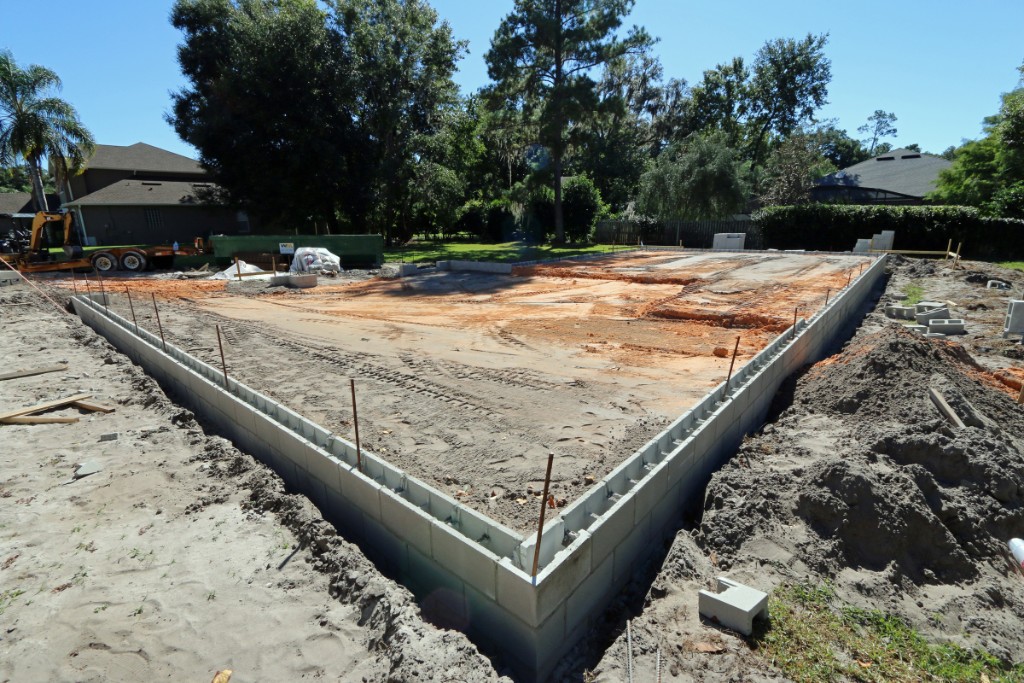
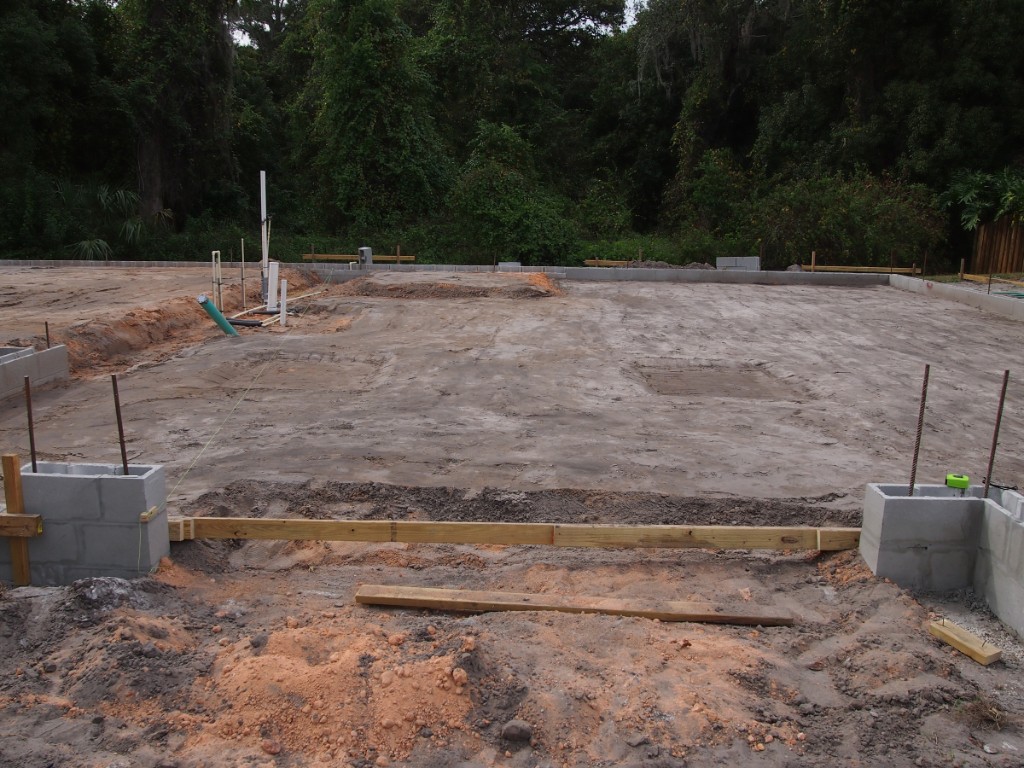
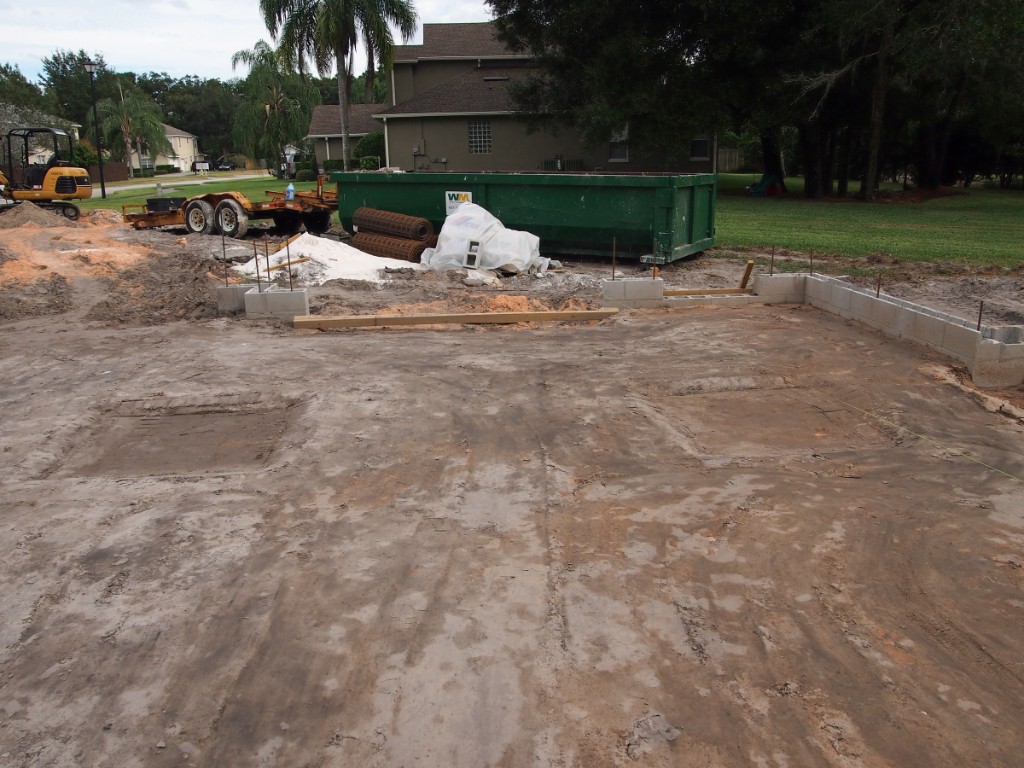
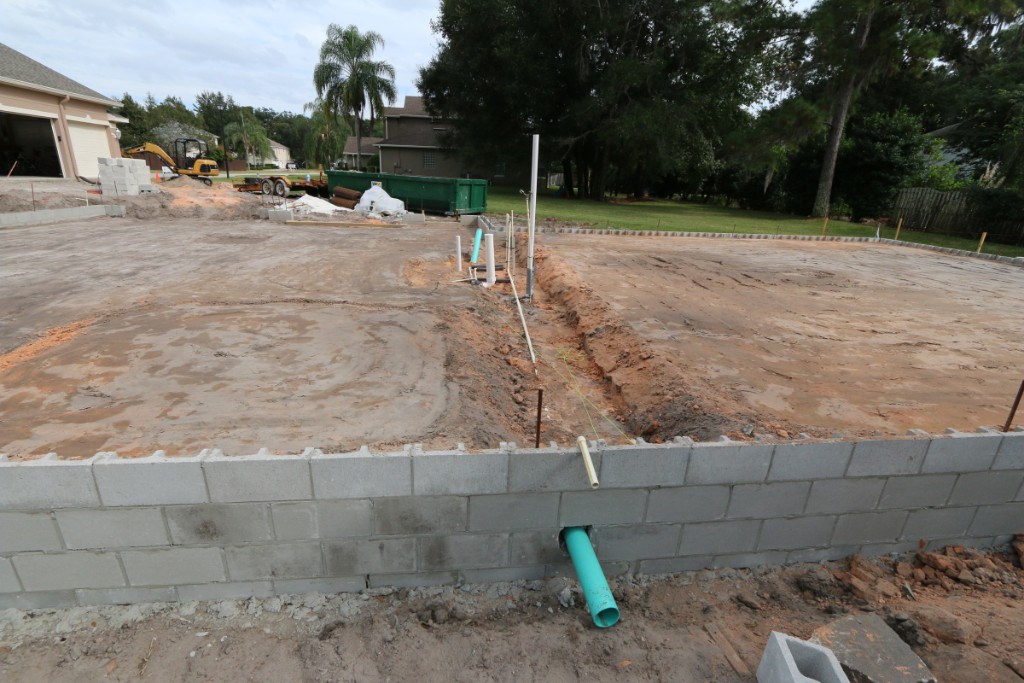
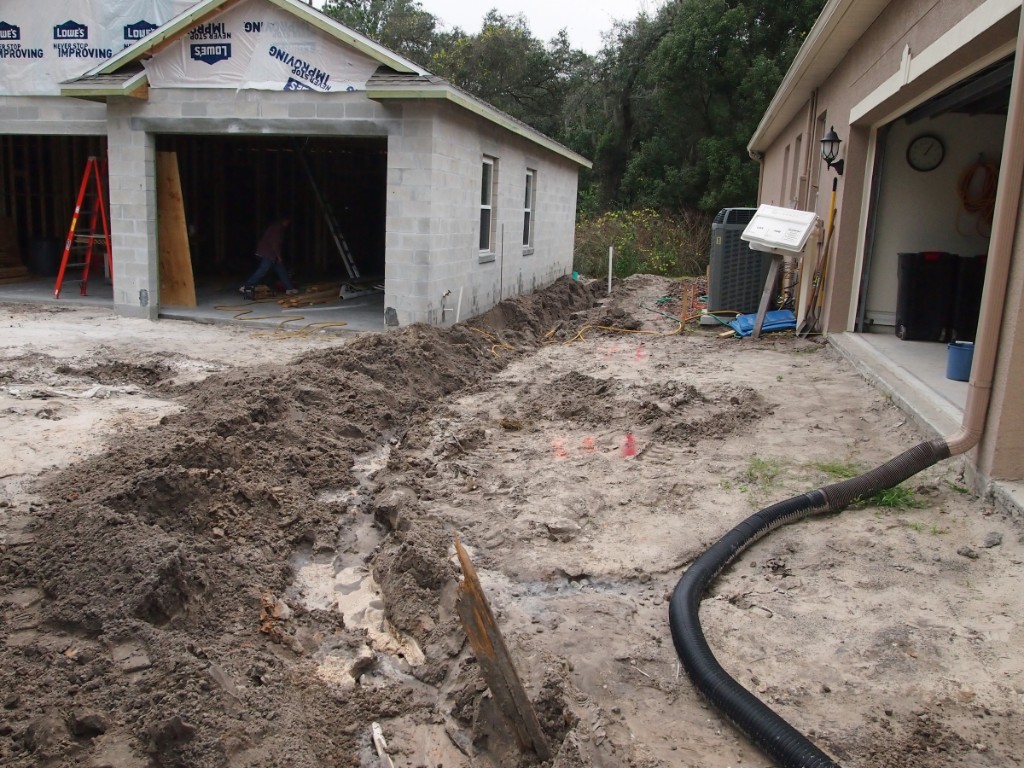
 47 The area where the stem wall has the 1/2 block cut in is where the slab/floor will be elevated 4" above the garage slab/floor elevation. |
 48 November 1 2014 - The fill dirt has been brought it and basically leveled. Next the plumbing will be roughed in, the footer for the load bearing wall will be forming and then the fill will be compacted. |
 49 |
 50 |
 51 |
 52 |
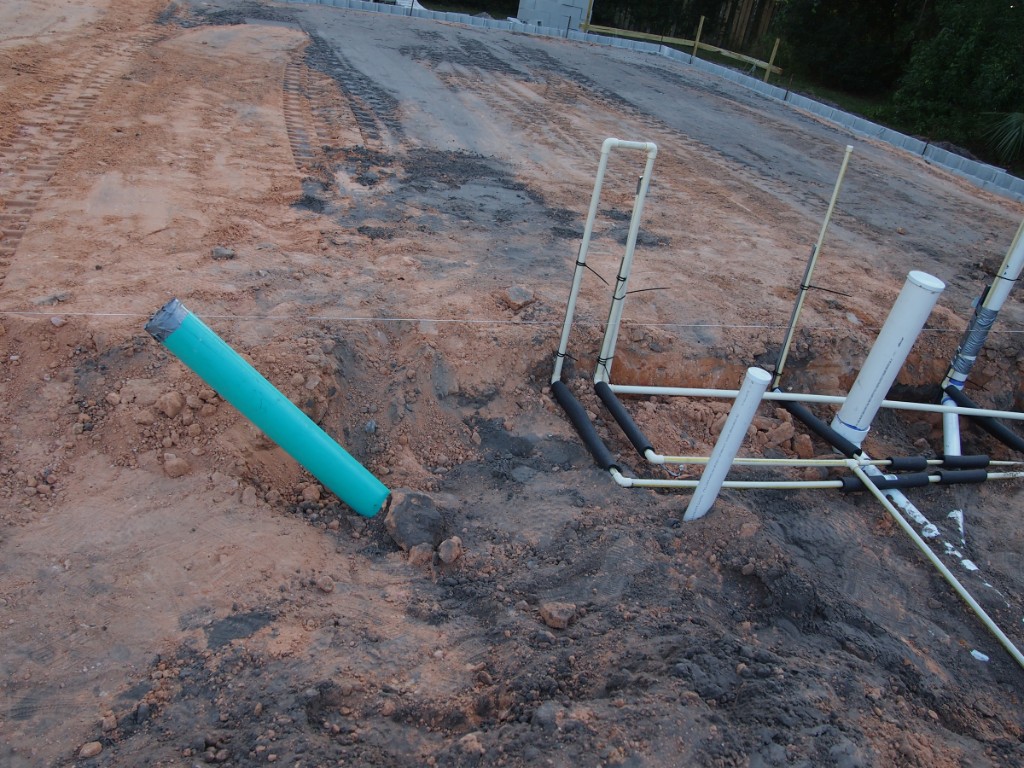
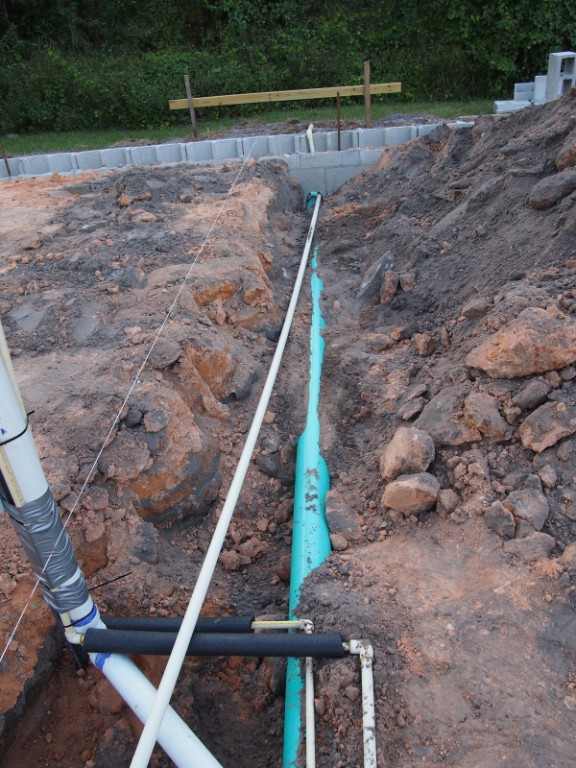
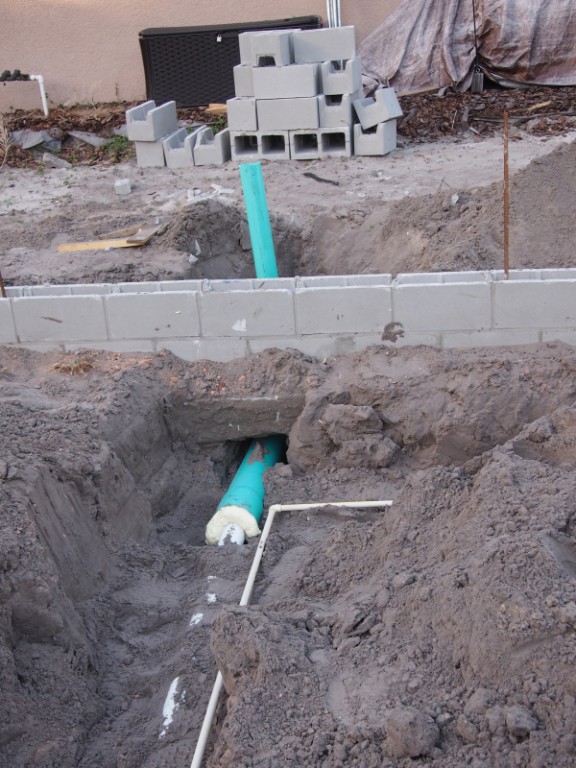
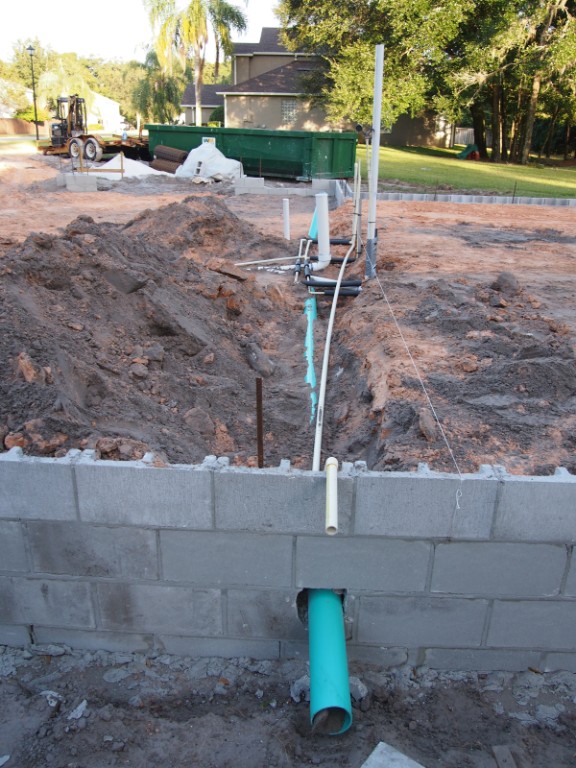
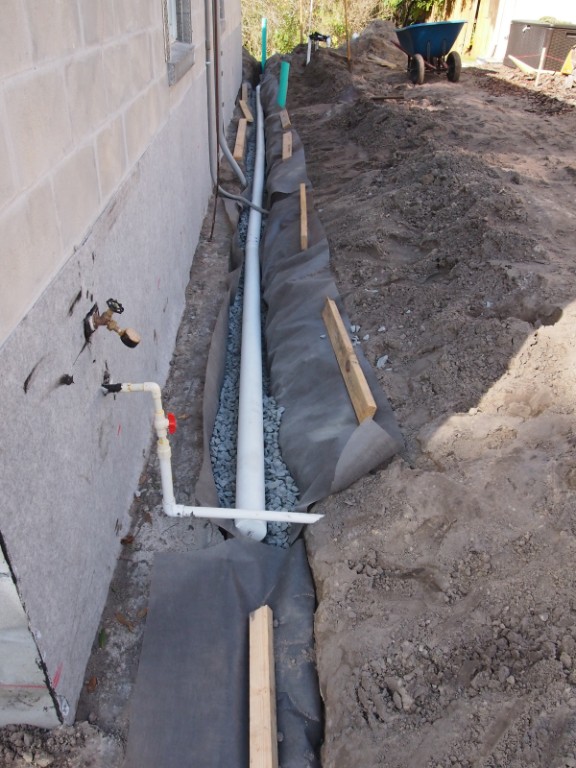
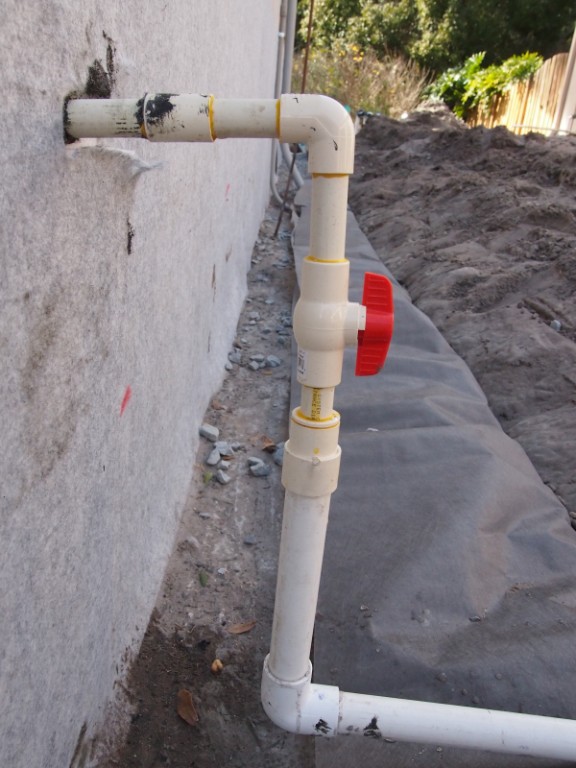
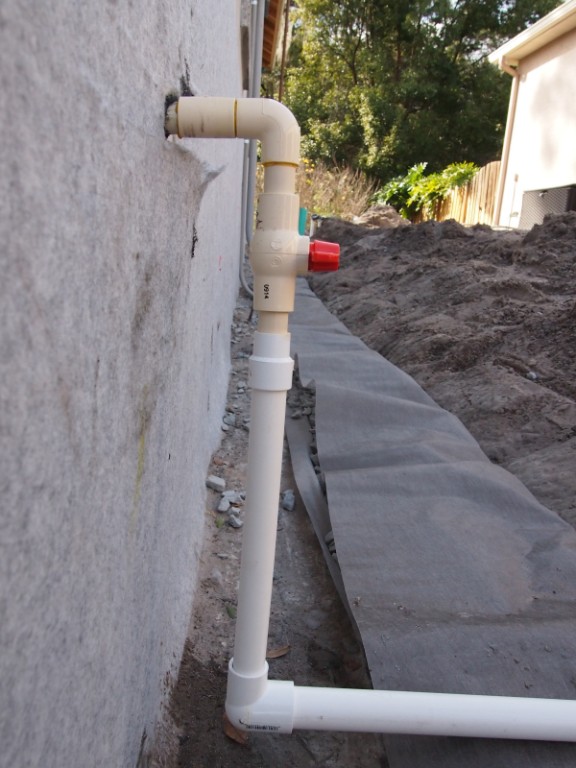
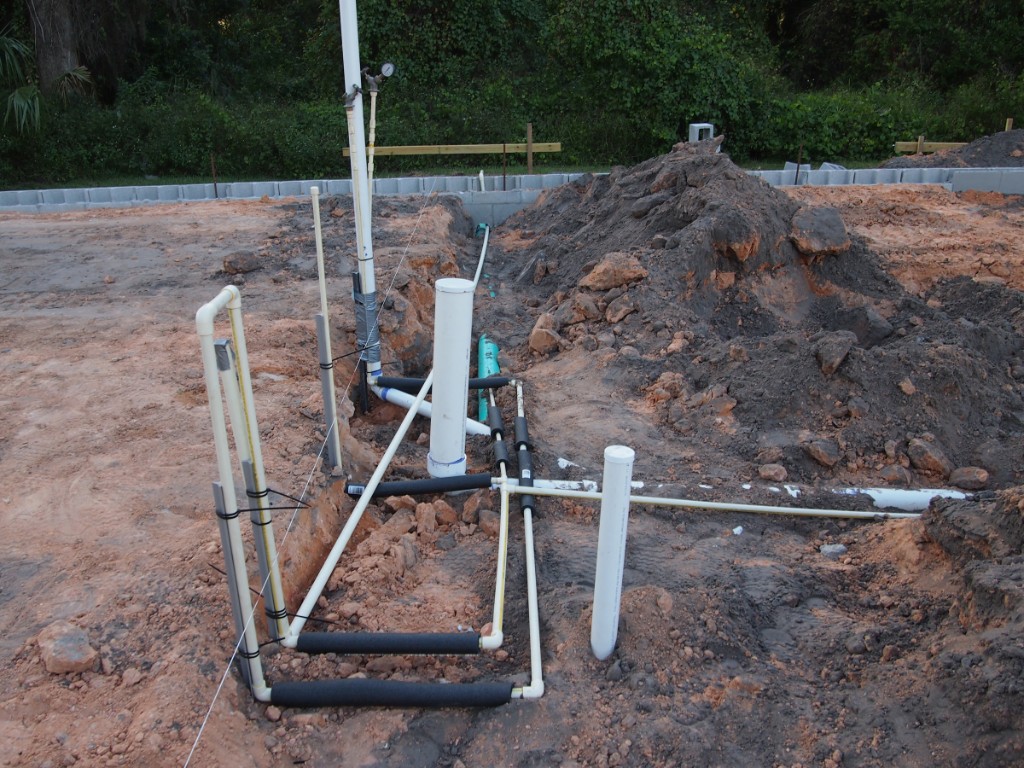 53 November 5 2014 - Rough in of the plumbing for the bathroom. |
 54 |
 55 |
 56 |
 57 |
 58 |
 59 |
 60 |
 61 November 8 2014 - The plumbing rough-in passed inspection and they filled in the plumbing trenches, leveled, and compacted the dirt. |
 62 |
 63 |
 64 The footer for the load bearing wall separating the garage from the train room goes across here. |
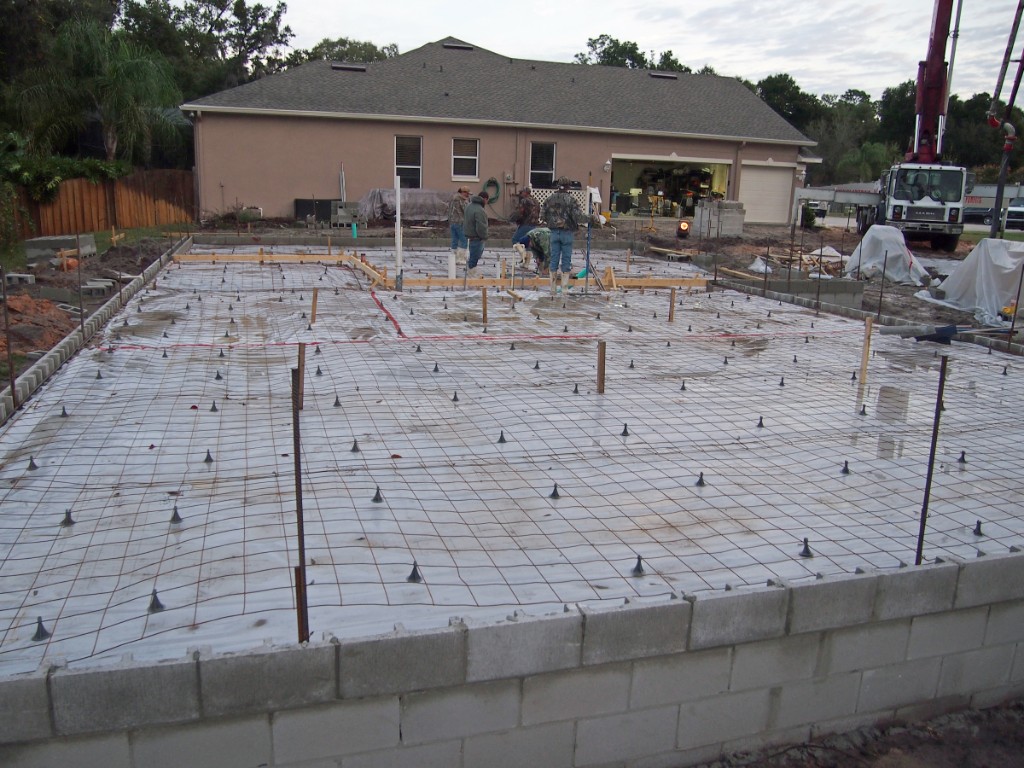
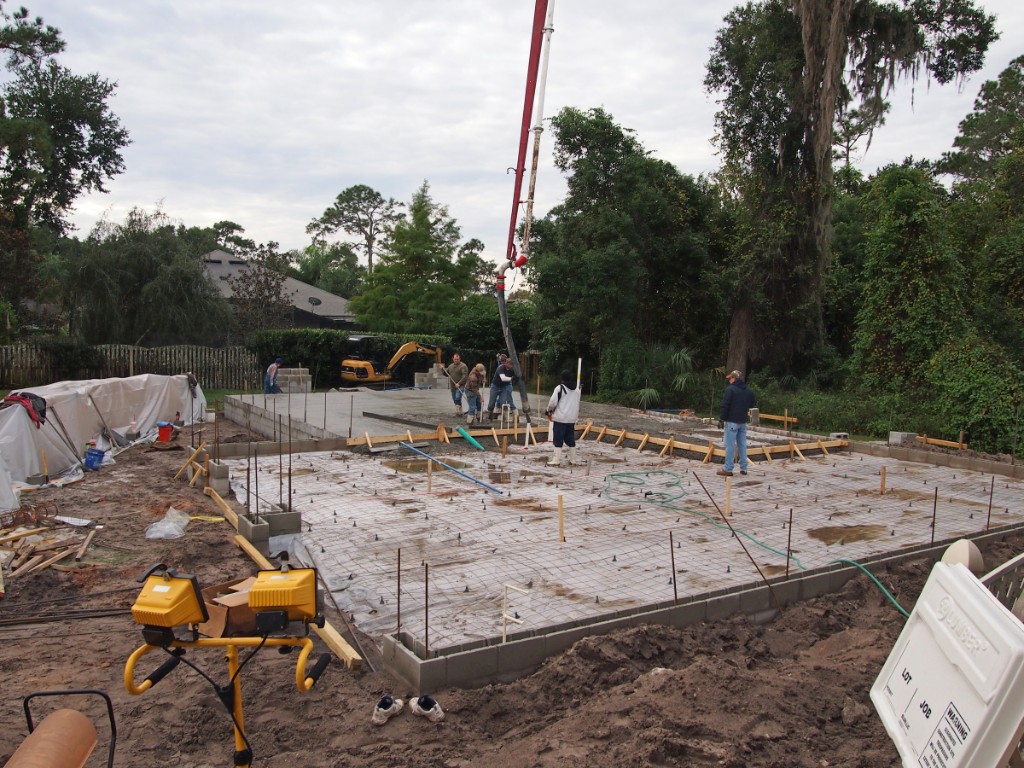
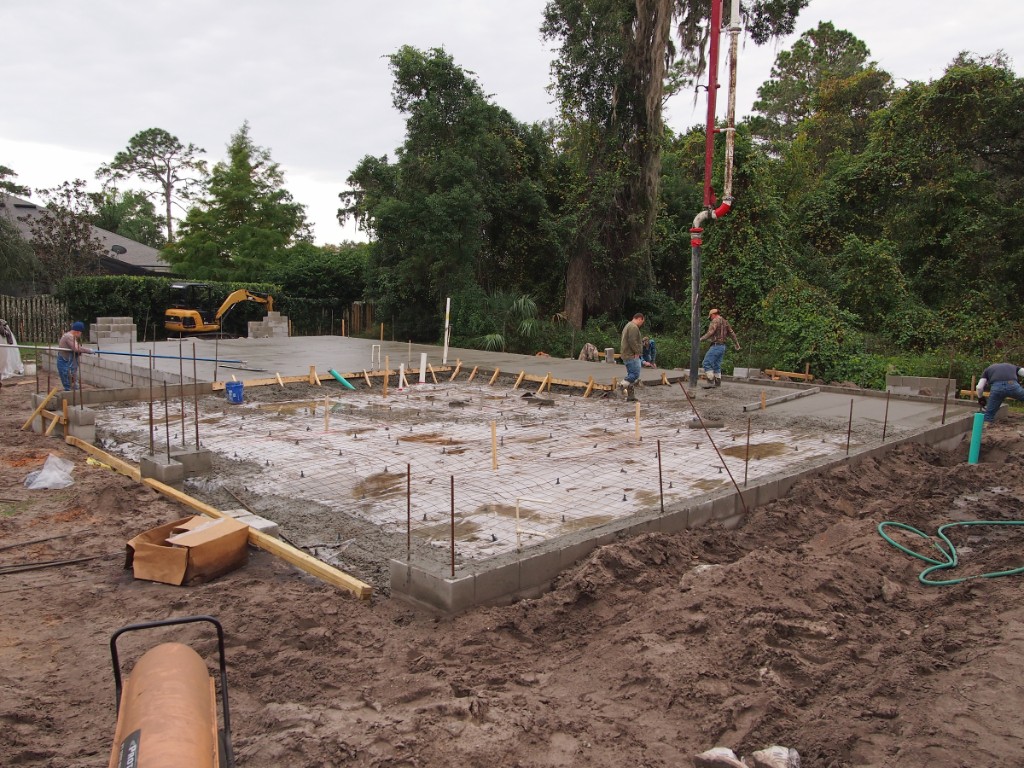
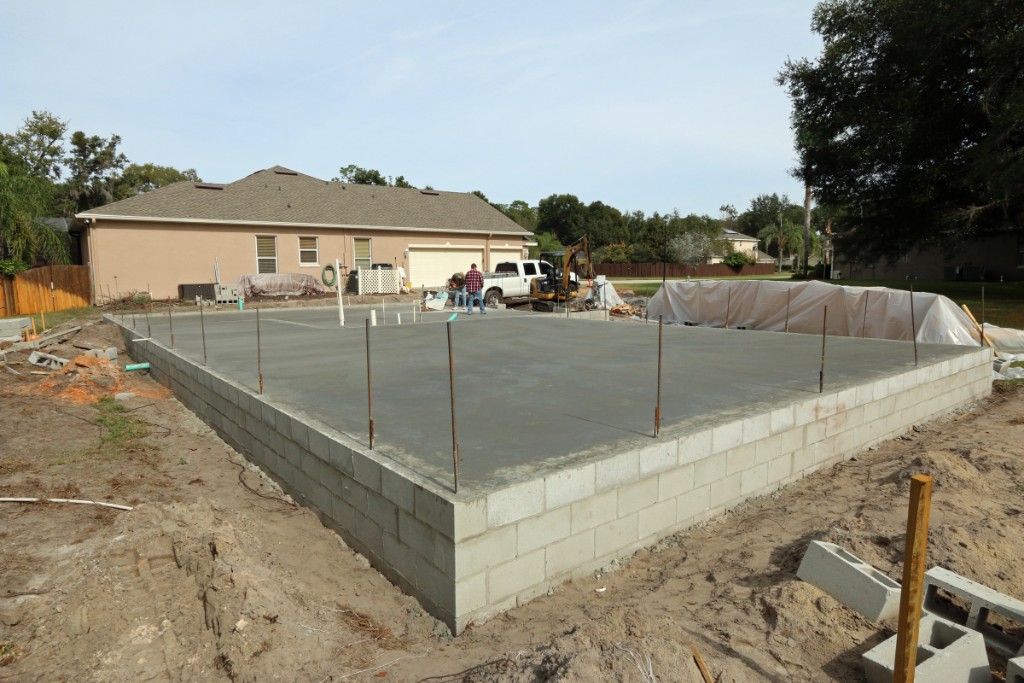
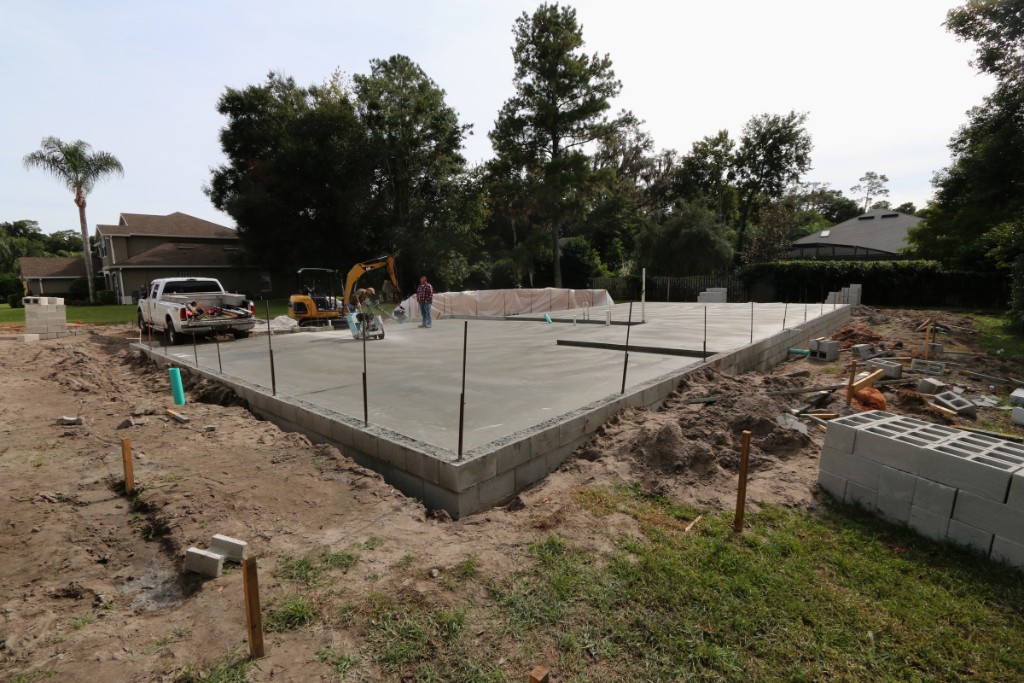
 65 . |
 66 November 12 2014 - The fill has been compacted and tested. They have termite treated the fill and it has been inspected. The plastic vapor barrier and the 6" wire have been installed. They have also formed the 4" drop of the slab between the train room/model workshop and the garage area. |
 67 November 19 2014 |
 68 |
 69 |
 70 |
 71 |
 72 |
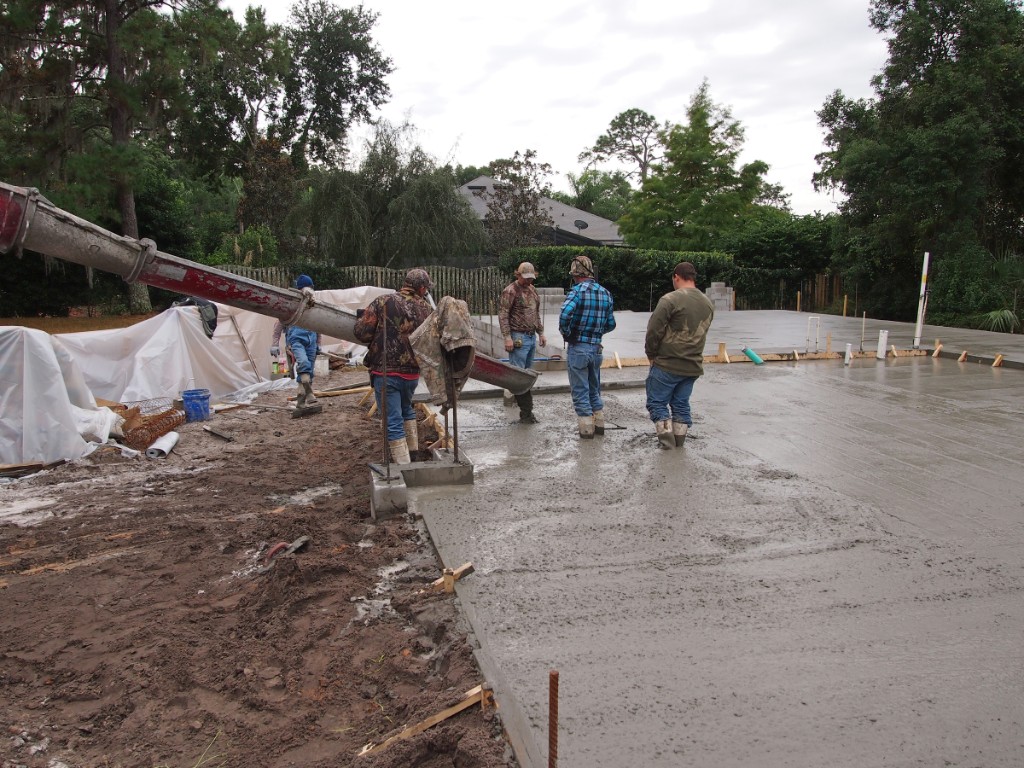 73 |
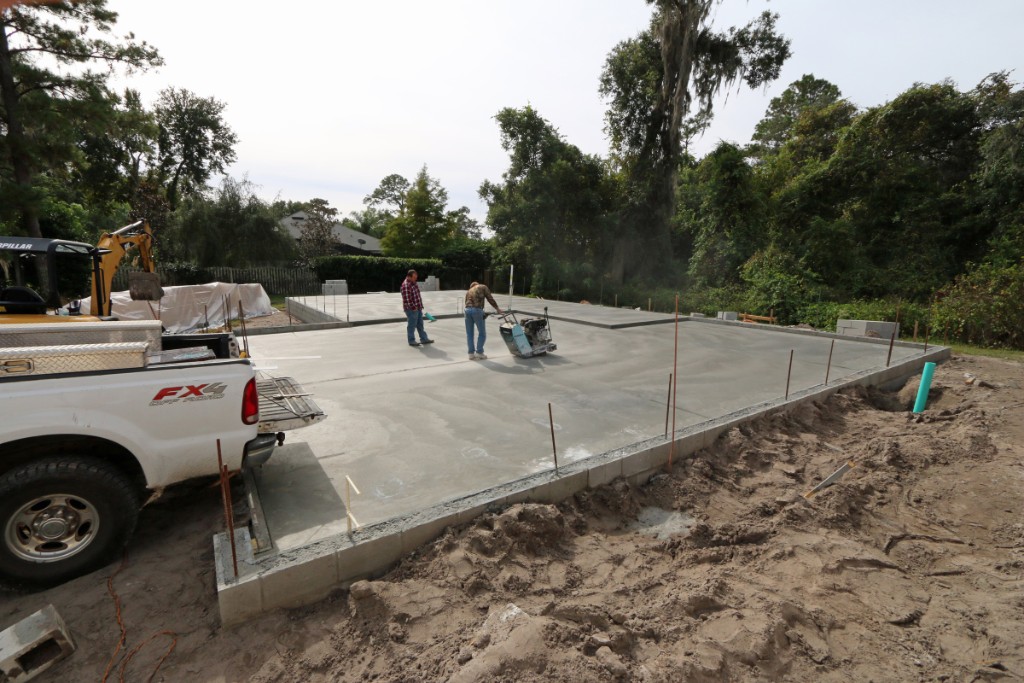 74 November 20 2014 - The next day they came out to cut stress lines in the slab. |
 75 . |
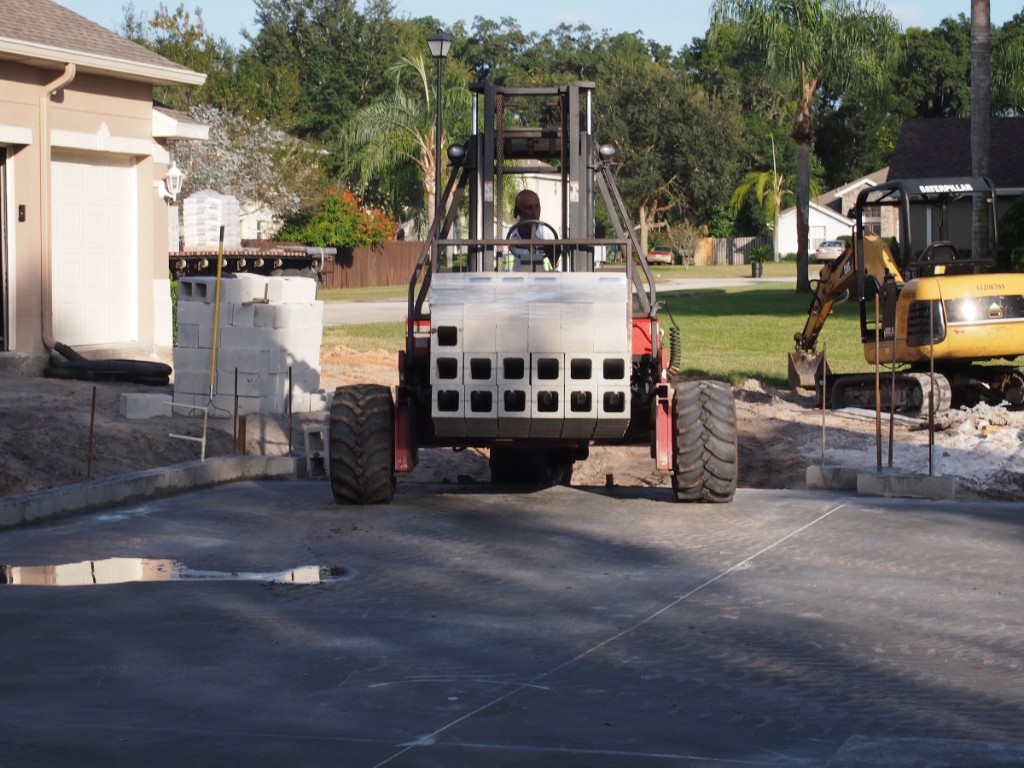
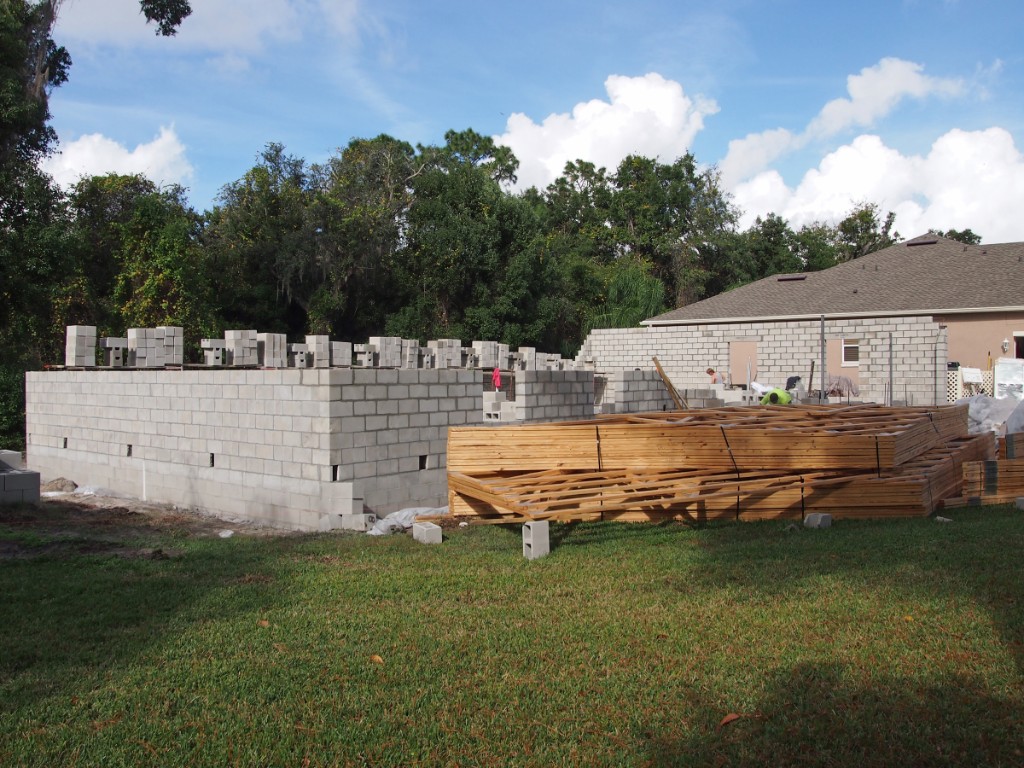
 76 . |
 77 November 24 - 5 days after the slab was poured the blocks for the walls were delivered. |
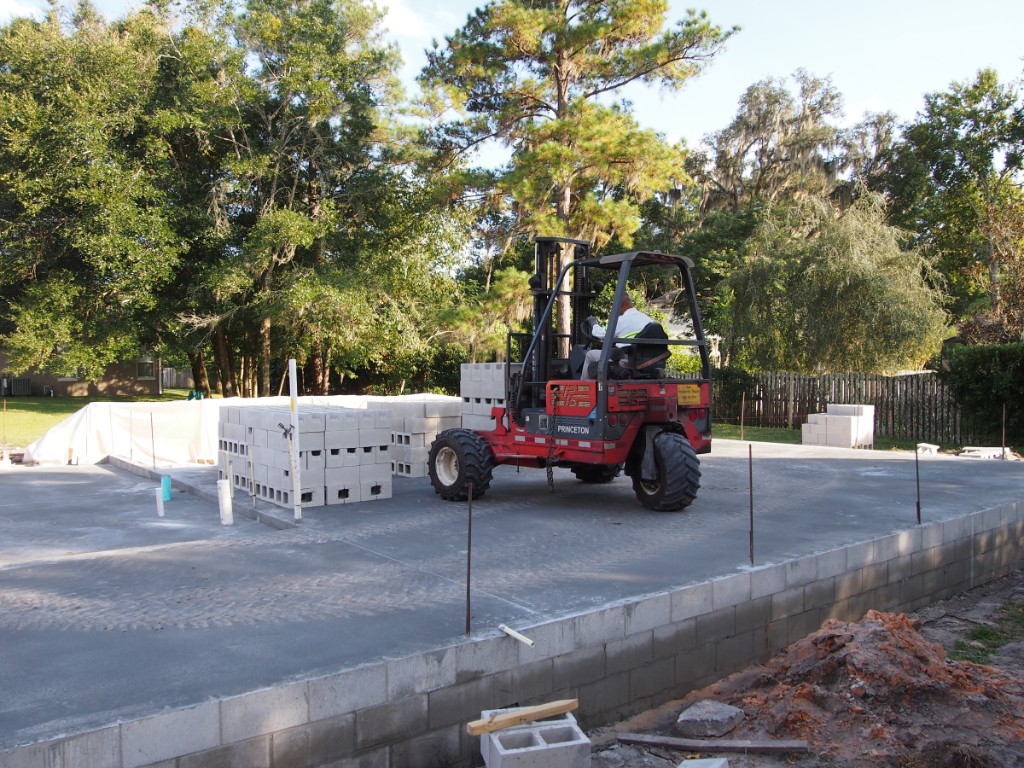 78 |
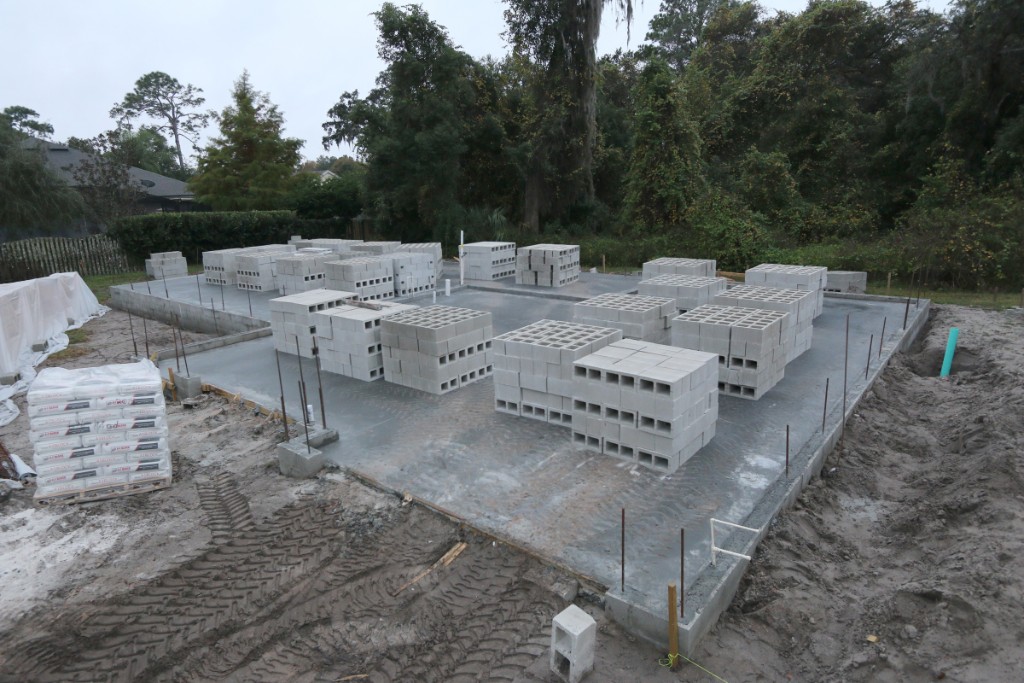 79 2000+ blocks were delievered to build the walls. |
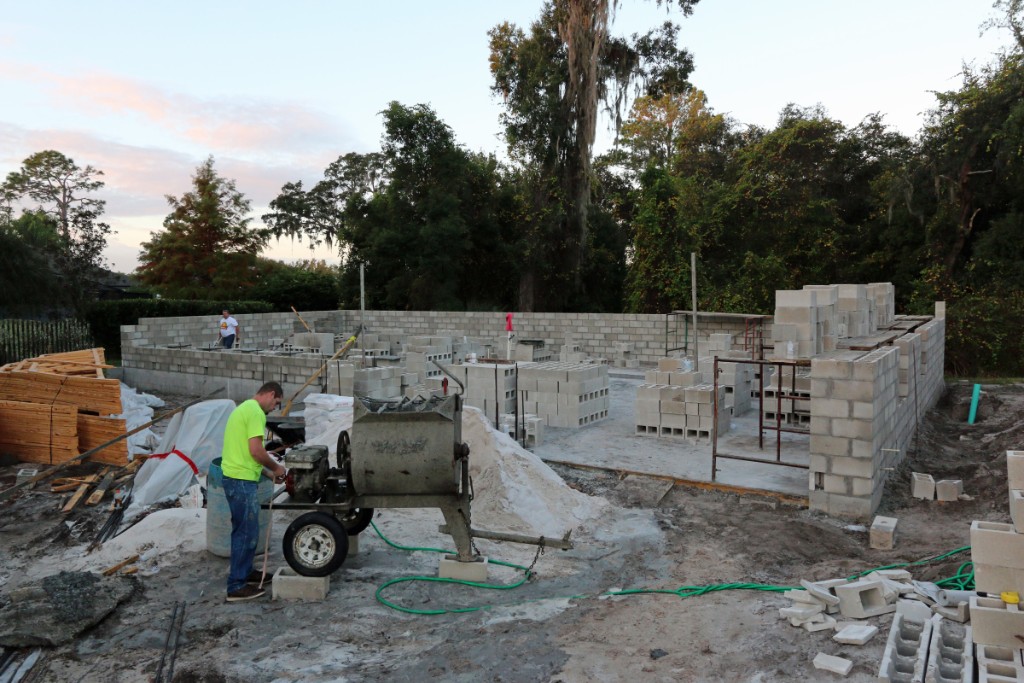 80 December 2 2014 - This is just before work started on day 2 of building the block walls. |
 81 Just starting to work on day 2 of building the exterior walls. |
 82 |
 83 |
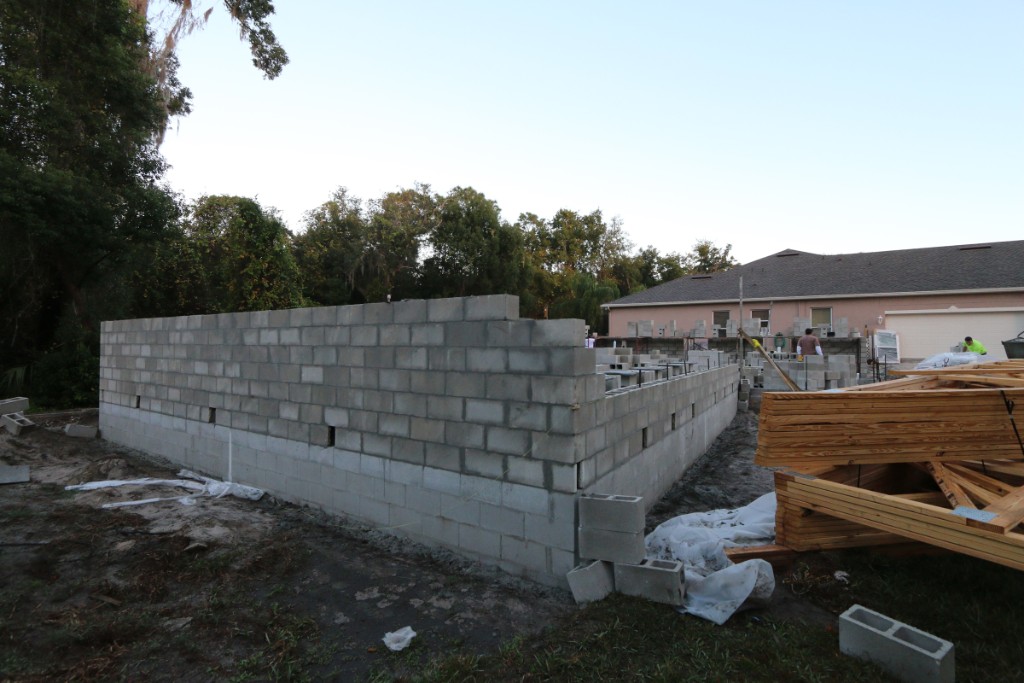
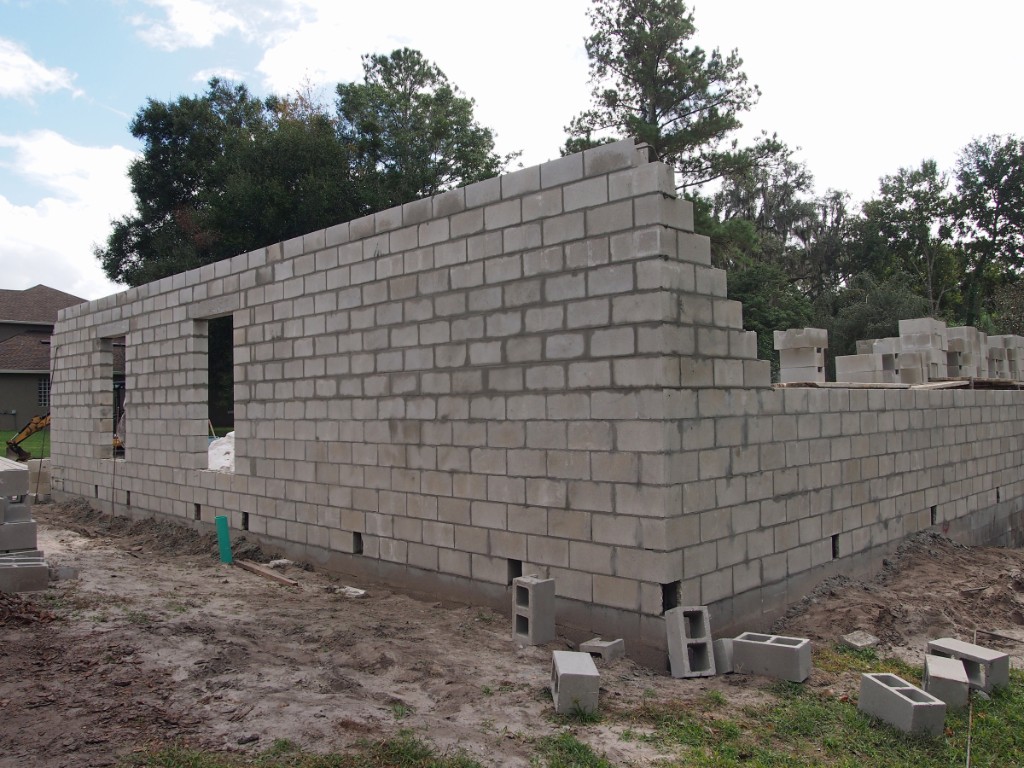
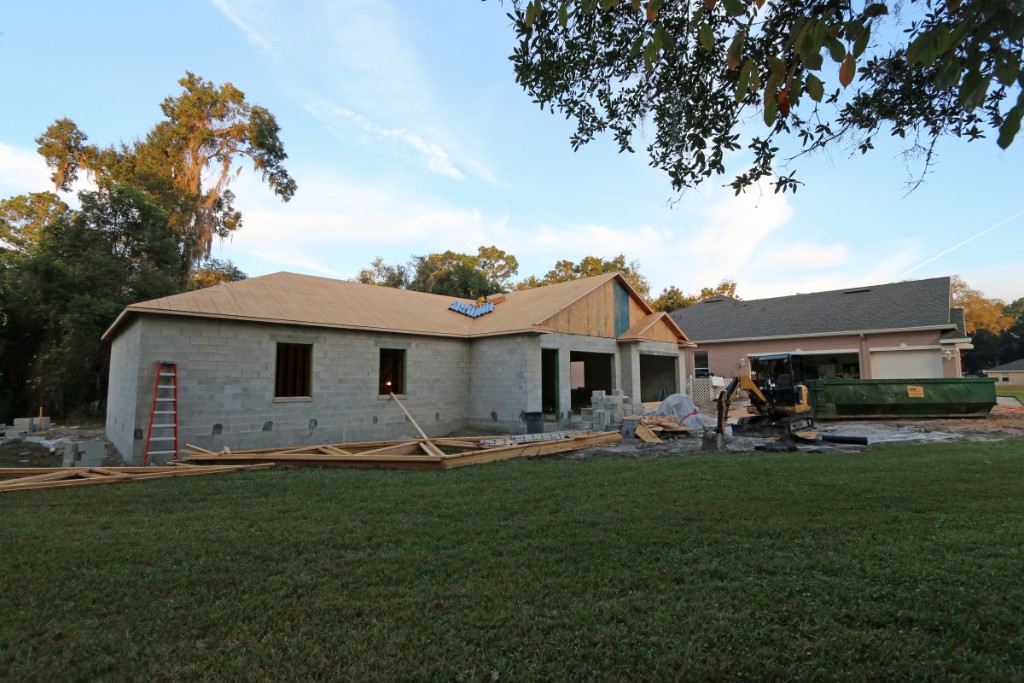
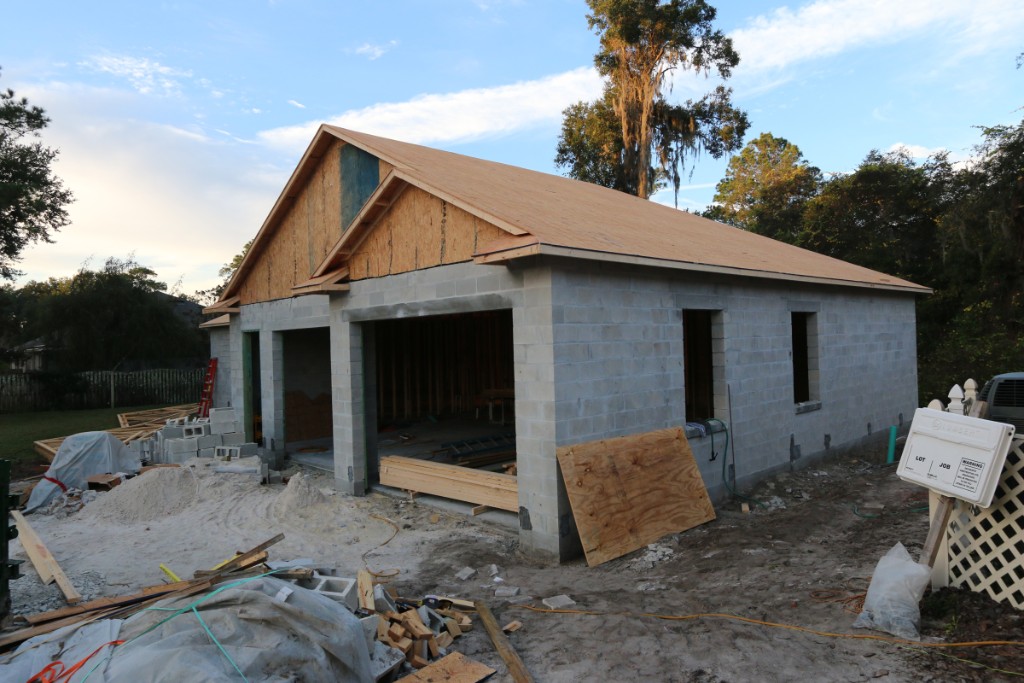
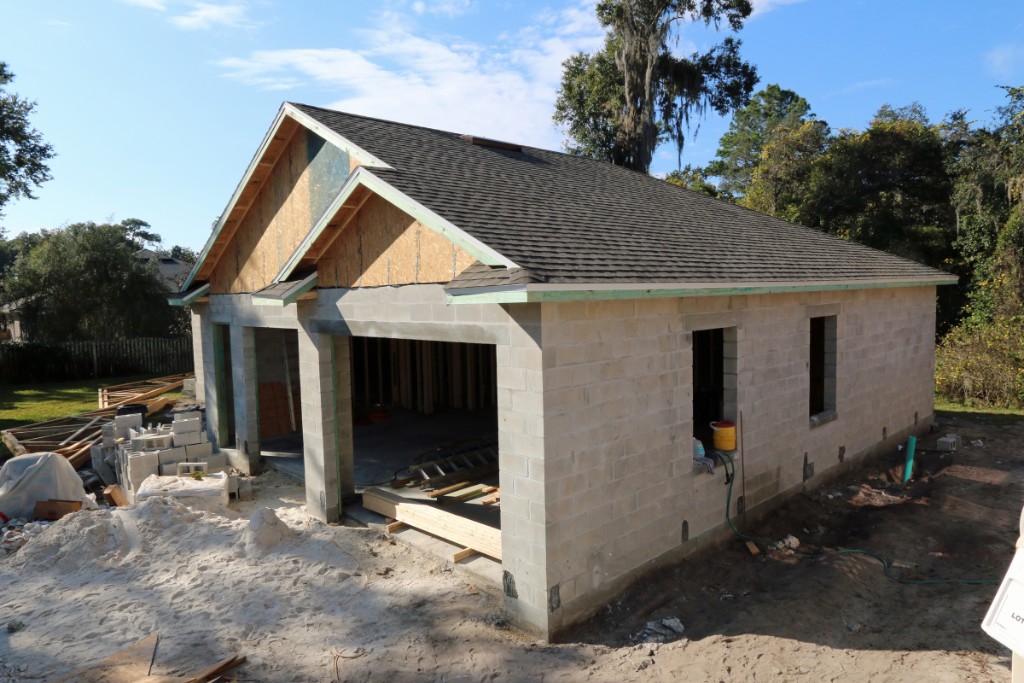
 84 |
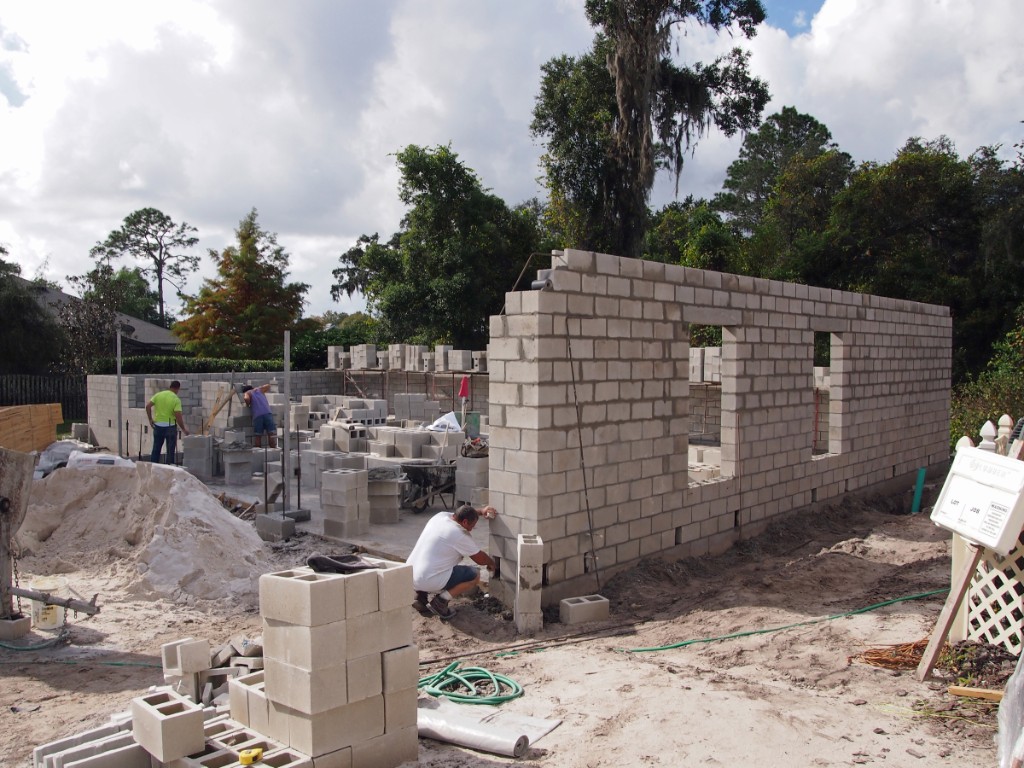
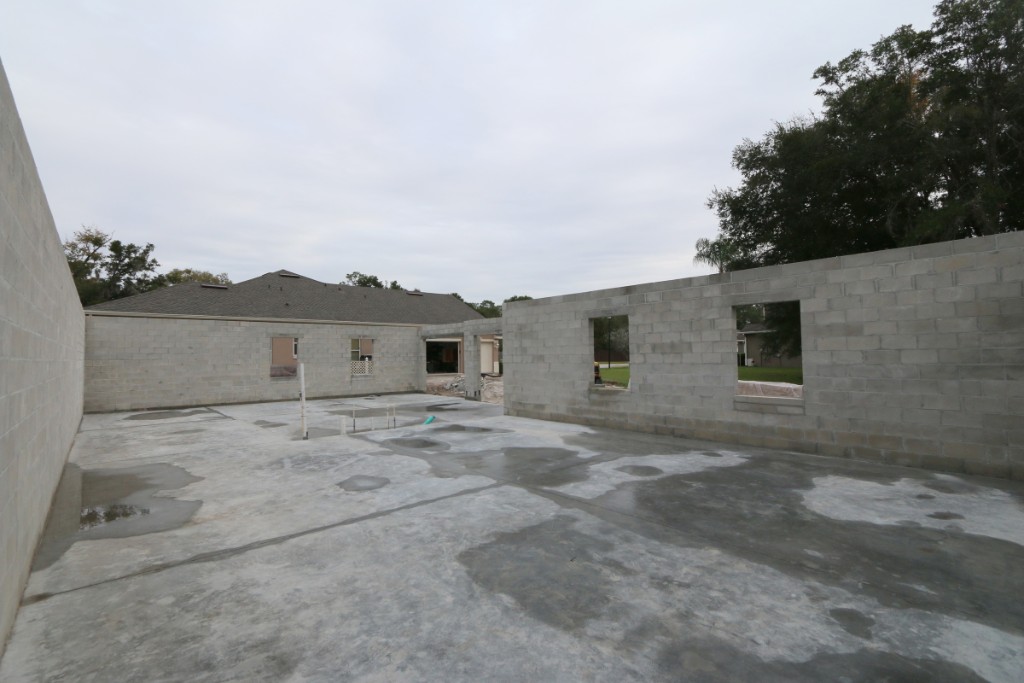
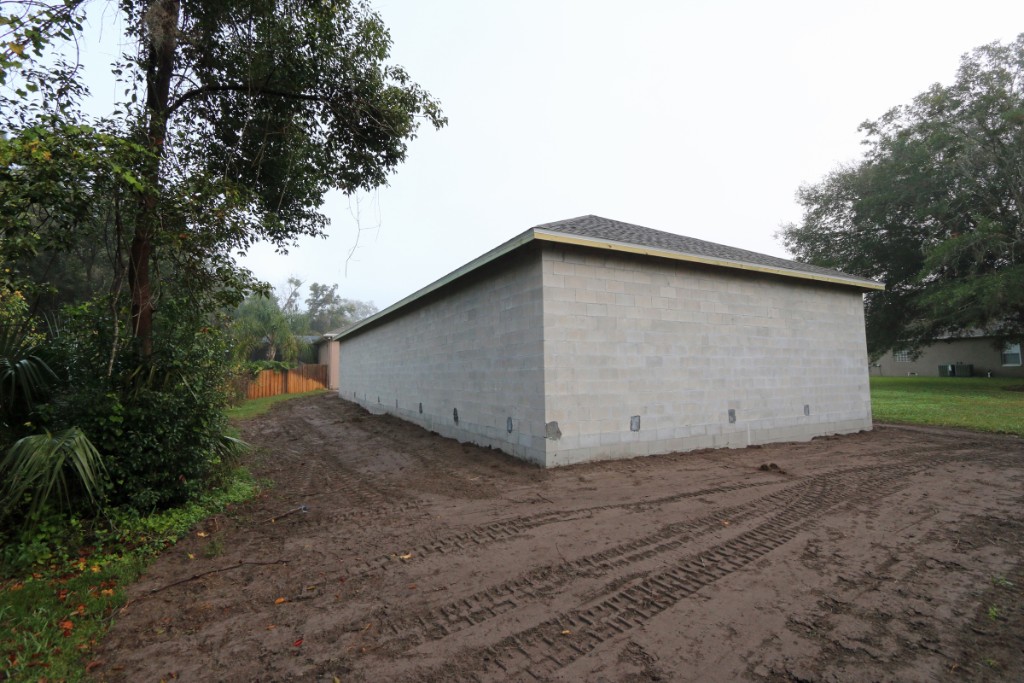
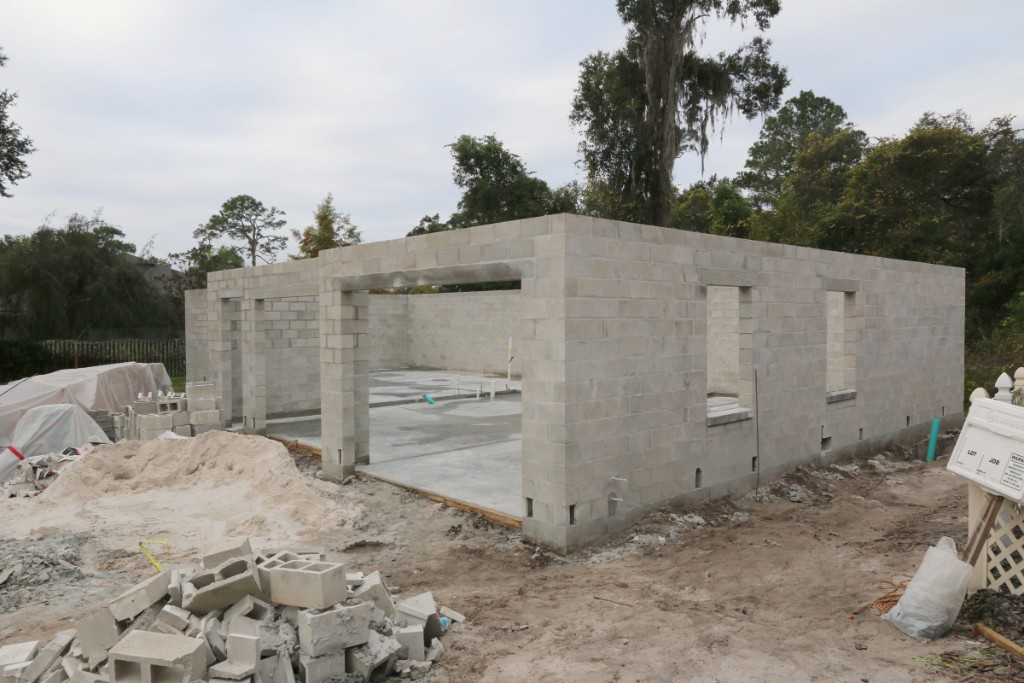 85 December 5 2014 - The block walls were finished and passed inspection. As the block crew was working on the two rows of block above the garage door headers I measured and noticed that they had made the garage door openings approx 8' 7" tall instead of the specified 8 ft tall openings. After a brief discussion with the GC we will be getting slightly taller garage doors than we expected (which is fine with us, better taller than shorter than expected). |
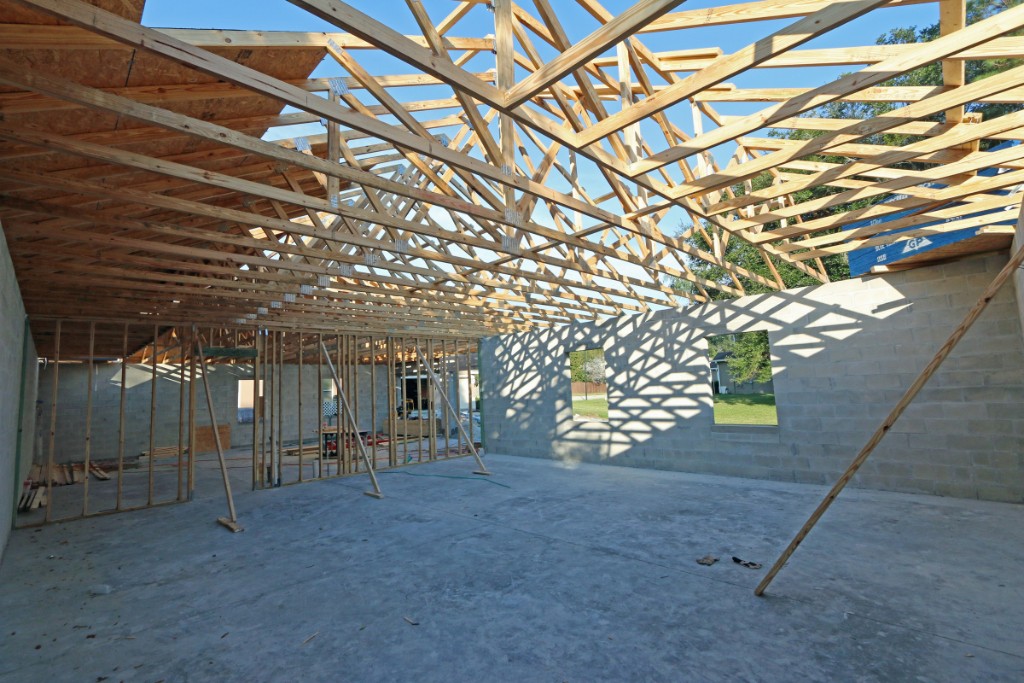
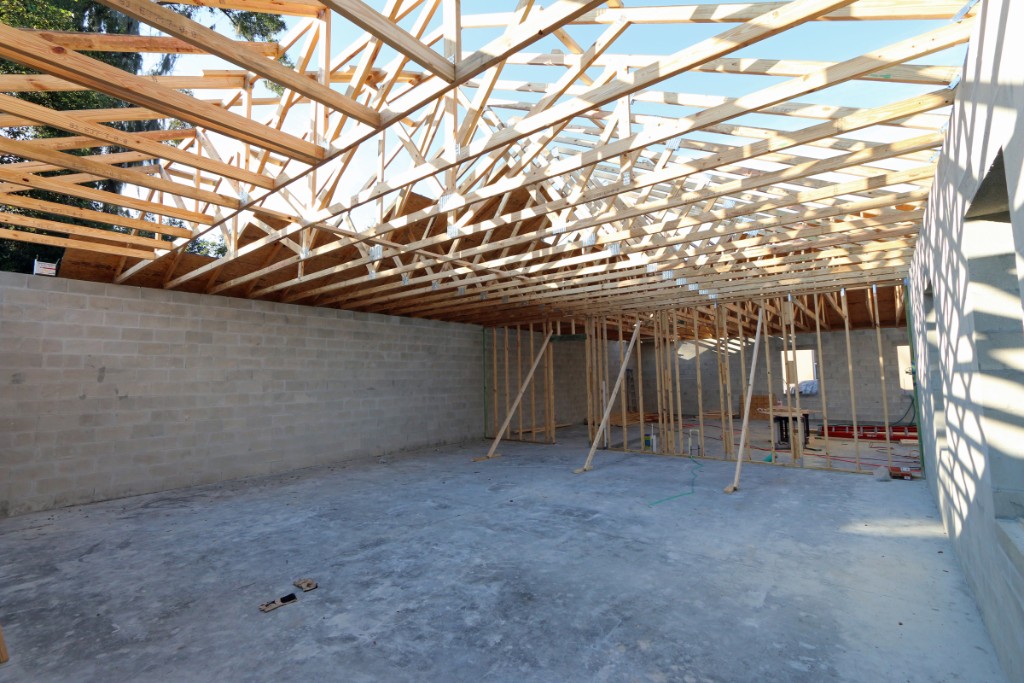
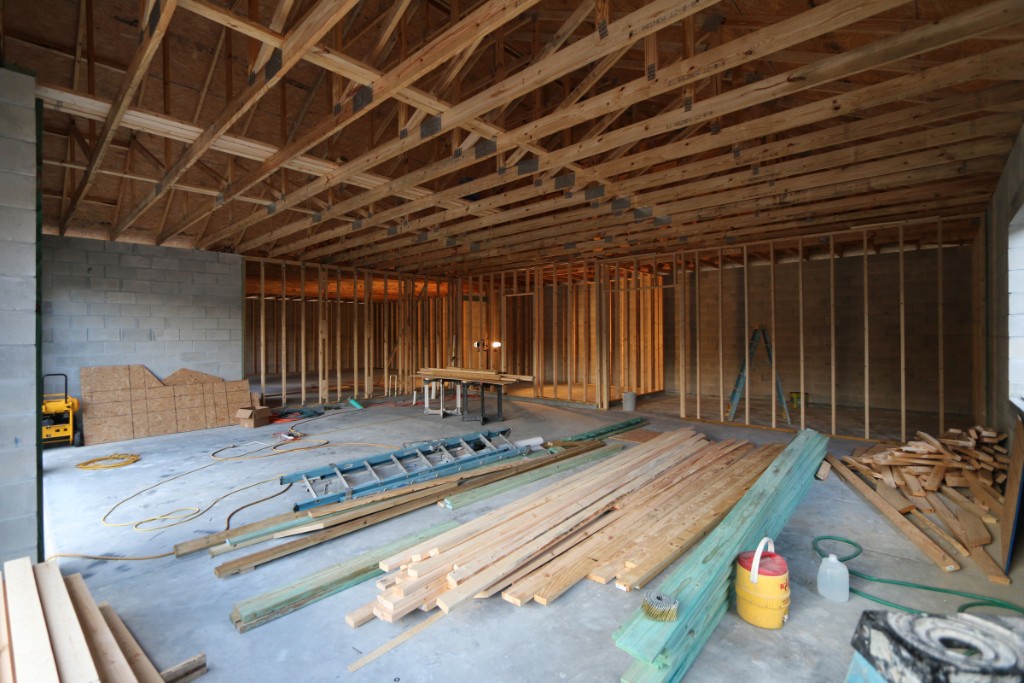
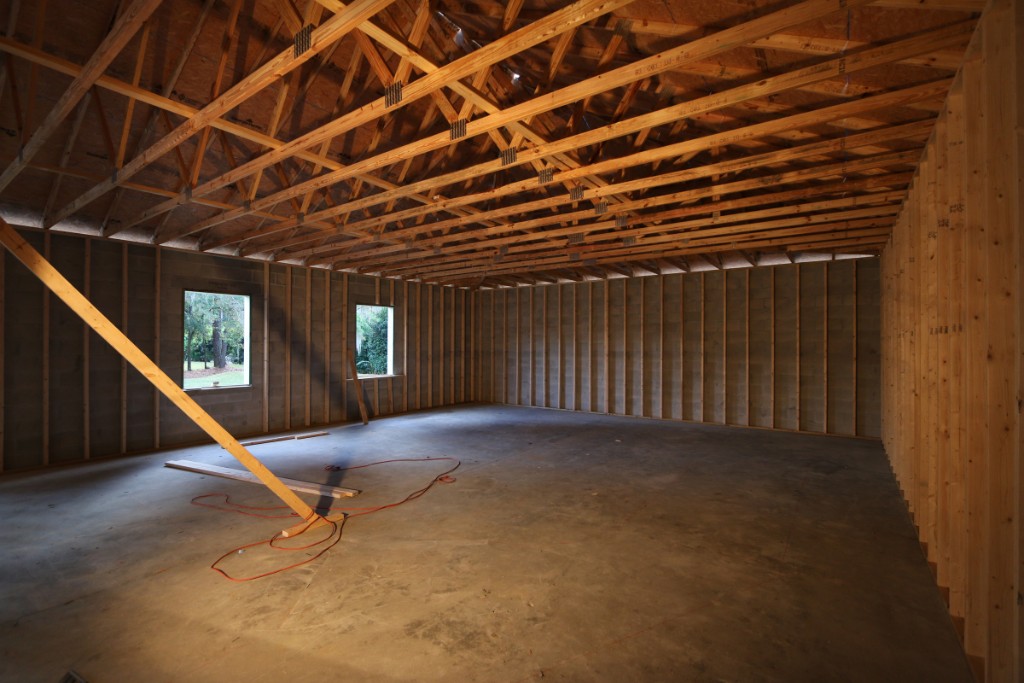
 86 At this point the front profile of the garage looks smaller than I was expecting. This is a good thing. Hopefully it still looks small when the trusses, gable wall above the garage doors, and roof are built. |
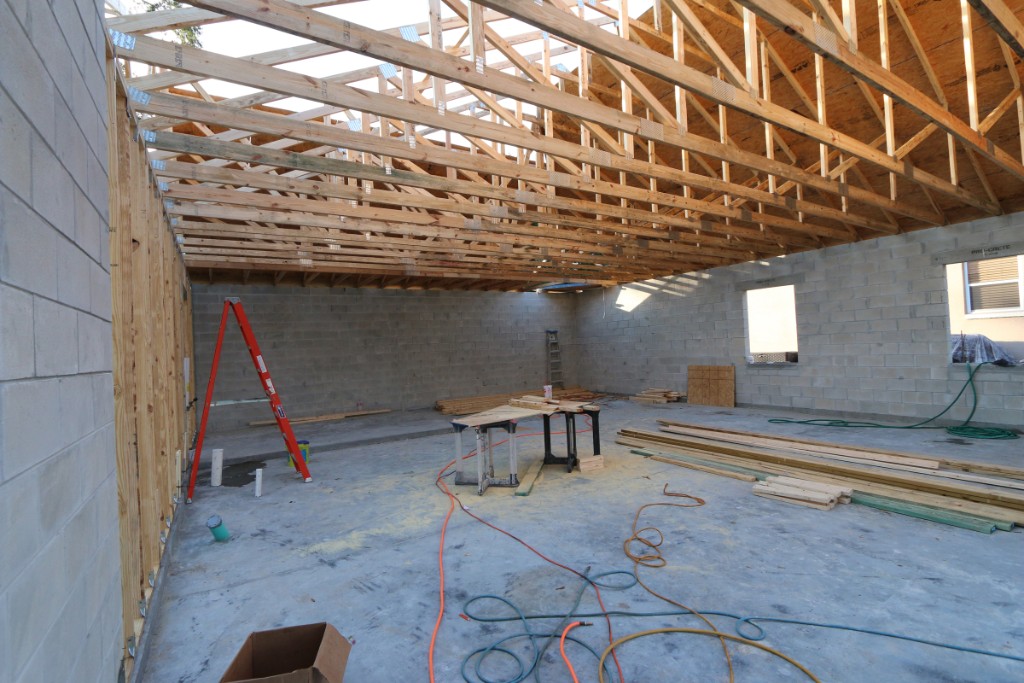
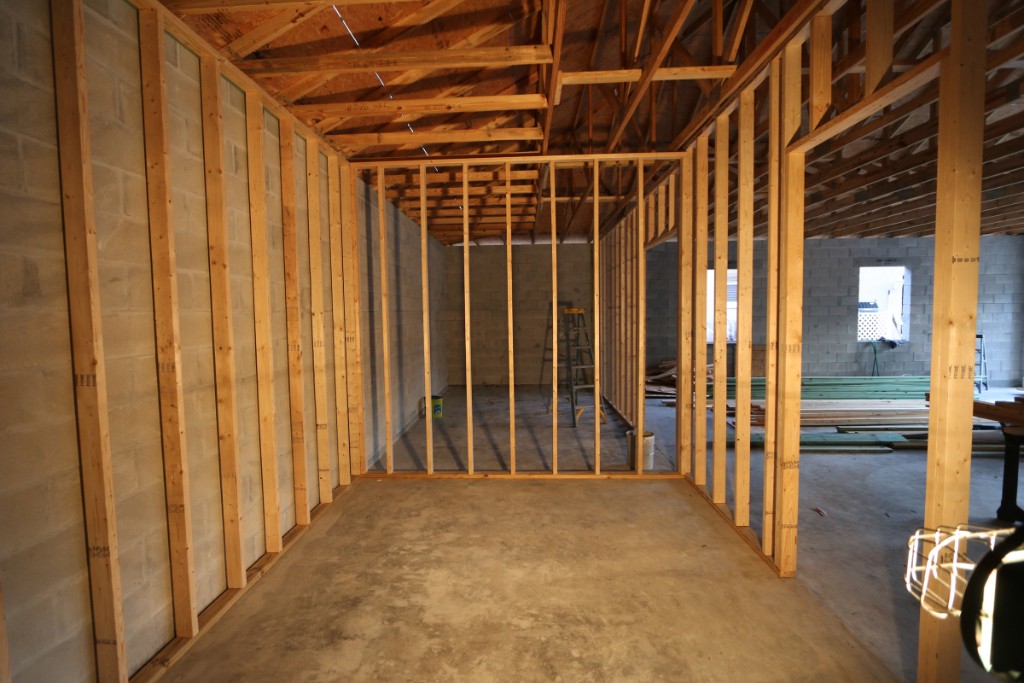
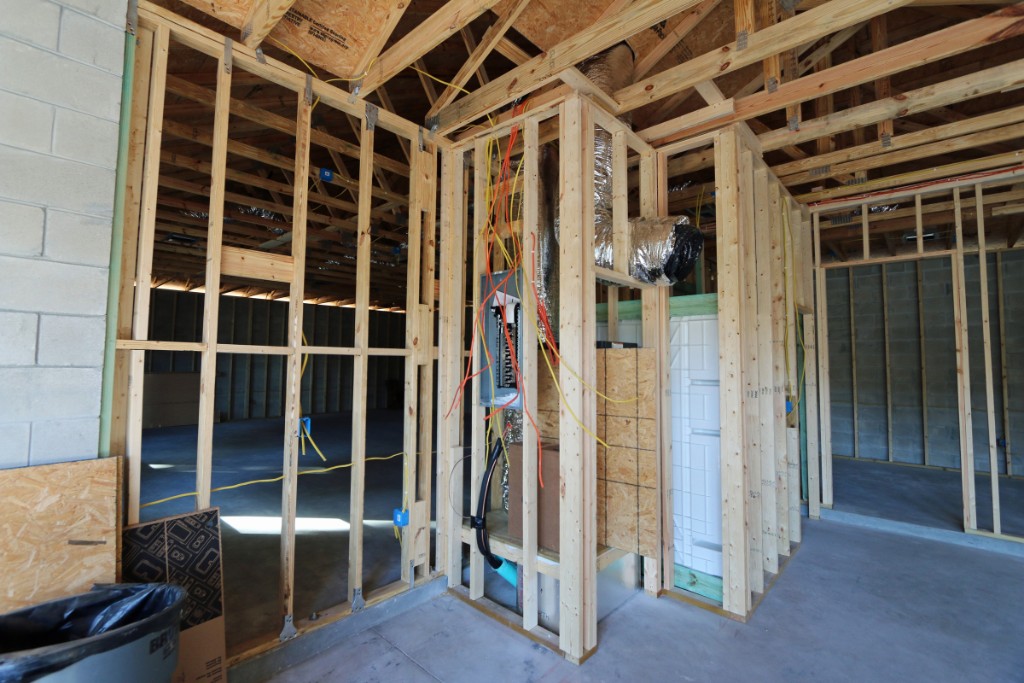
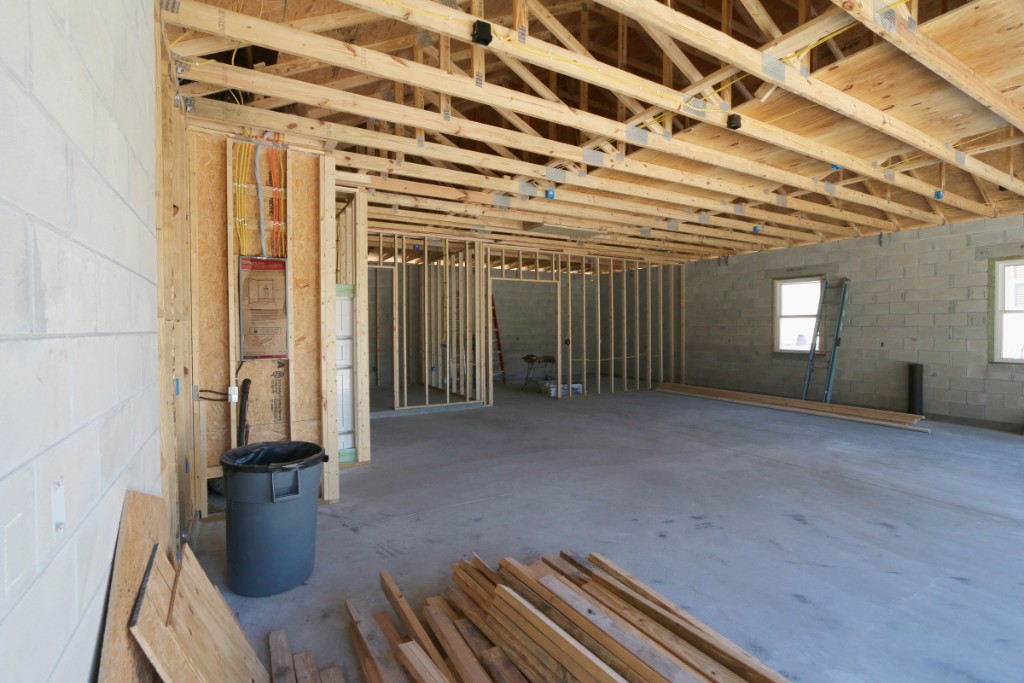
 87 It looks huge from the inside. I'm sure once the trusses and interior walls are built it won't seem nearly as large inside. |
 88 Looking from the back corner of the train room towards the garage area. |
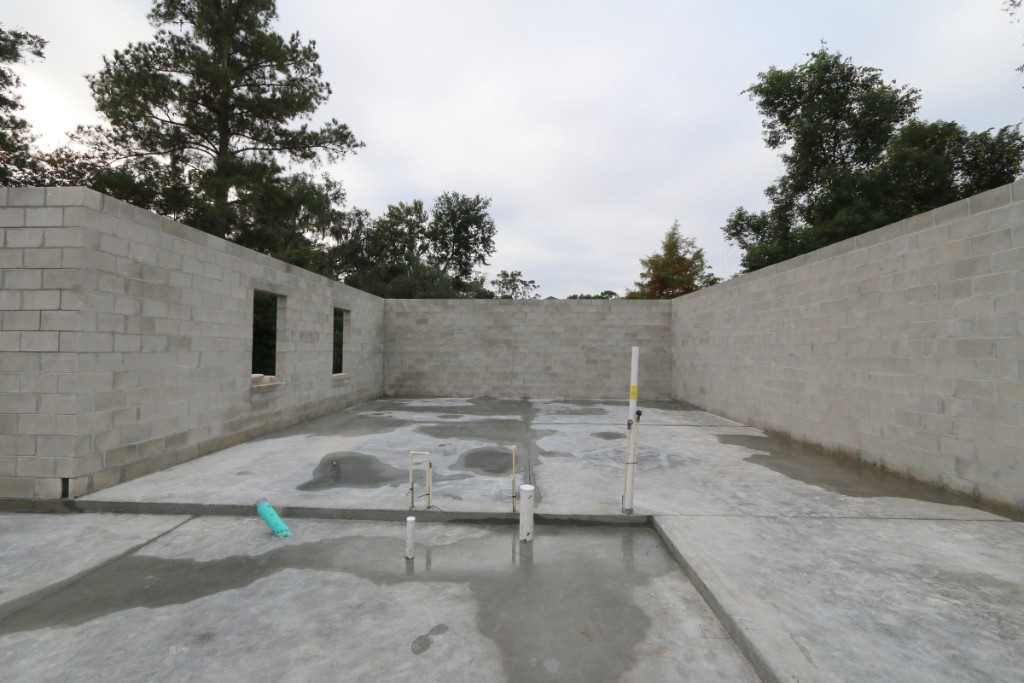 89 Looking towards the train room. The train room will have 2x4 insulated stud walls on the inside of the exterior block walls. This allows for decent insulation and it will be easier to mount the hundreds of shelf brackets needed for the model train layout. |
 90 December 7 2014 |
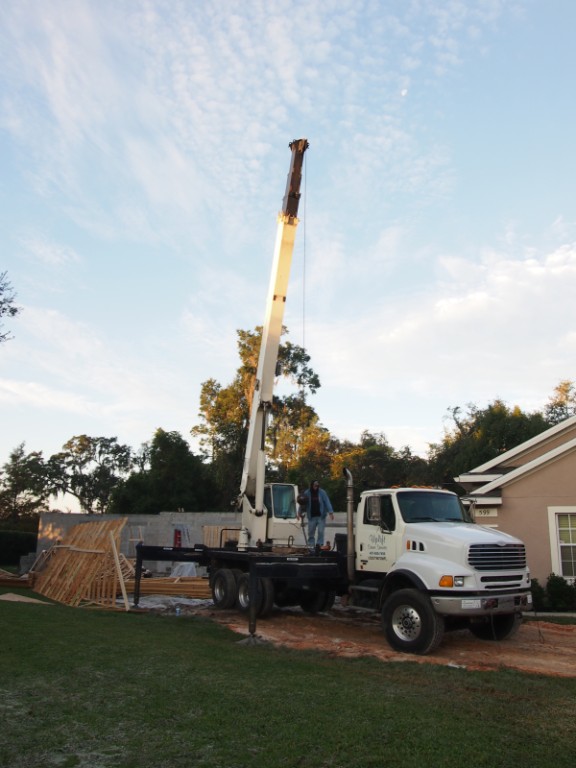
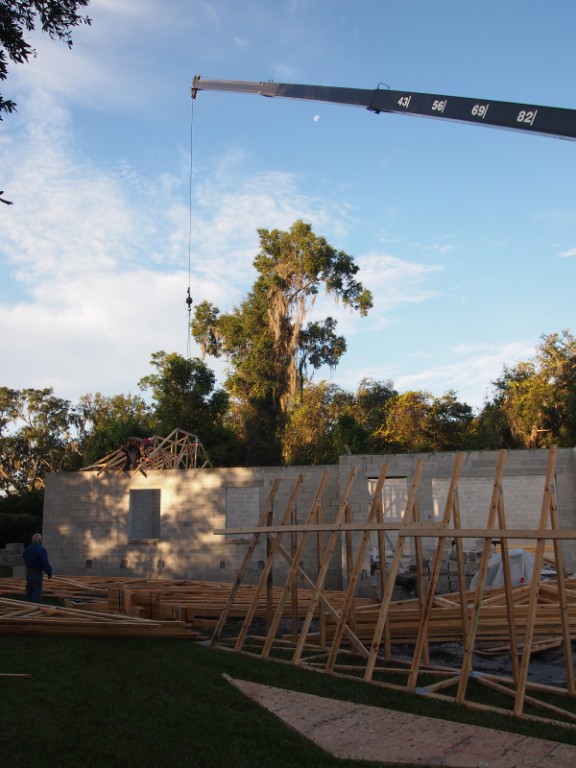
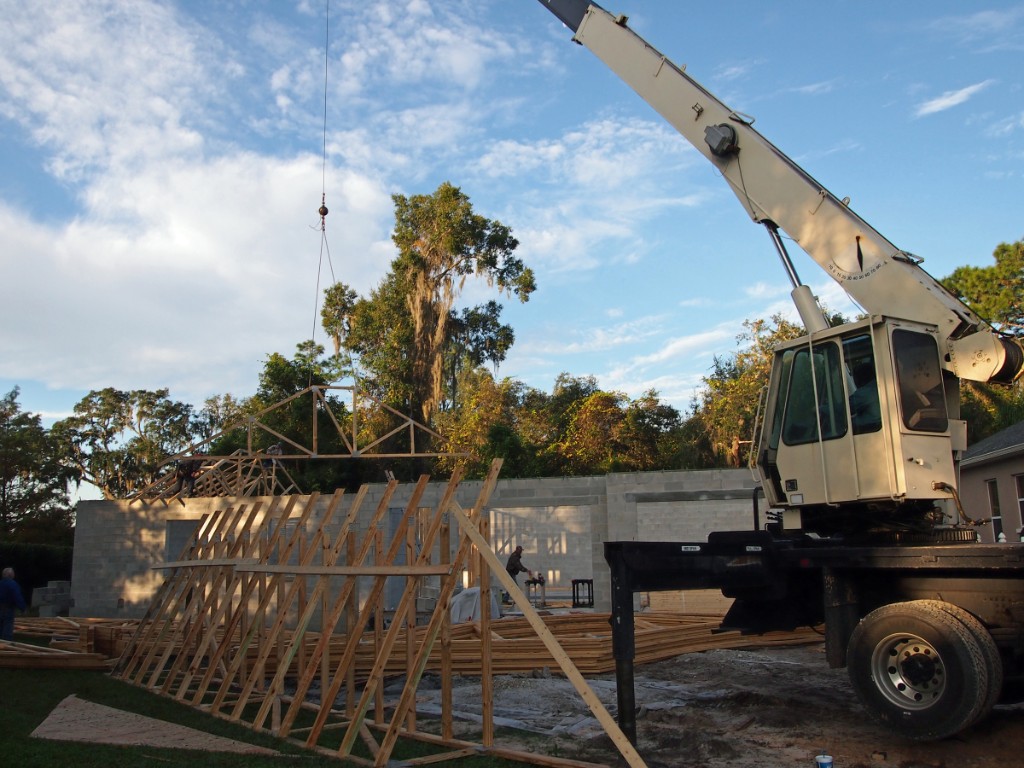
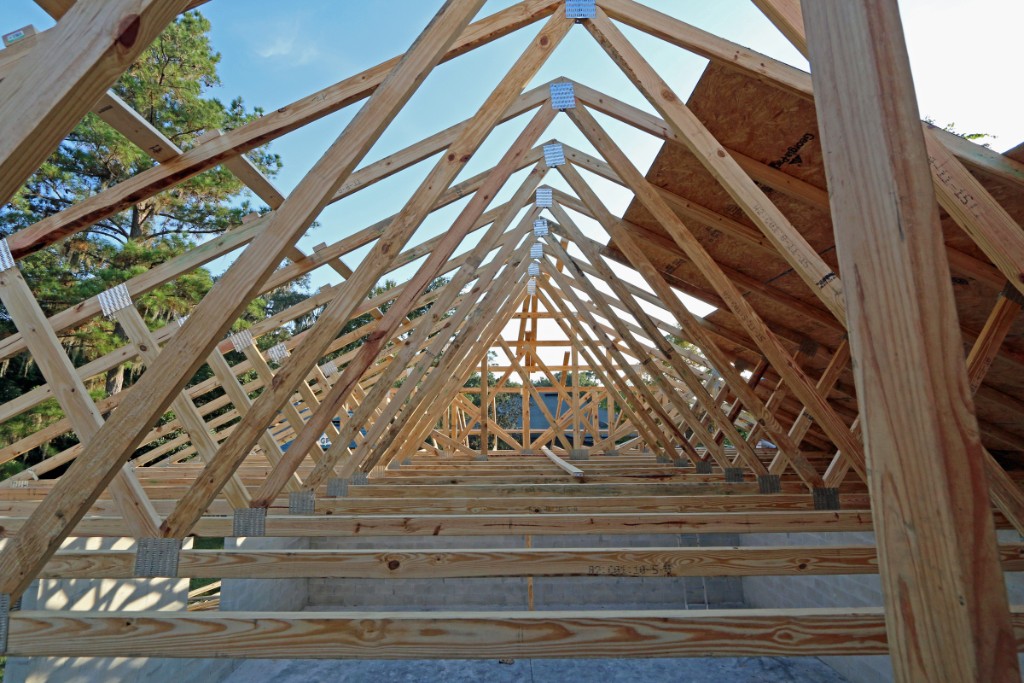
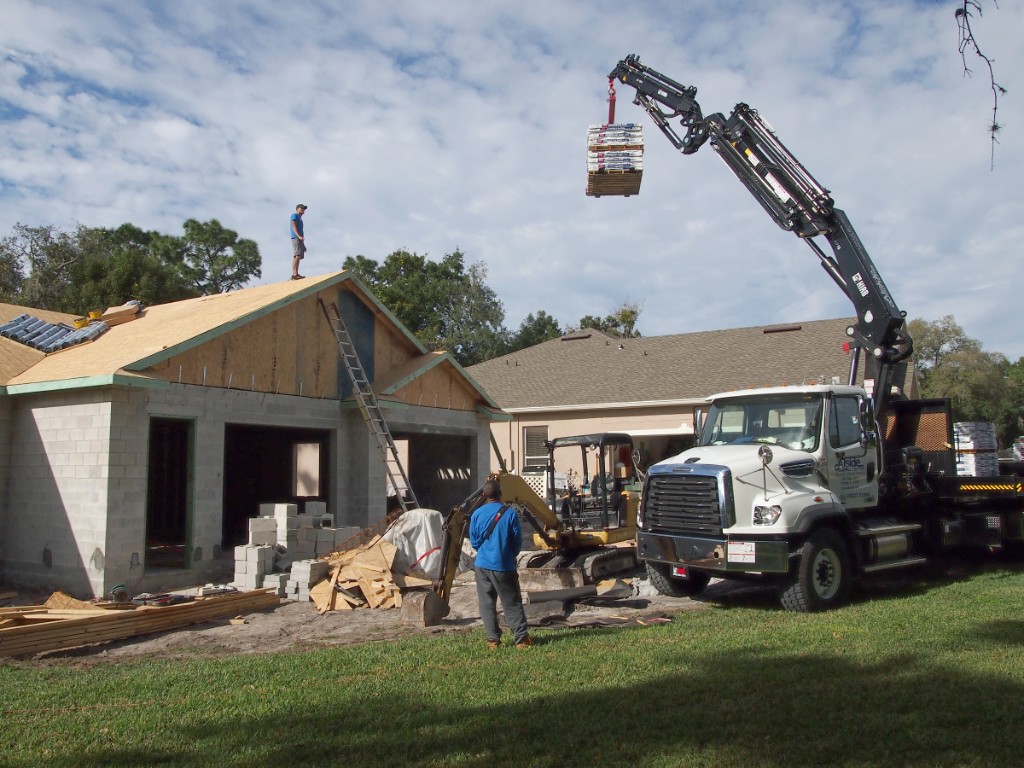
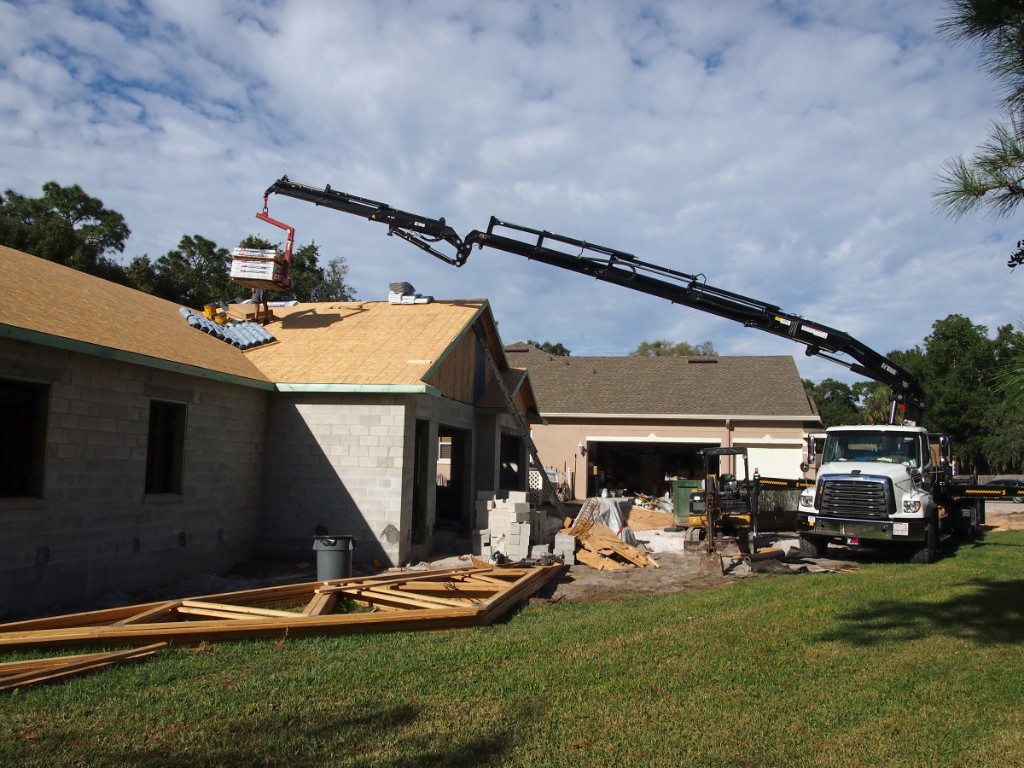
 91 |
 92 Dec 11 2014 - The crane truck is here to set the trusses. |
 93 |
 94 |
 95 |
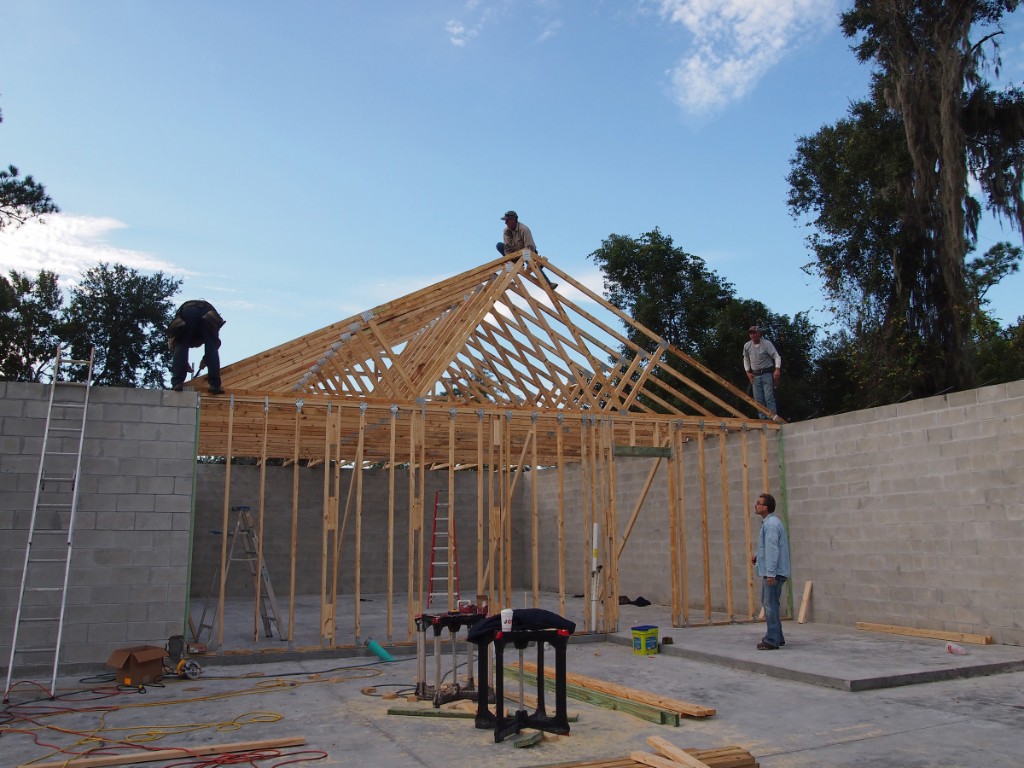
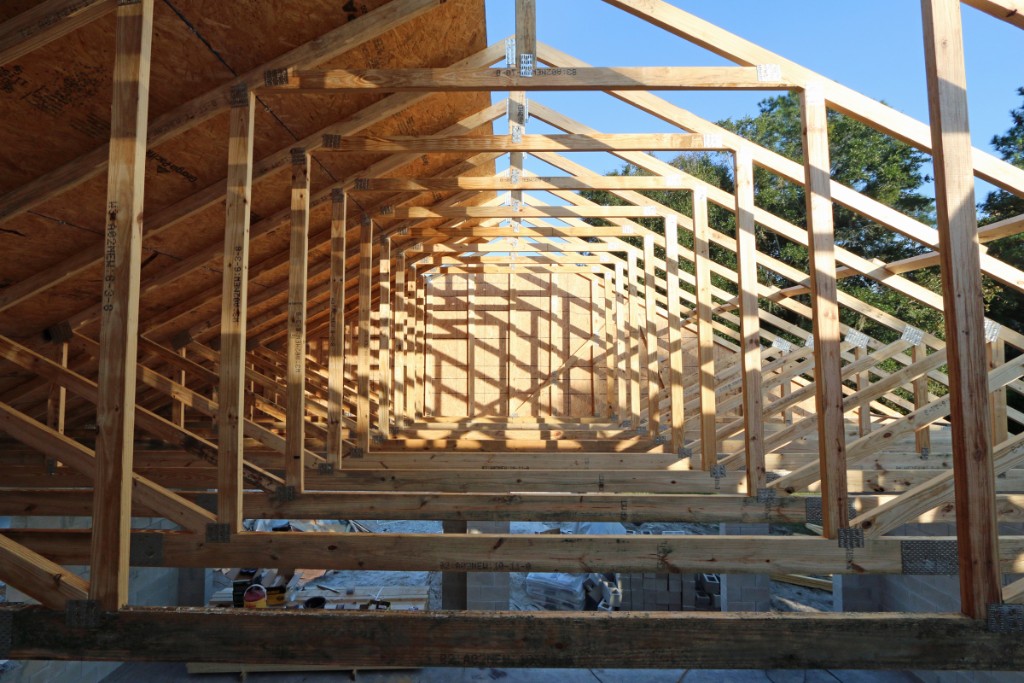
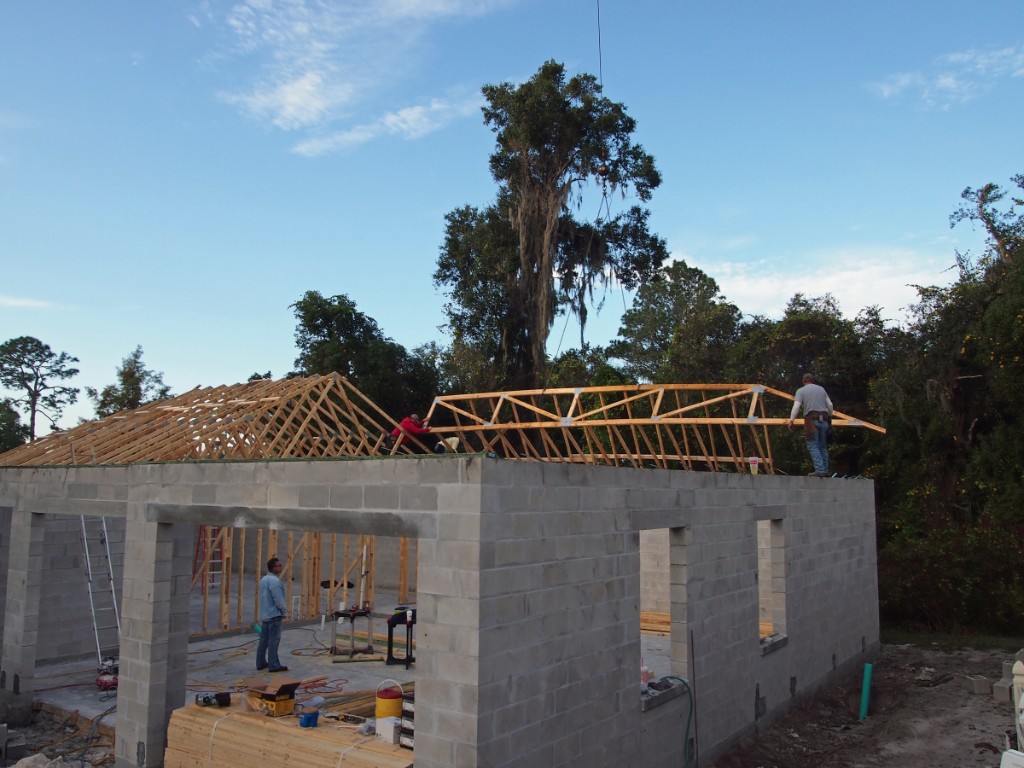 96 |
 97 After setting the trusses they started installing the roof sub-deck plywood sheathing. |
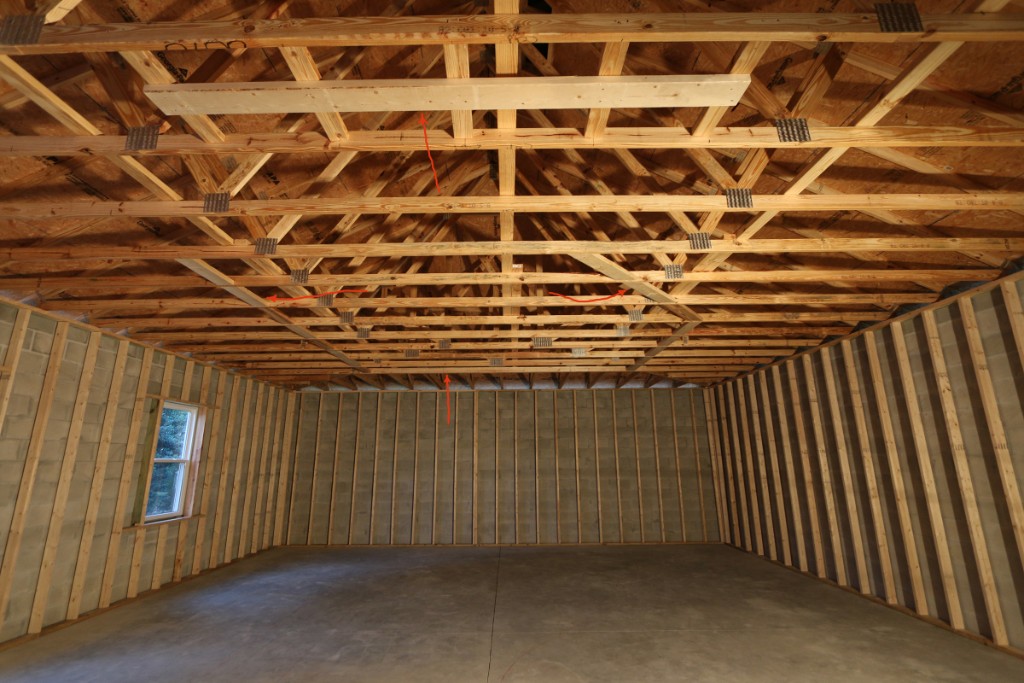
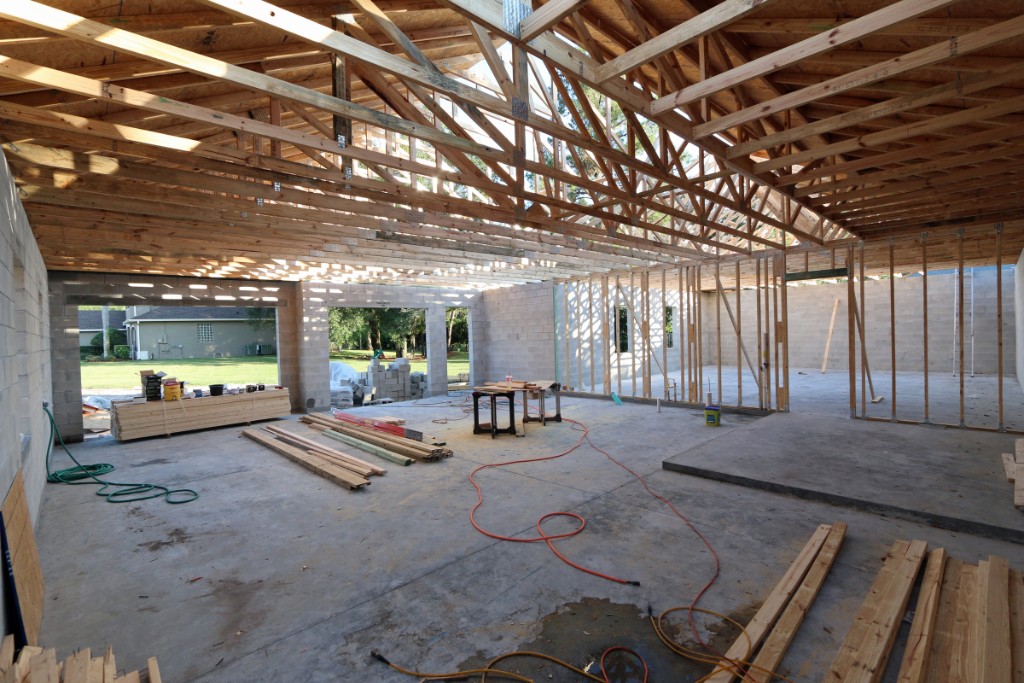 98 |
 99 That's an 8 ft step ladder to give an idea of the ceiling height in the garage area. |
 100 |
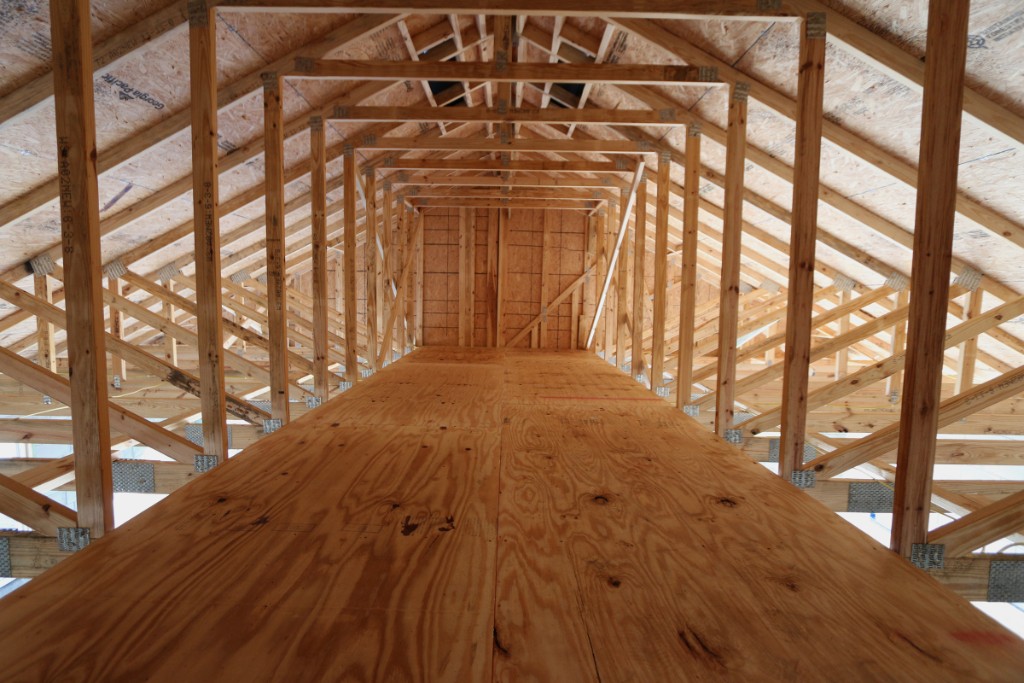
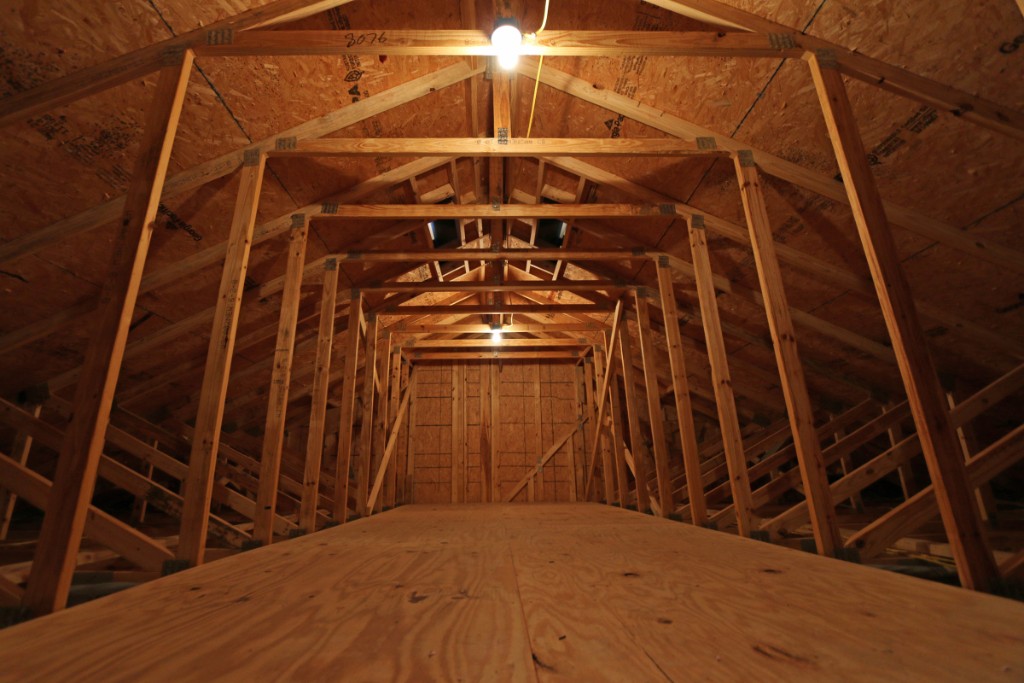
 101 |
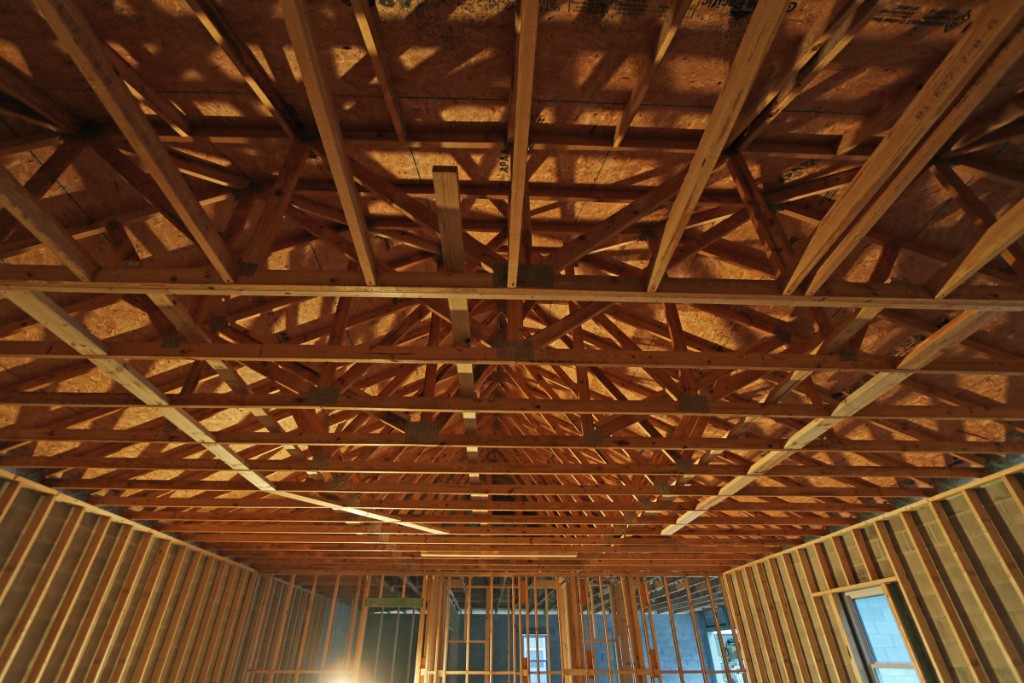
 102 The attic storage area above the garage. |
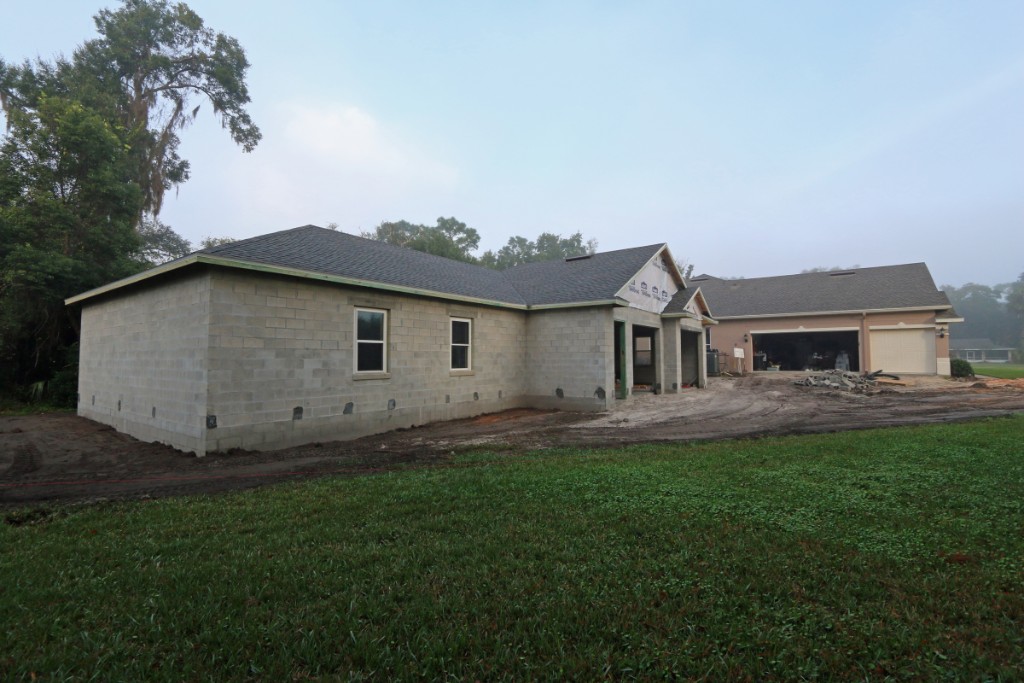
 103 The attic above the train room. There will be R38 insulation in the attic above the train room and model workshop. |
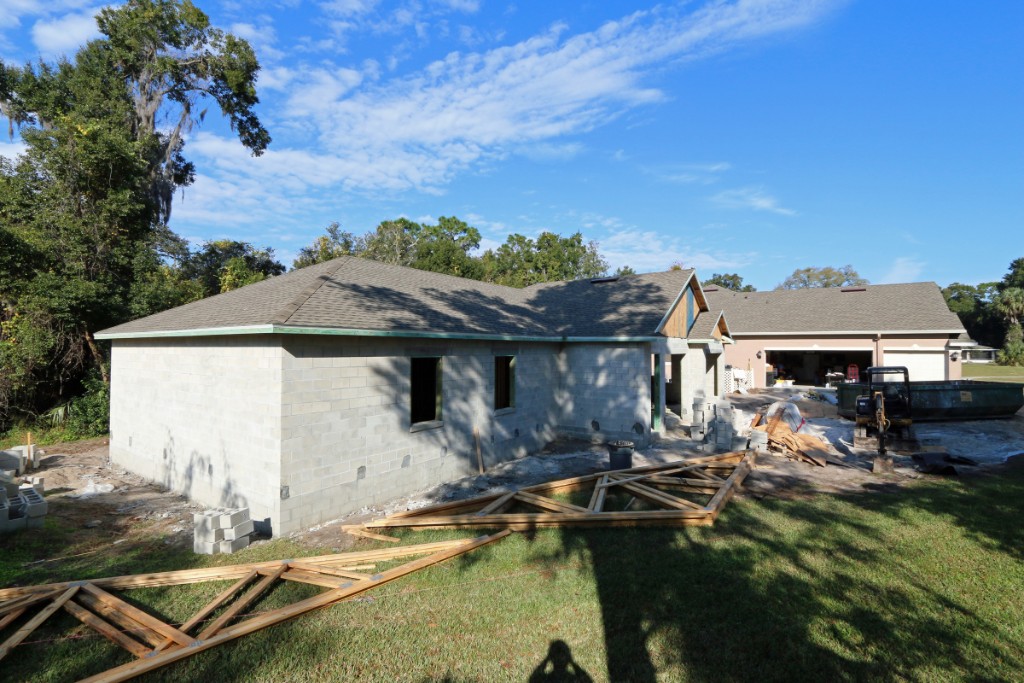
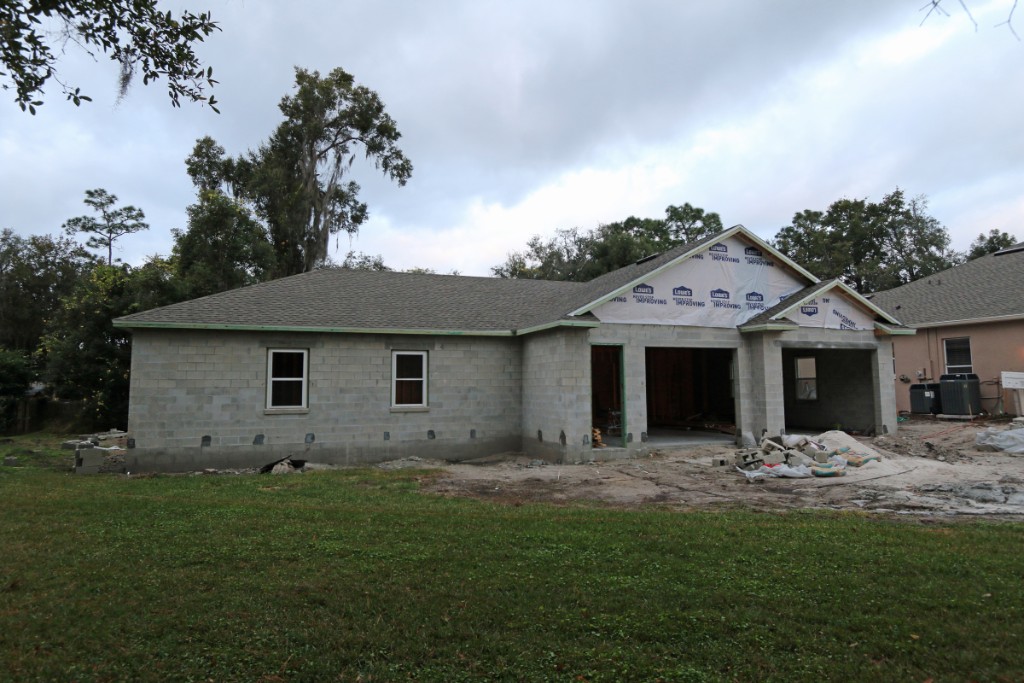
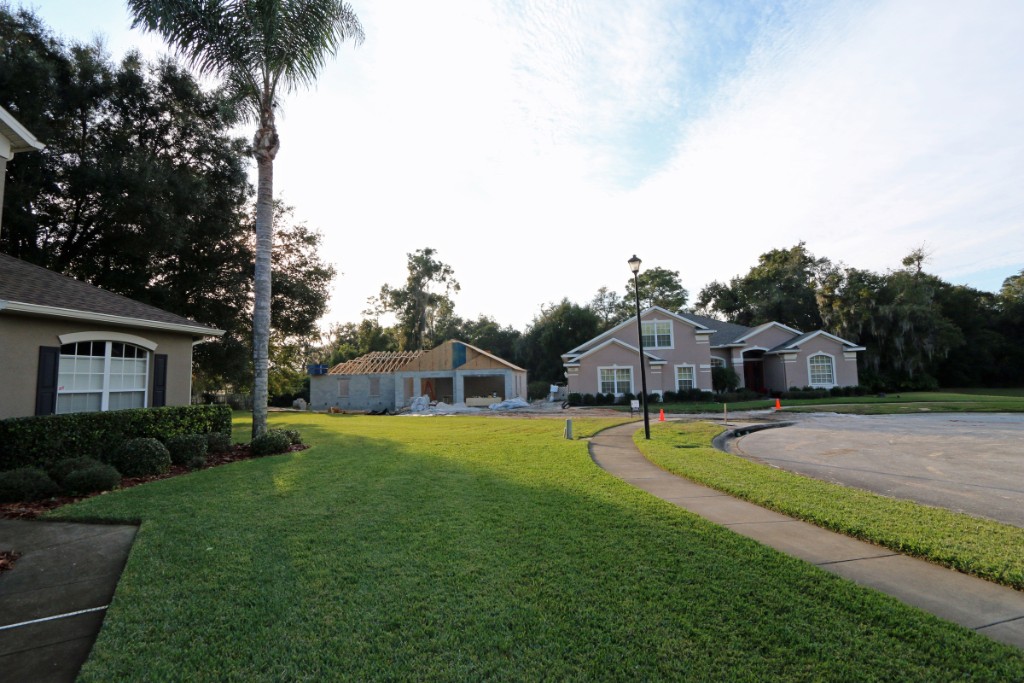 104 The detached garage from our neighbor's front yard. |
 105 December 18 2014 - They have finished the roof subdeck sheathing and the roofers are getting ready to install the shingle roof. You can see the rolls of peal/stick underlayment sitting in the valley of the roof. |
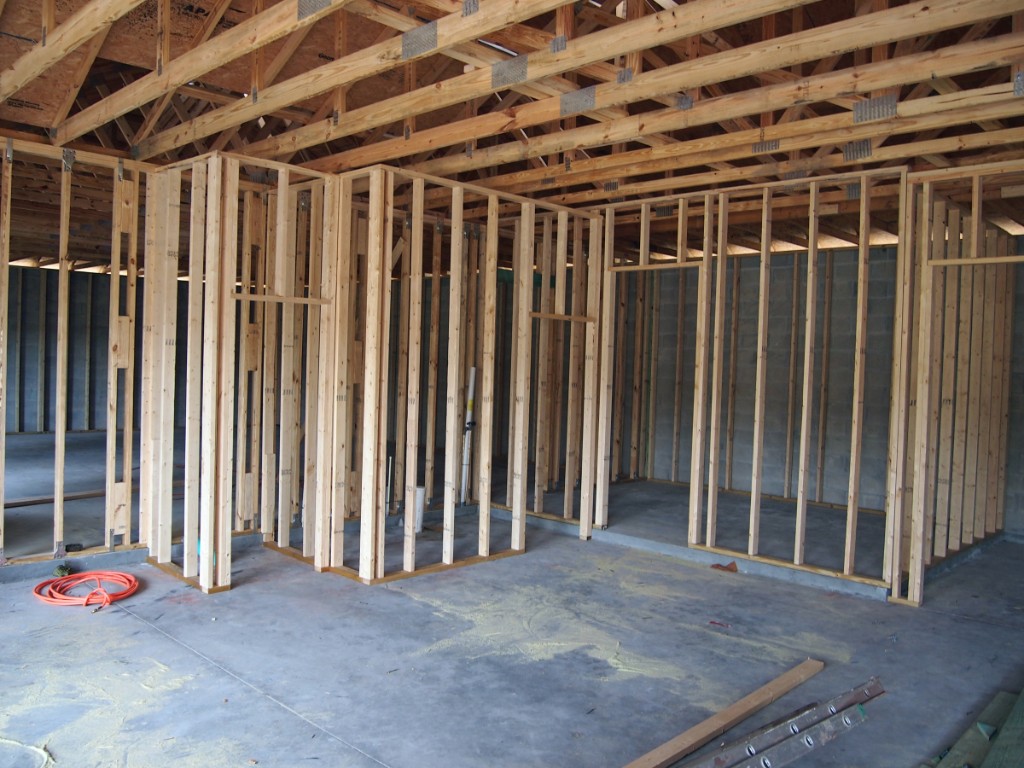
 106 They did a great job of building the corner "rooflets". |
 107 They have also made great progress framing the interior walls. |
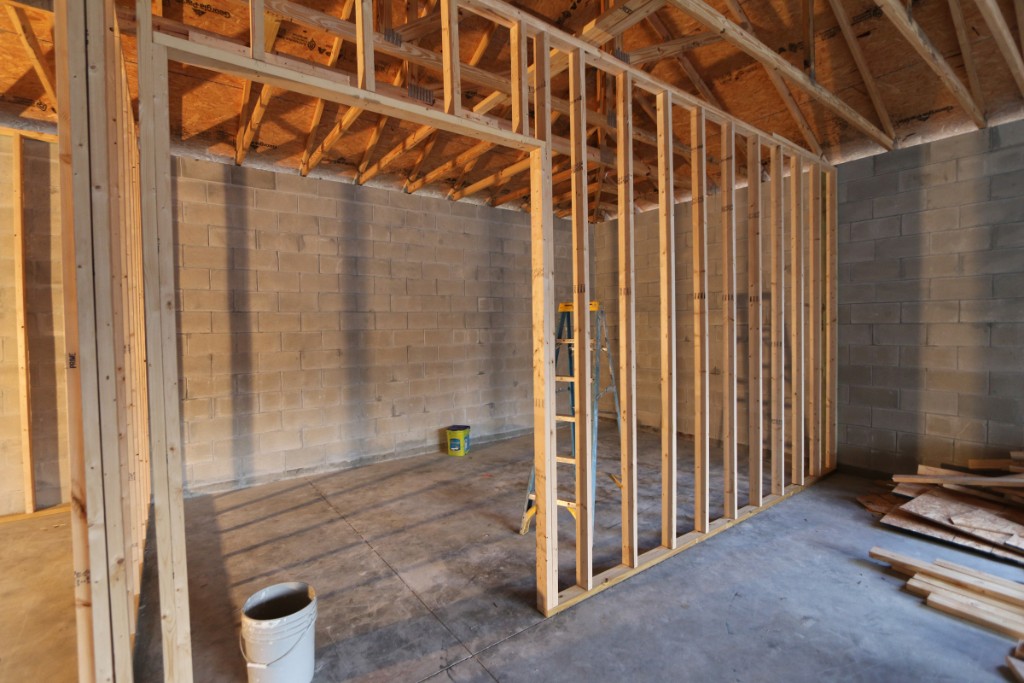 108 That's the 19 ft x 10.5 ft woodshop room with it's 5 ft wide double door opening. |
 109 The 14'3" x 10'3" model workshop. |
 110 The exterior walls of the train layout room and model workshop will have 2x4 stud walls on the interior to allow for (shocking!) insulation. Most concrete block homes built in Florida have no insulation in the exteriorwalls. The stud walls also allow electrical to be roughed in without knocking holes all over in the block walls. They will allow be much easier to mount (hundreds) of shelf brackets to support the train layout benchwork. |
 111 . |
 112 |
 113 |
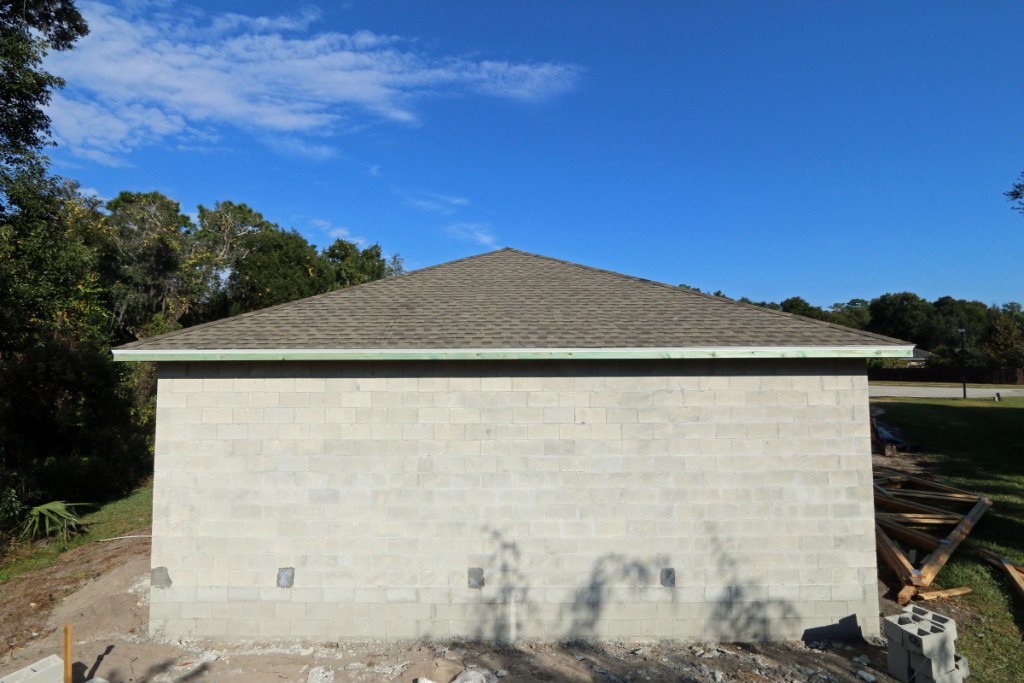
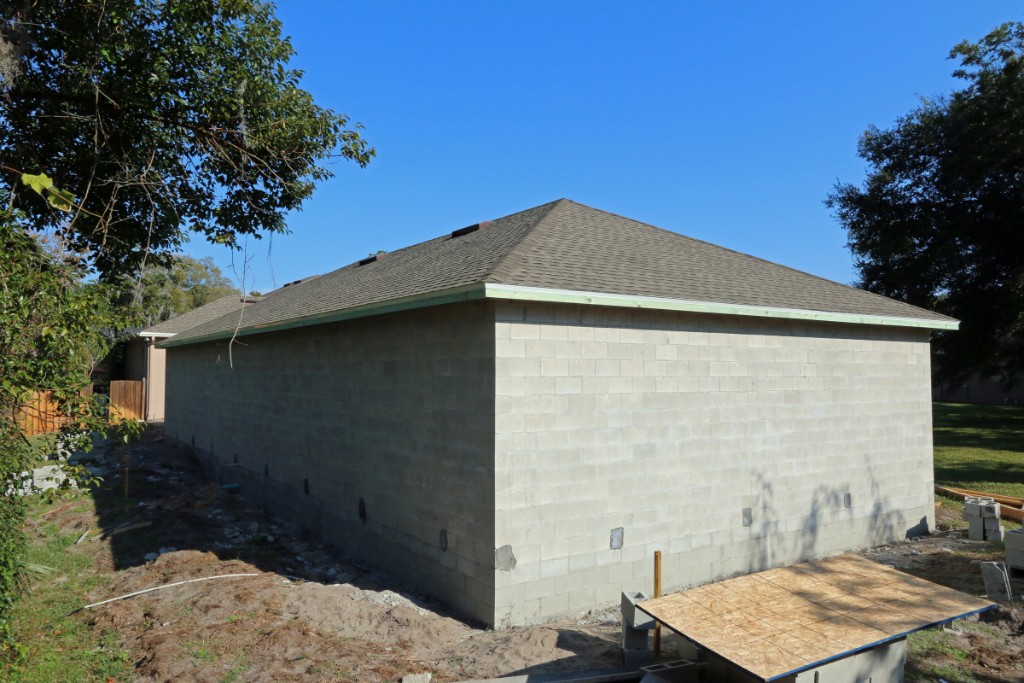
 114 |
 115 December 20 2014 - The roof is done. Just in time for three days of rain forecast. The GAF shingles for the detached garage and the house were purchased at the same time and they are all from the same lot. |
 116 They are GAF Timberline Ultra "Weathered Wood" shingles. |
 117 The aluminum fascia will slide under the drip edge. |
 118 |
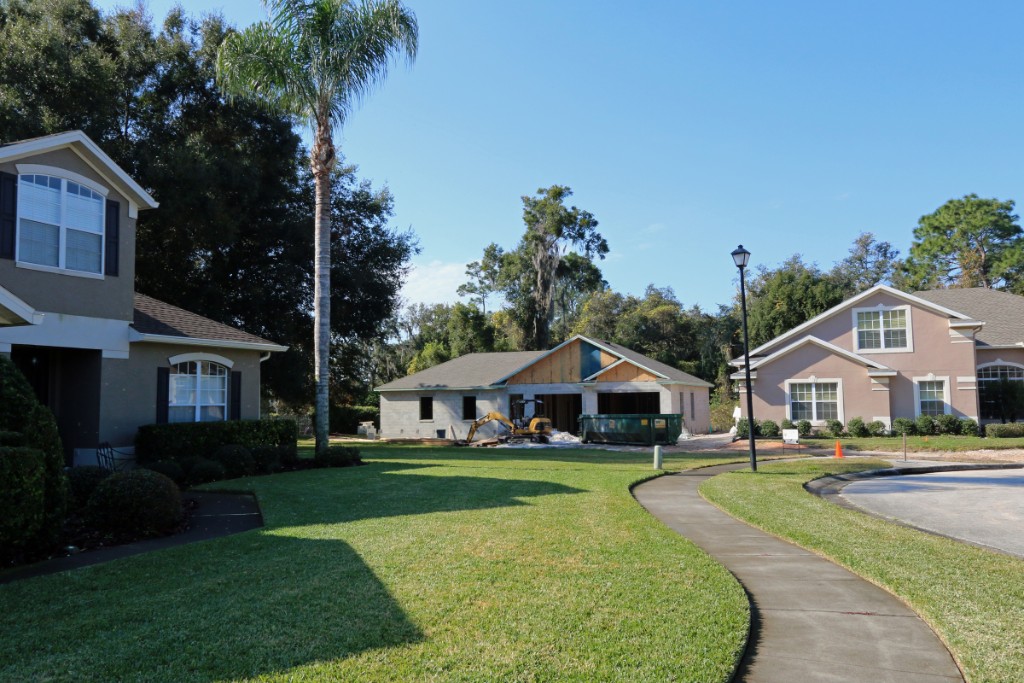
 119 All of these roof/shingle photos were taken from an 8 foot step ladder in order to getter a better view of the roof. |
 120 The view of the garage from across the cul-de-sac. I will be glad when the garage is complete and we don't have to park in front of the house. |
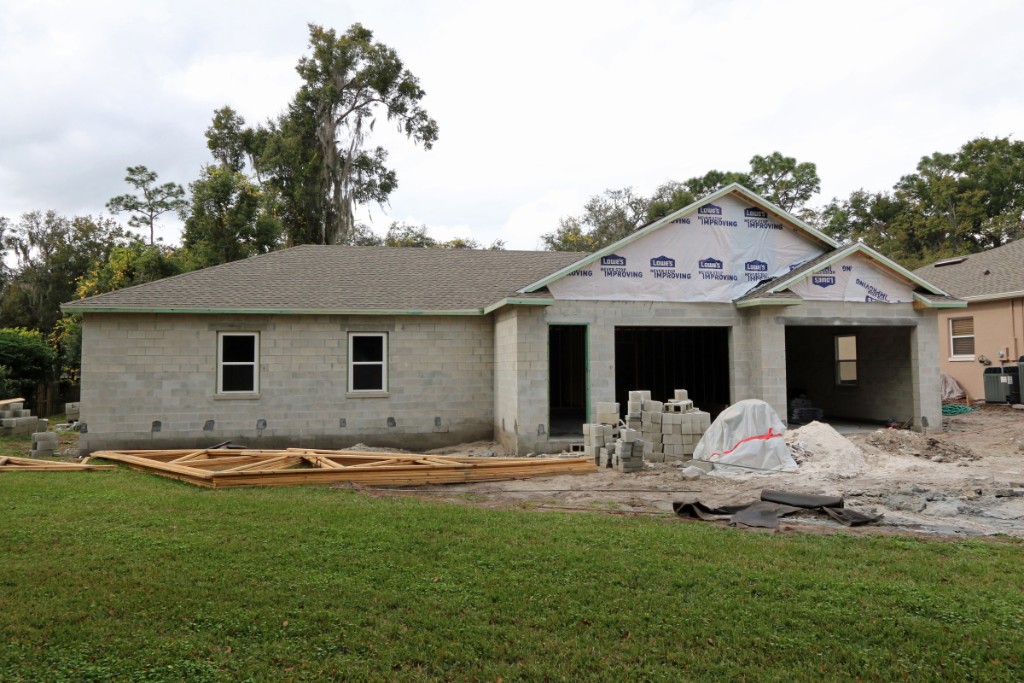
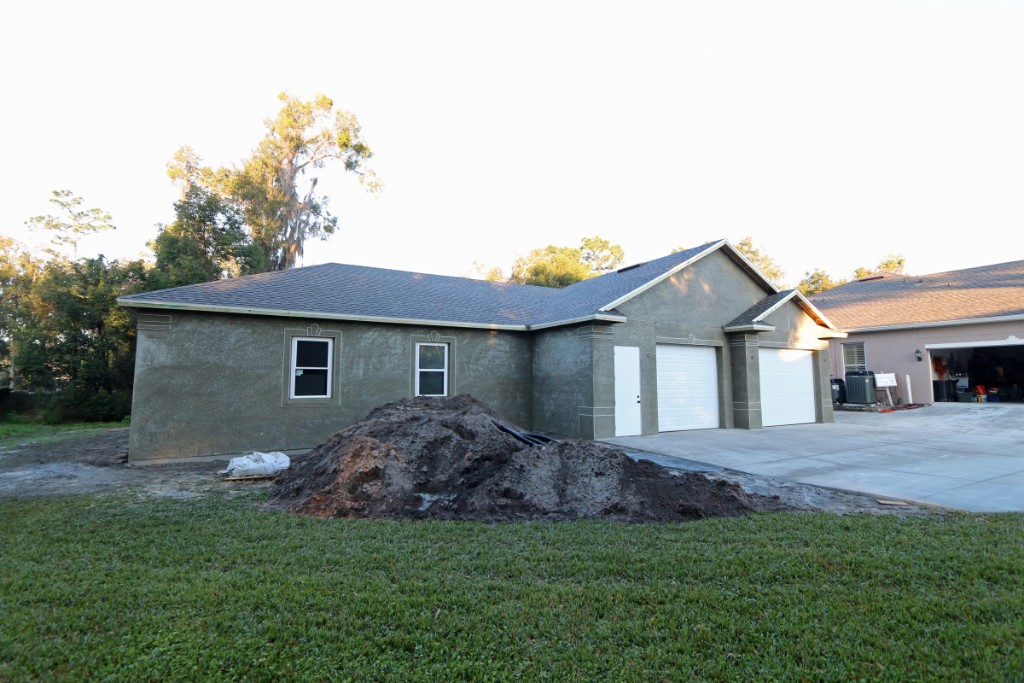
 121 From the neighbors front yard. |
 122 December 23 2014 - The shingle roof is complete and the windows have been installed. All the interior framing is also complete. |
 123 The next step is for the electrician and plumber to rough-in their stuff. |
 124 December 27 2014 - Since there will be no contractors working on the garage from Christmas until after New Year's Day, I decided to use this time to install some blocking in the ceiling of the train room that will be used to suspend the upper level backdrop from the ceiling. I added blocking in 4 areas as pointed out by the red arrows. It's nice that the layout design is complete enough to have the confidence to do layout 'prep' work while the garage is under construction. |
 125 I added blocking to suspend the upper level backdrop (from the other end of the train room). |
 126 The framing crew removed the 'extra' trusses, and most of the extra concrete block and cement mix. They also took their Cat 302.5 excavator. |
 127 January 3 2015 |
 128 |
 129 |
 130 |
 131 January 14 2014 |
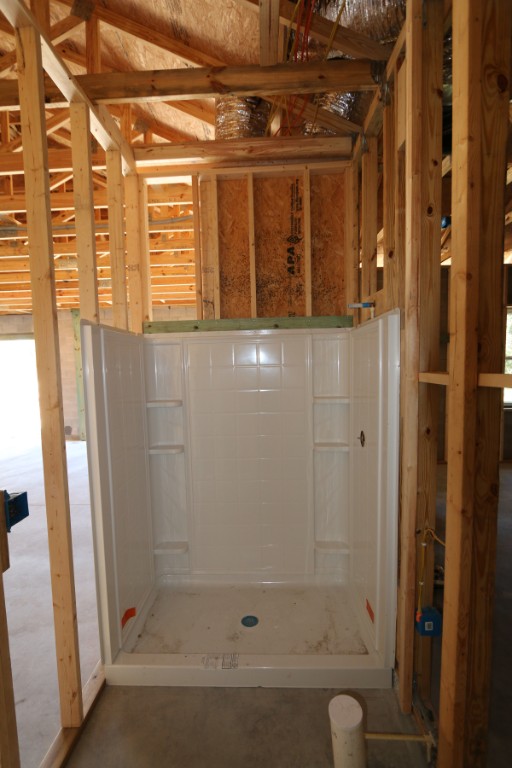
 132 |
 133 January 17 2015 - Not much was accomplished between Christmas and early January but eventually the plumbers did their rough-in of the prefab shower. The HVAC guys roughed in the HVAC system and the electrician is about 80% complete roughing in the interior electrical. |
 134 There are five 8" feeds and one return for the train room (920 sq ft). |
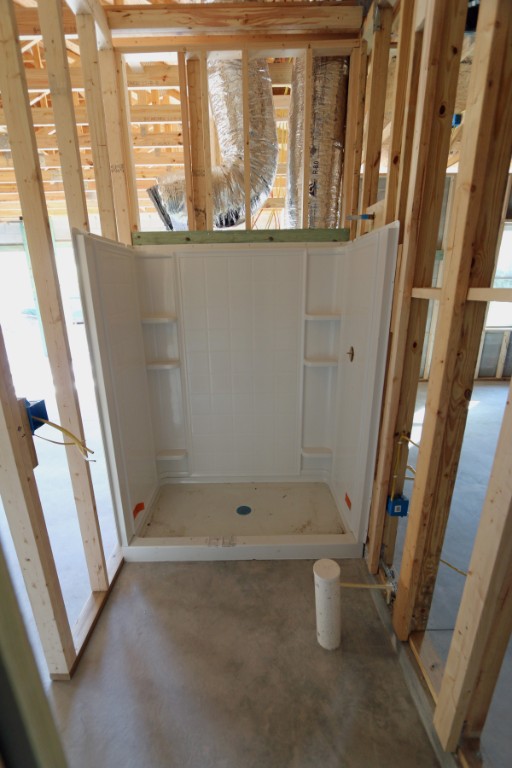 135 We went with a Sterling 60"x34" pre-fab shower enclosure. |
 136 They also installed the floor decking for the attic space above the garage area. |
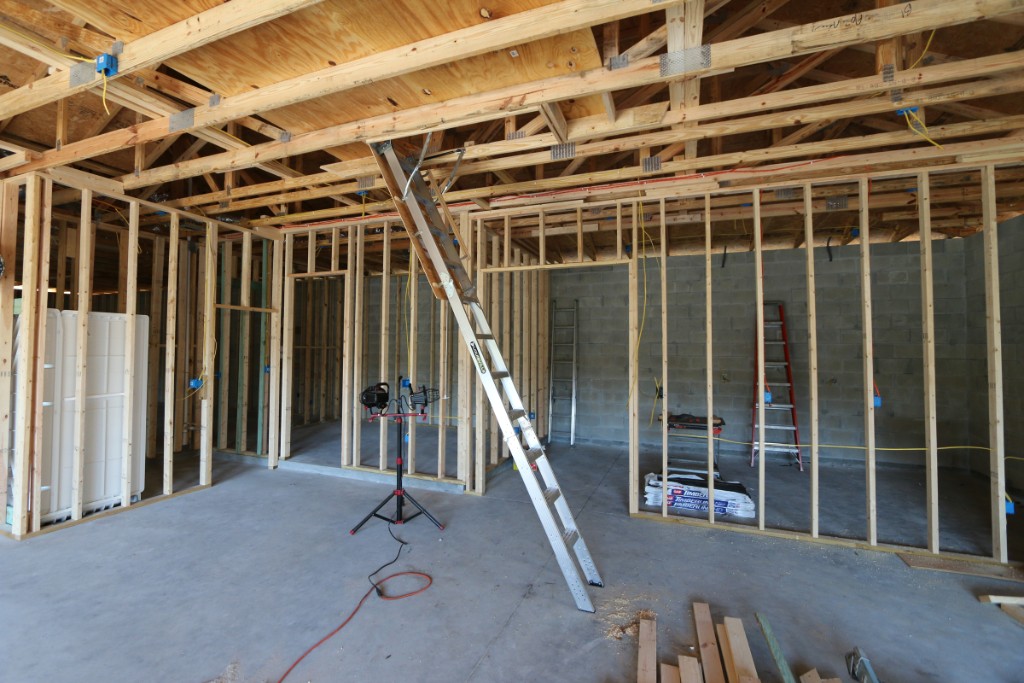 137 And a nice aluminum ladder for getting to/from the attic space. |
 138 Electircal and HVAC rough-in complete. |
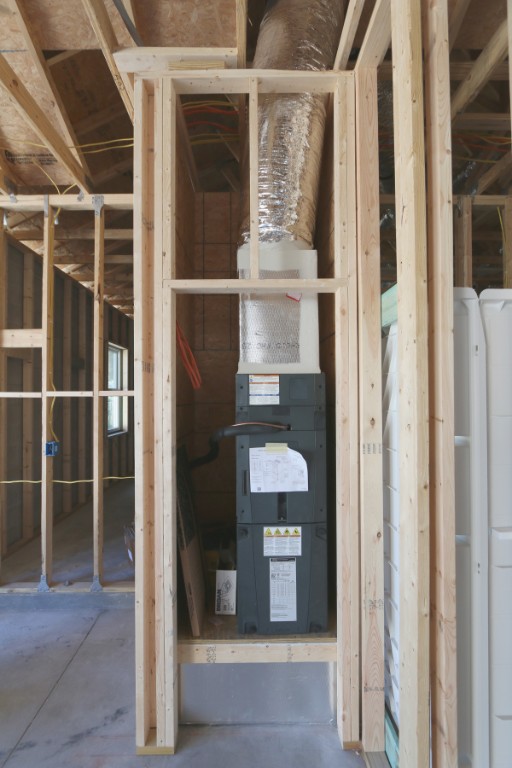 139 January 25 2015 - Trane Hyperion XR air handler |
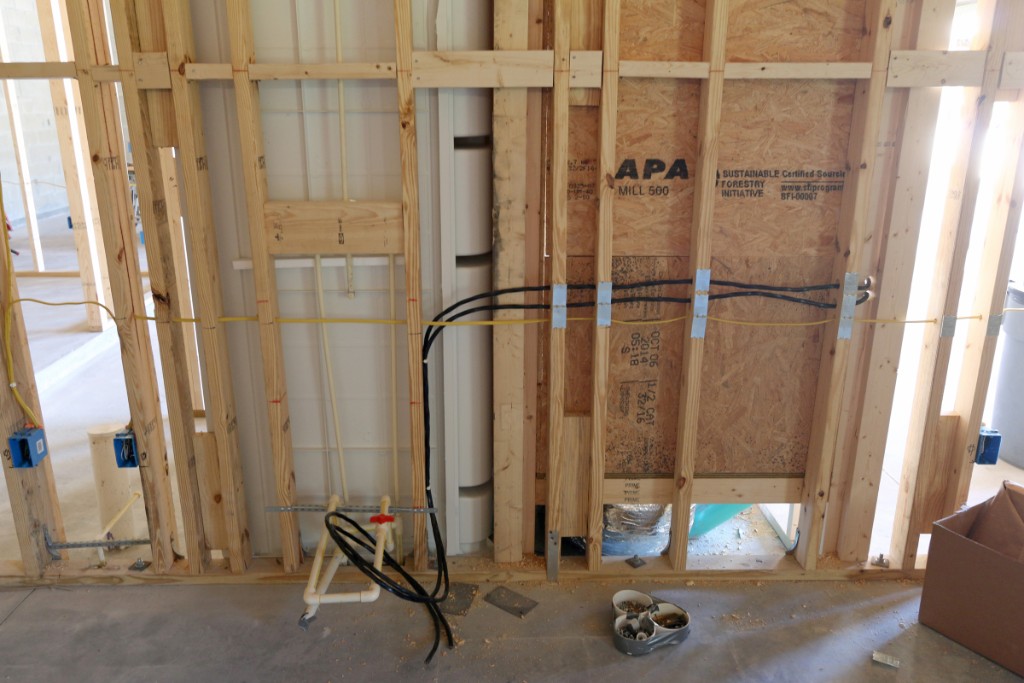
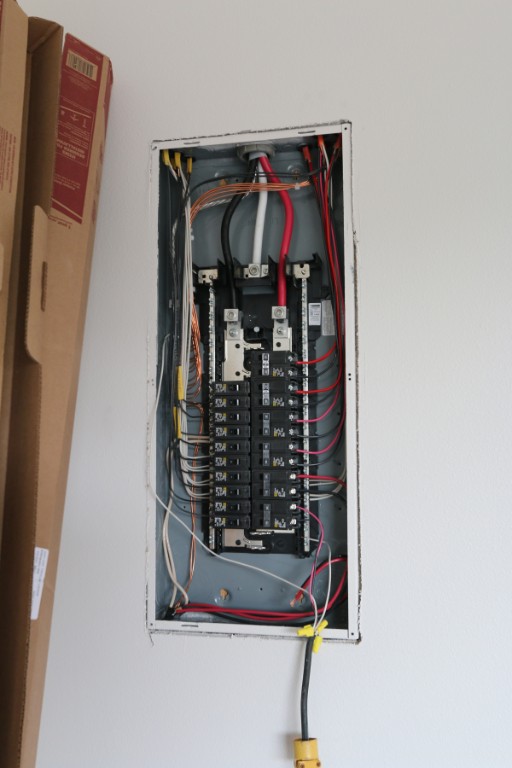
 140 |
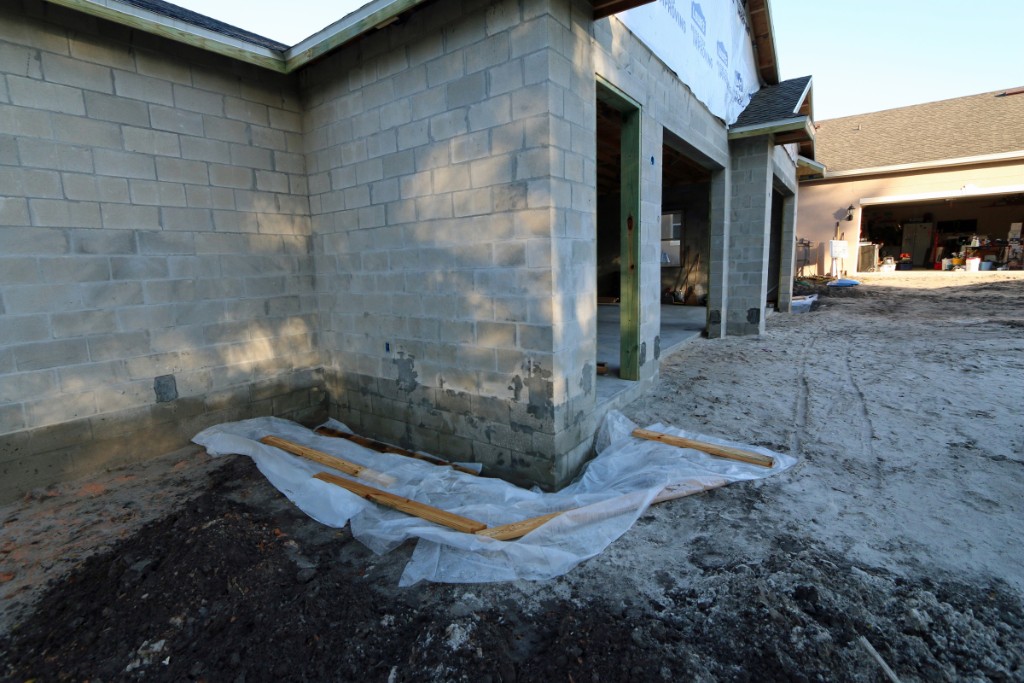
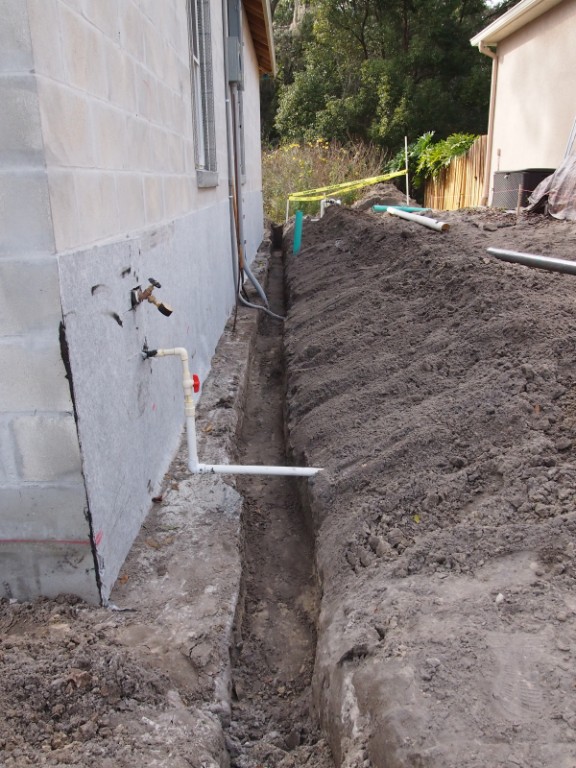
 141 The tankless electric water heater requires two 240V 40AMP breaker circuits. |
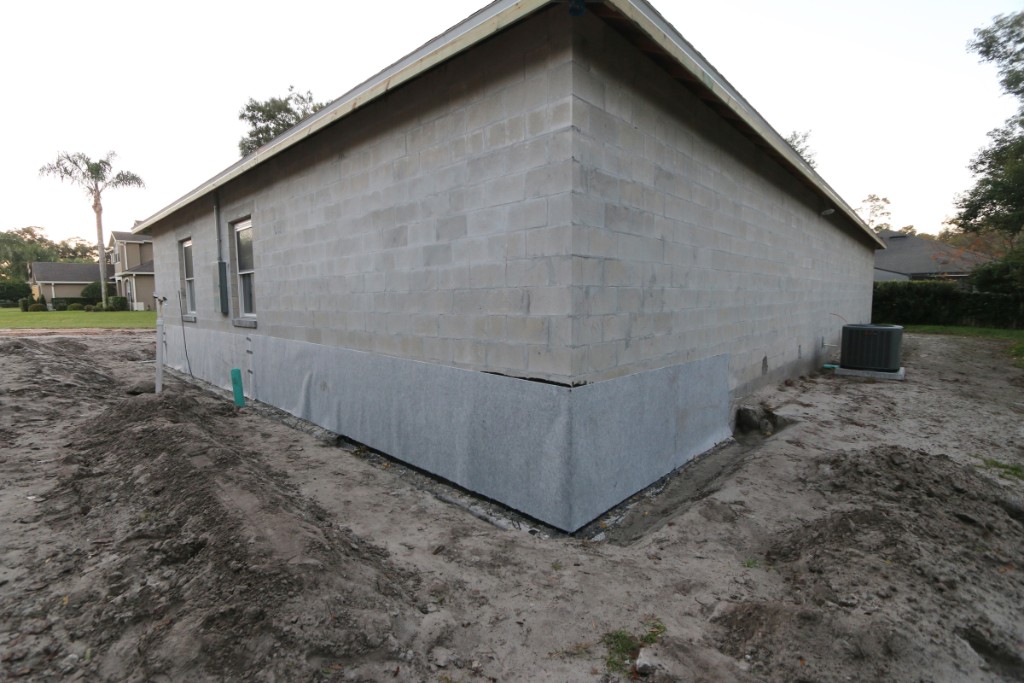
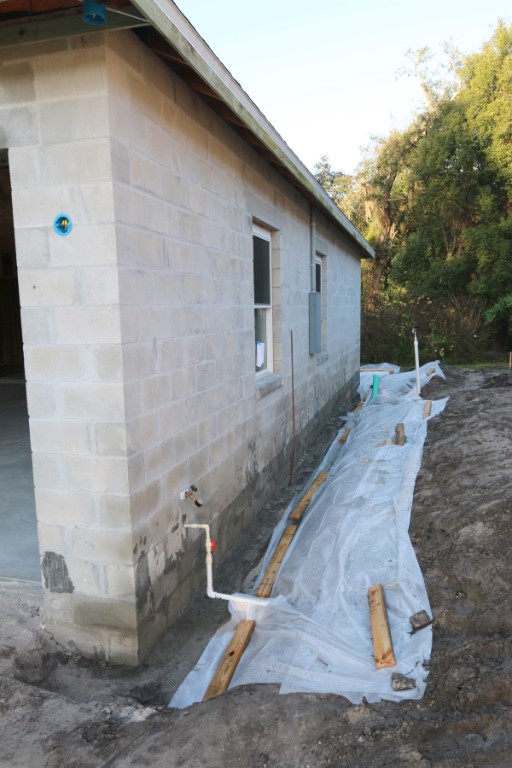 142 January 26 2015 - I excavated and prepped the wall for waterproofing. The waterproofing guy said it was the best prep he had seen (which made his job easier). |
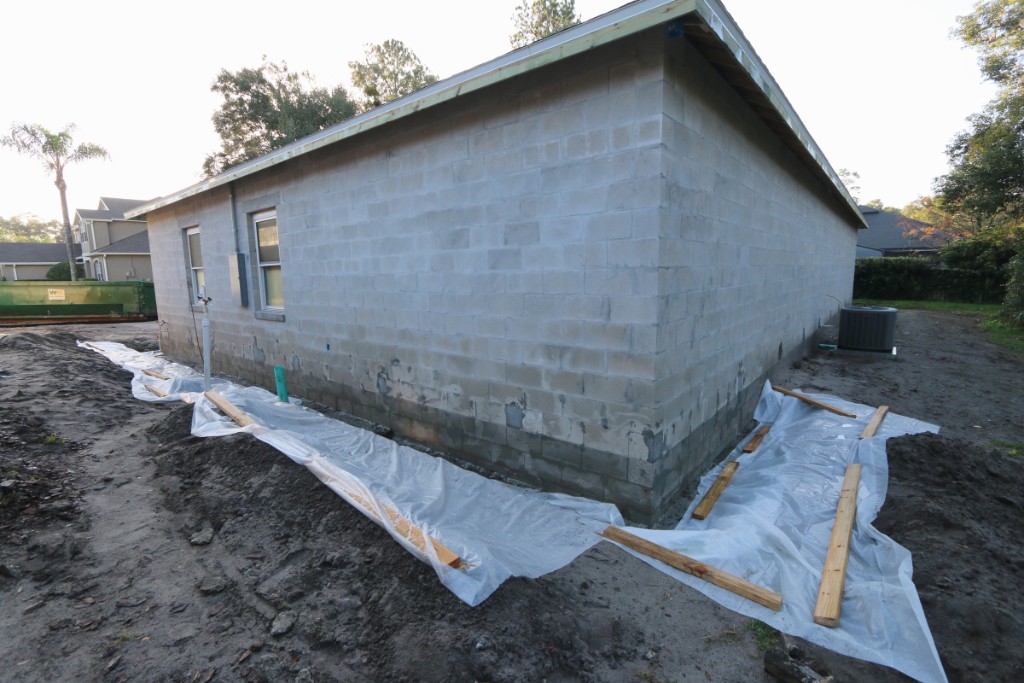 143 We are waterproofing 42 ft along the north garage wall where the driveway will be poured and about 12 ft down the west wall. |
 144 We are also waterproffing a 10ft section where the dirt will have to be graded up to meet the edge of the driveway. |
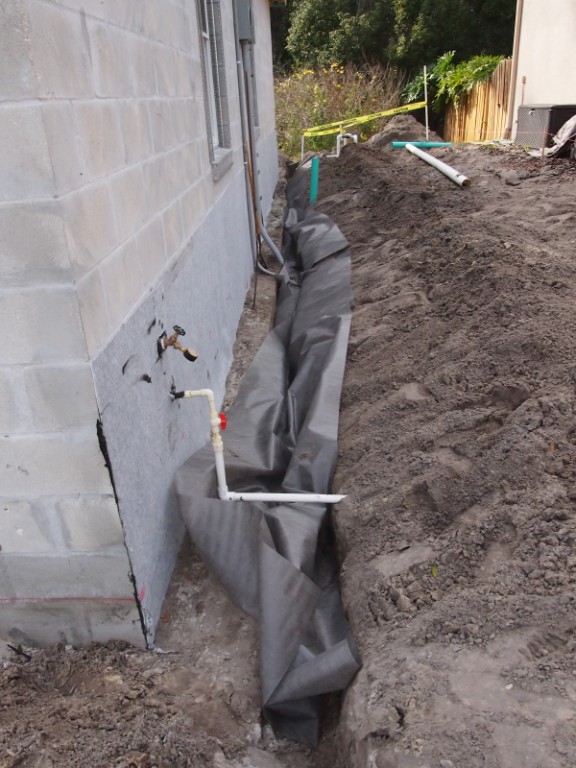
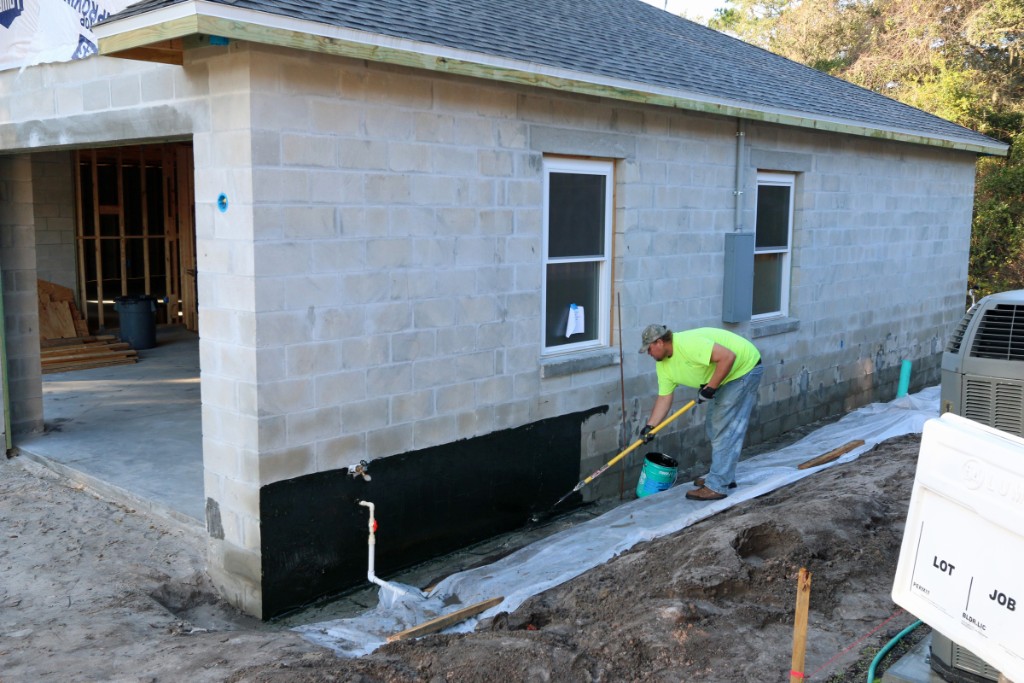 145 Waterproofing guy applying the Tremco Tremproof 250GC. After he is done with this he will apply the protective mat. |
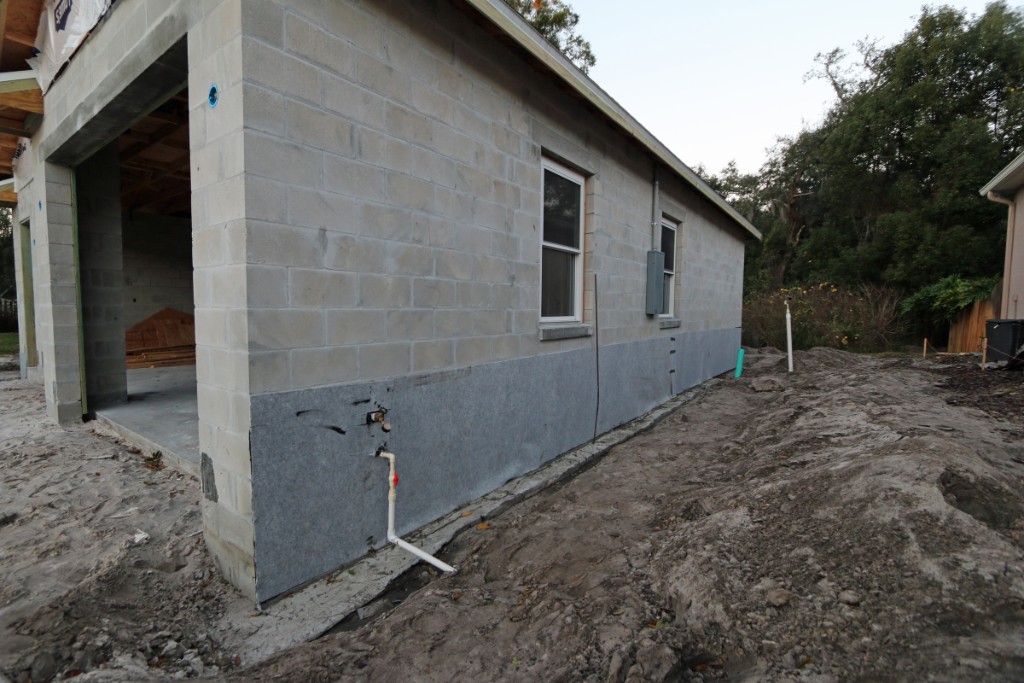 146 After the very thick black Tremproof 250GC is rolled on a protective mat is applied on top to protect the membrane when the wall is backfilled. |
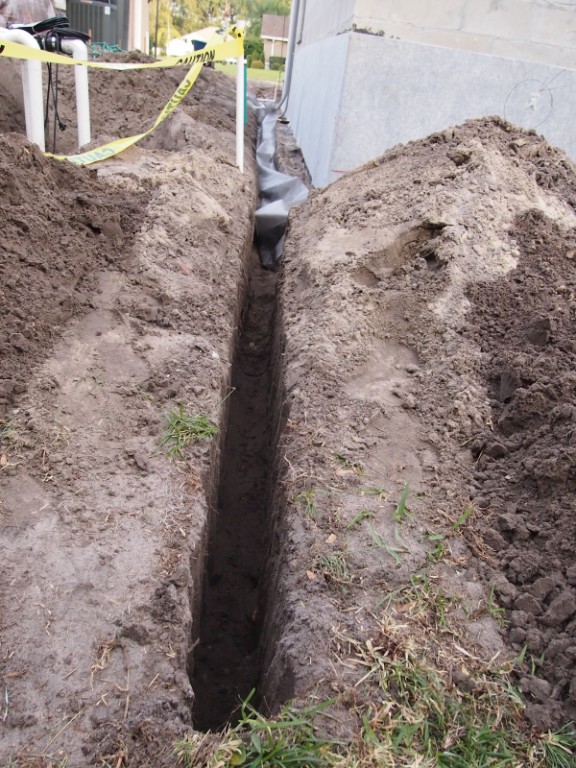
 147 . |
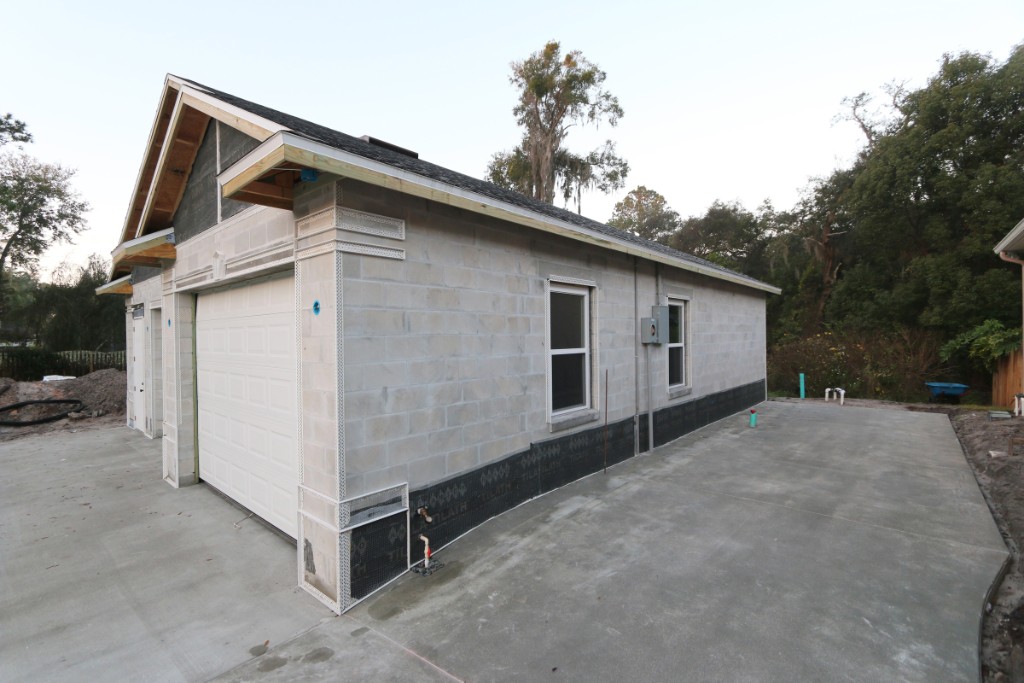
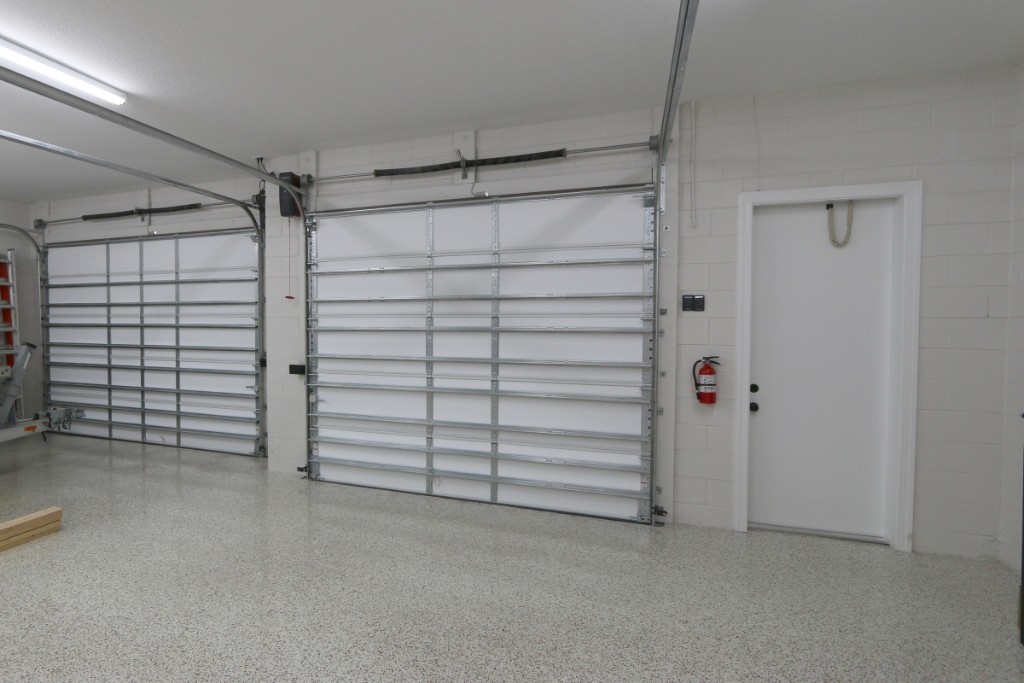
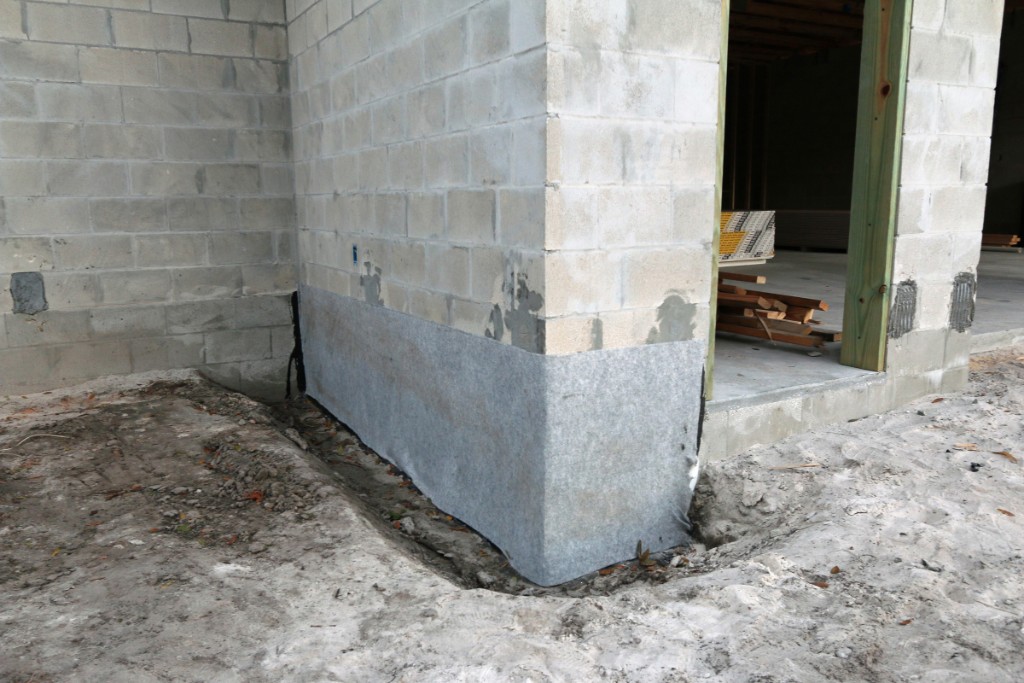 148 We also waterproofed this wall because we will have to grade up to meet the driveway height. |
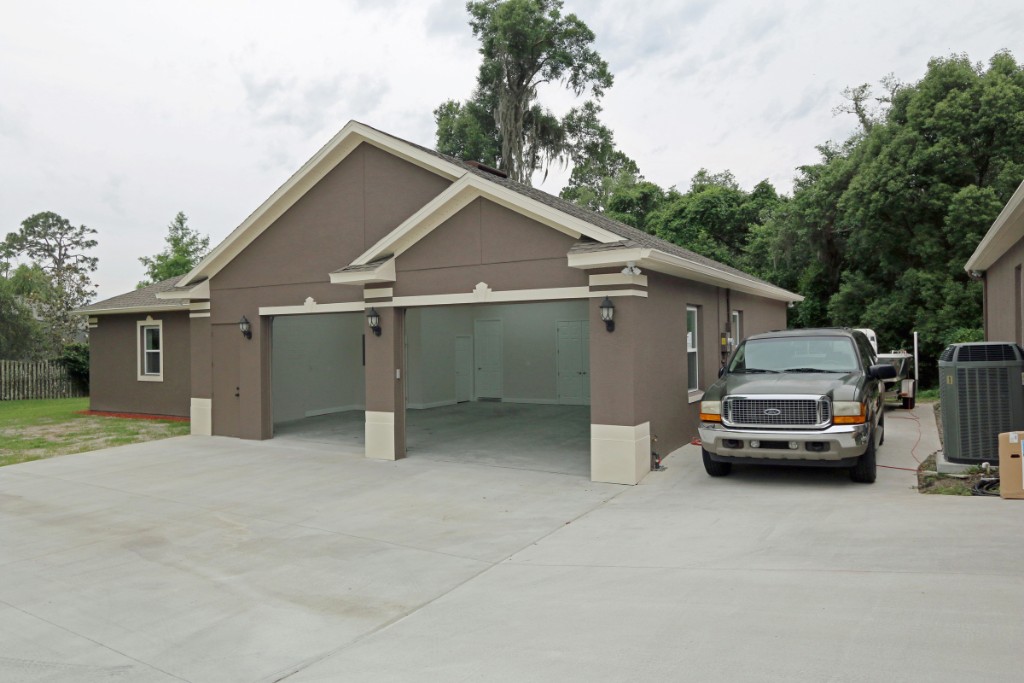
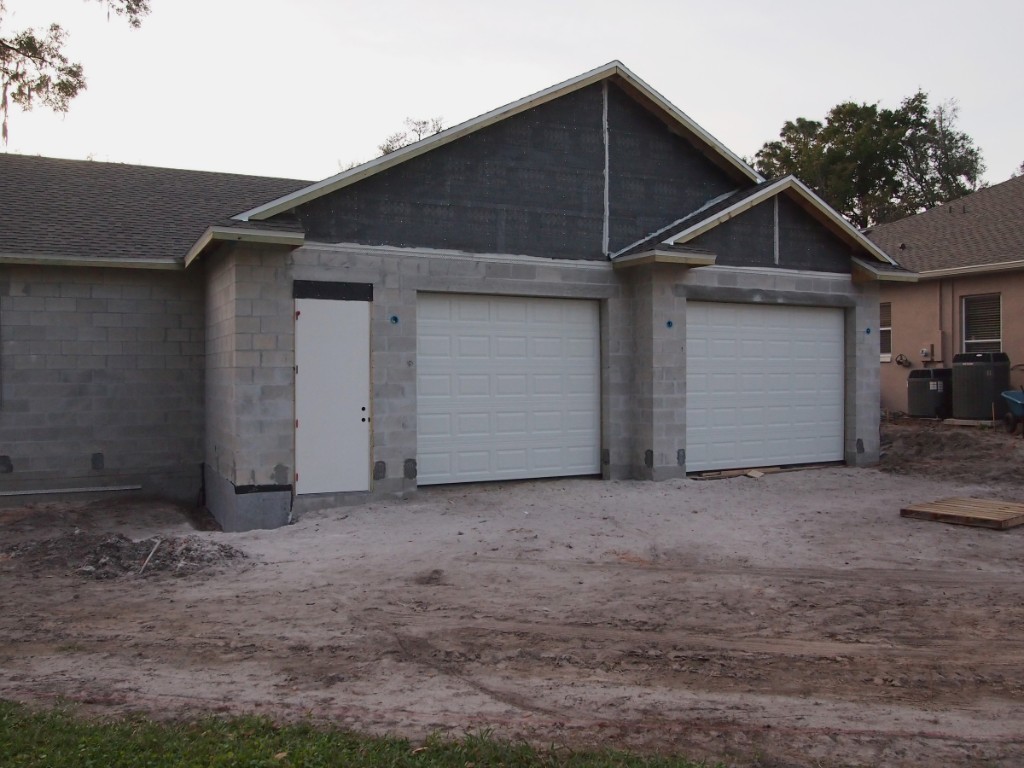 149 January 30 2015 - Garage doors and exterior people door installed. |
 150 |
 151 |
 152 |
 153 |
 154 |
 155 |
 156 |
 157 |
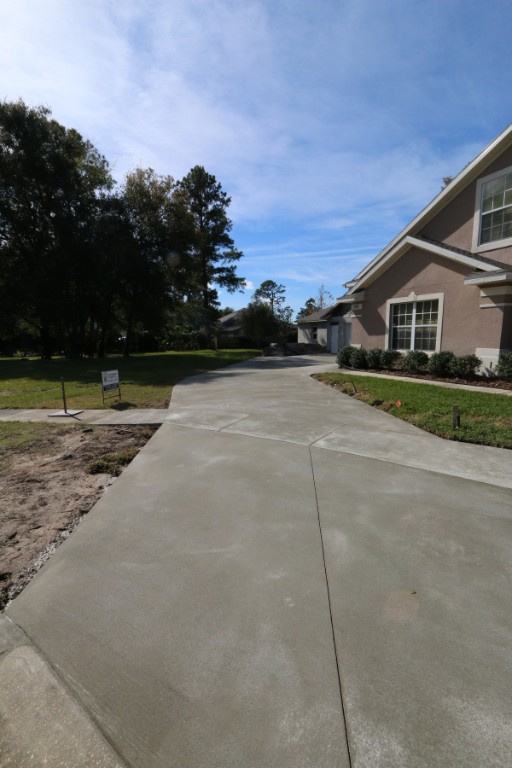
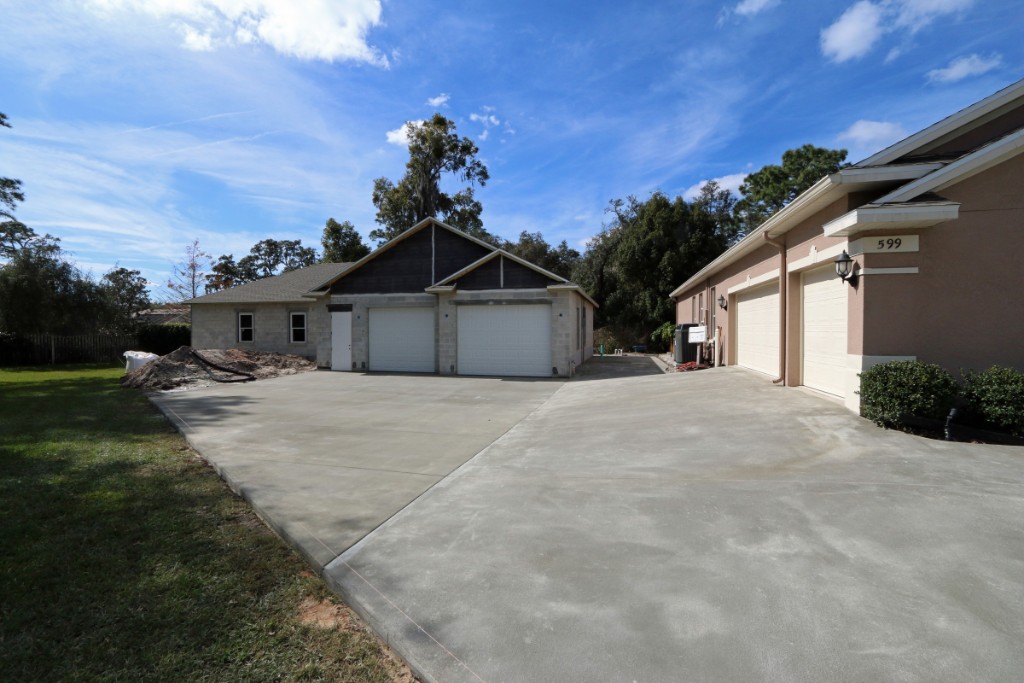
 158 |
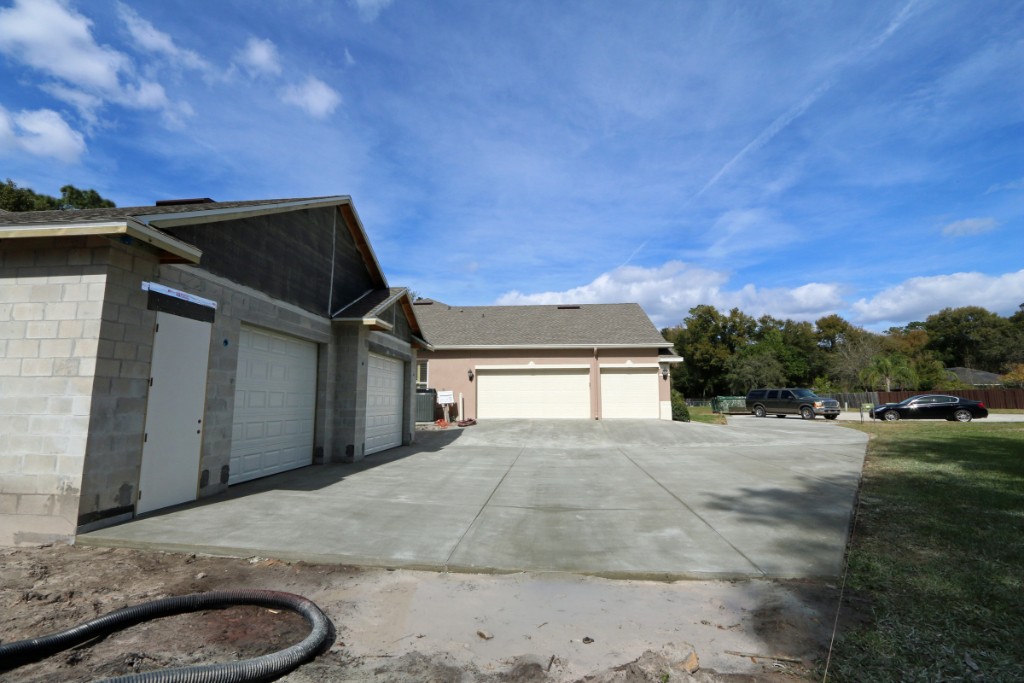
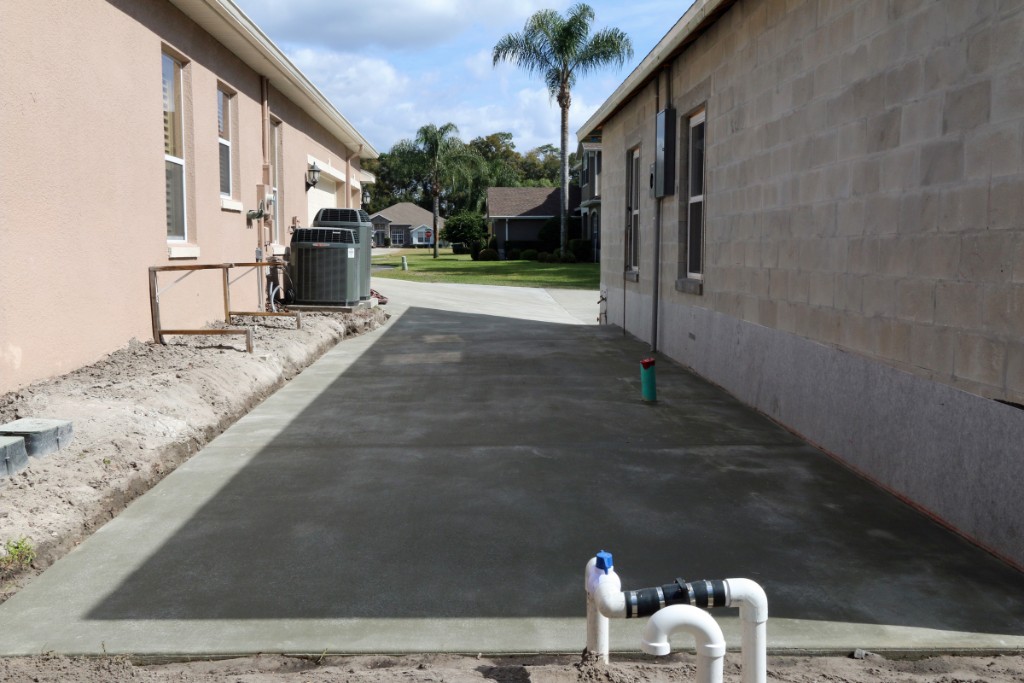
 159 Feb 3 2015 - Concrete Solutions (WinterPark, FL) is installing the new driveway. They have finished grading and almost finished forming the new driveway. So far I'm very happy with their work. |
 160 The driveway section between the detached garage and house was very challenging to grade/form to deal effectively with rainwater runoff and to minimize the 'hilliness' of the driveway. |
 161 I requested that the driveway be built as close as possible to our property line to give me as much space as possible when maneuvering the boat into/out of the detached garage. |
 162 We are going to build a short retaining wall along the right side of the driveway between the garage and house. |
 163 This should make a nice 'spare' parking spot. It's 42 ft long and 12 ft wide. |
 164 I like how they rounded the corners where the sidewalk meets the driveway. |
 165 Feb 7 2015 - They finished pouring the driveway yesterday and today they removed the forming boards and made crack control cuts. |
 166 |
 167 |
 168 |
 169 |
 170 |
 171 |
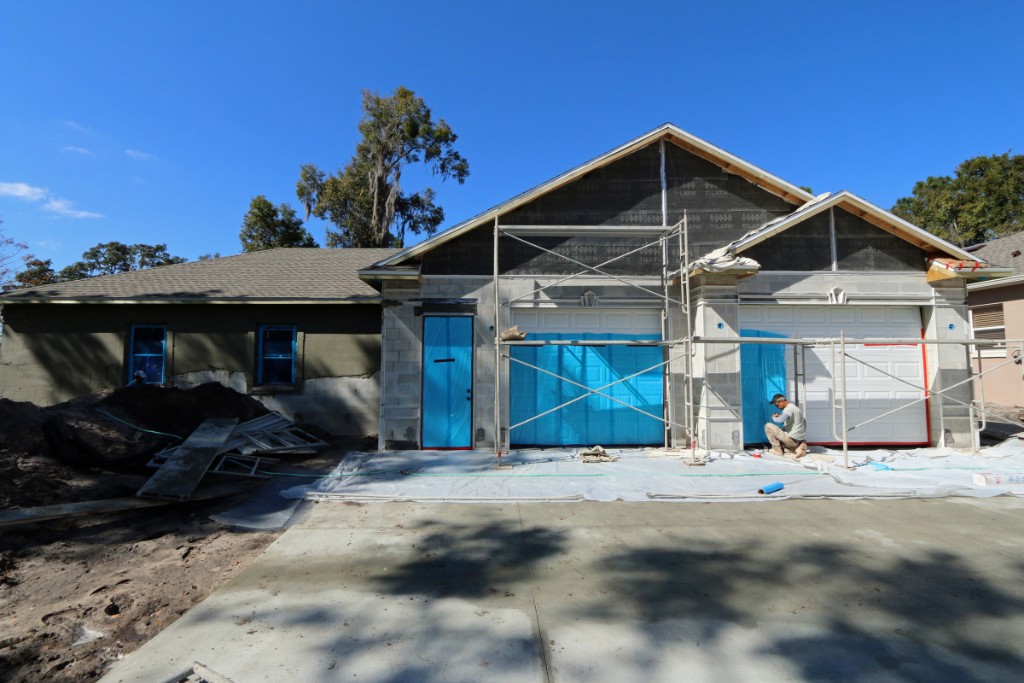
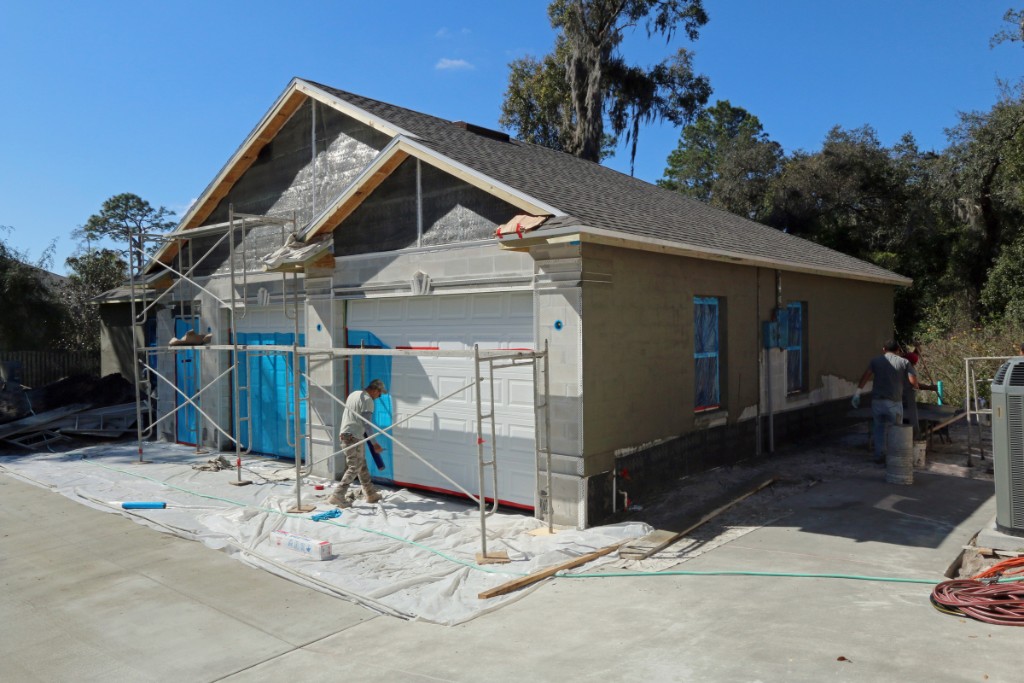
 172 Feb 7 2015 - The first stucco team took four+ days to get just the scratch and second coats on these two walls. They are being replaced with a (hopefully better/faster) stucco team. |
 173 Feb 11 2015 - Stucco team #2 is doing a much better and faster job. They finished forming the corners and decorative banding. |
 174 And they have started applying stucco to the front and north walls. |
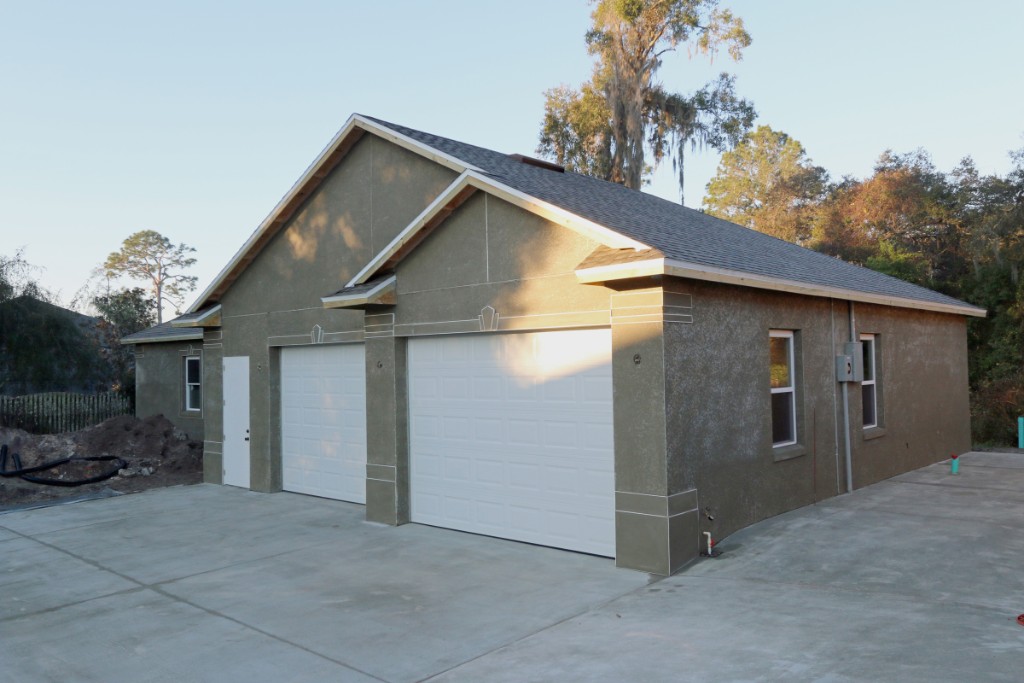
 175 . |
 176 Feb 17 2015 - Stucco is complete. |
 177 |
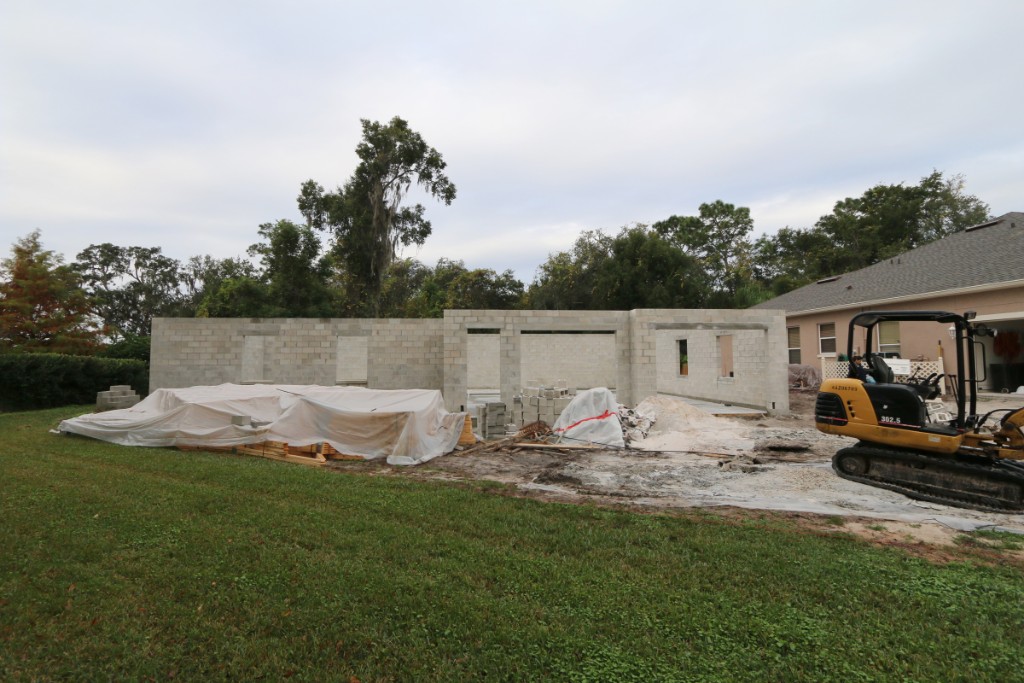
 178 |
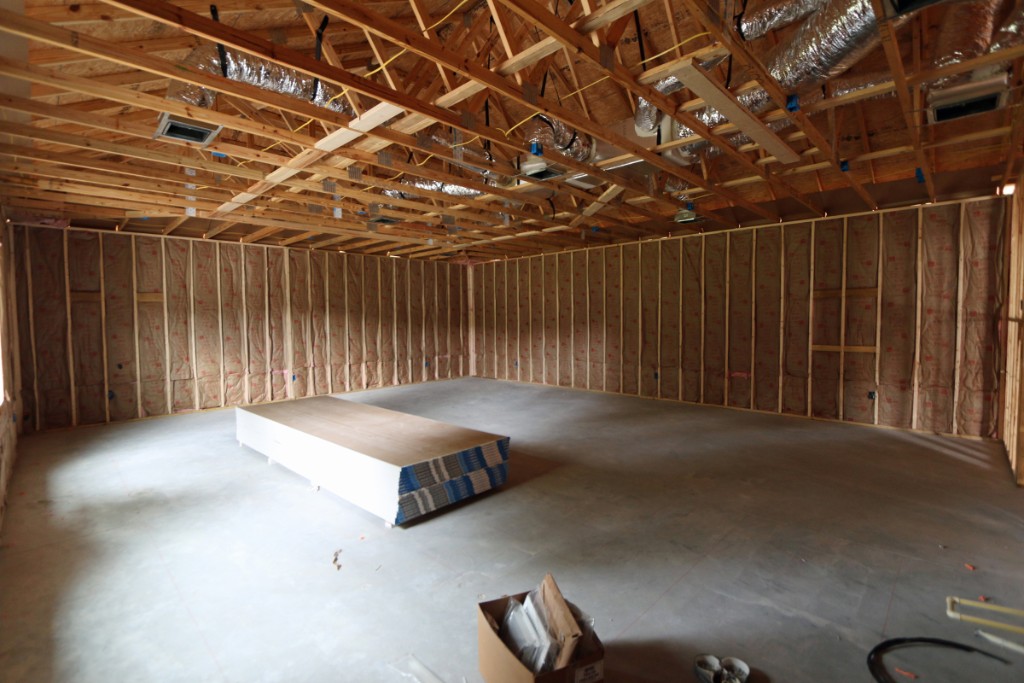
 179 Feb 21 2015 - They moved/spread the pile of fill dirt and did some basic final grading. |
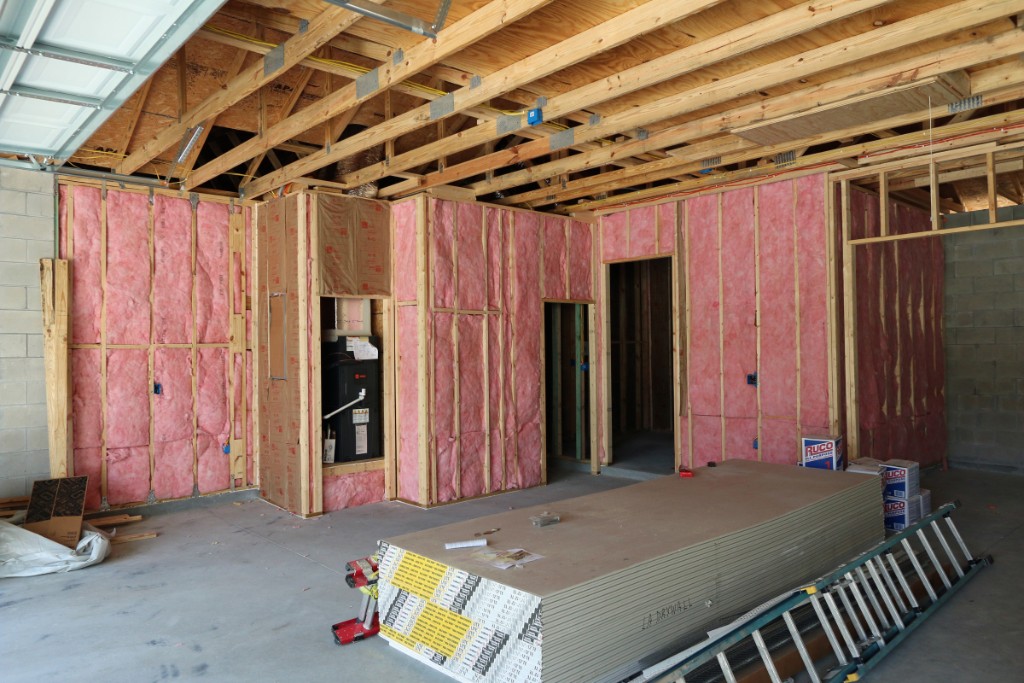 180 They installed the R13 wall insulation. After the drywall is installed on the walls and ceiling they will blow in R38 insulation into the ceiling/attic. |
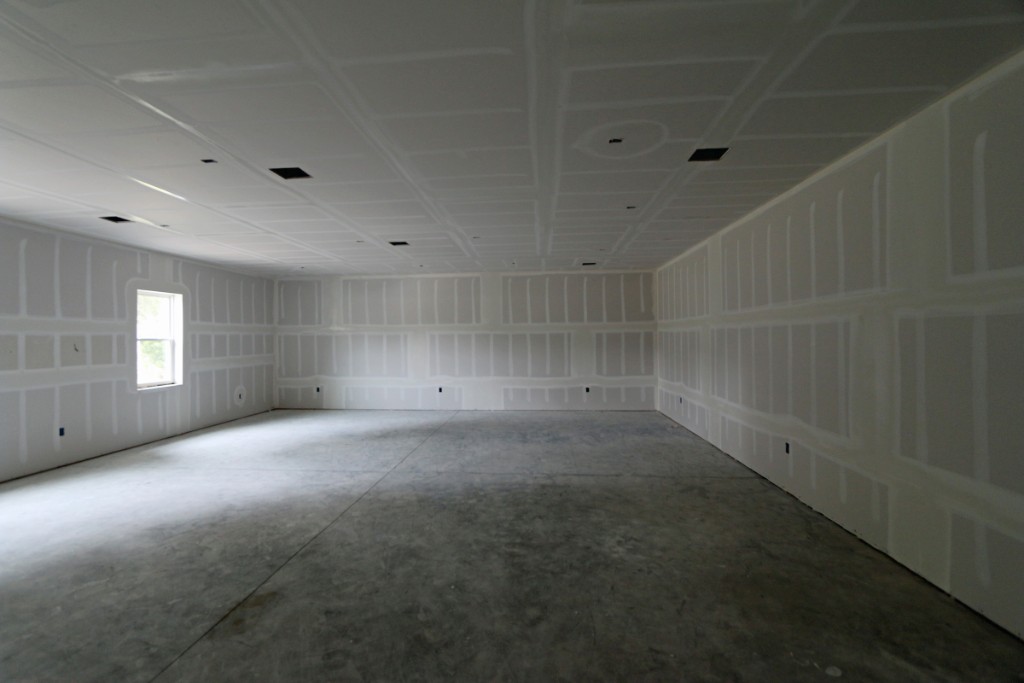
 181 It sounds a lot different in the train room with the insulation installed and no drywall. Very quiet. |
 182 Feb 21 2015 - They hung the drywall. It looked to me like a hot steaming mess. The county inspector agreed with my assessment. Hopefully the drywall finishers will be able to put lipstick on this pig. |
 183 |
 184 The train room has a nice echo now that drywall has been hung. |
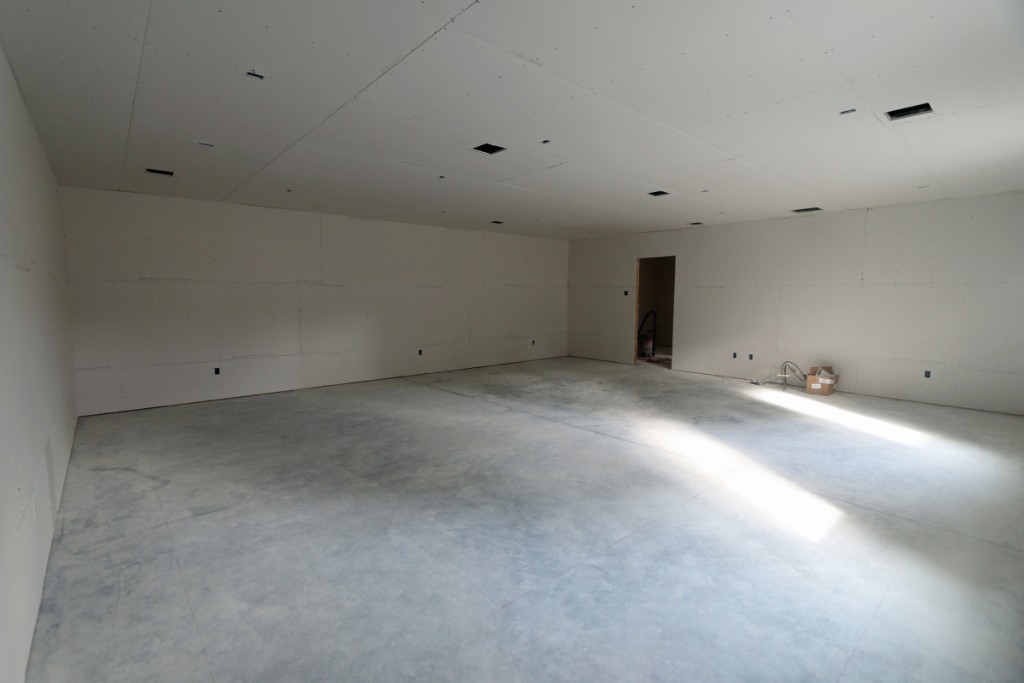
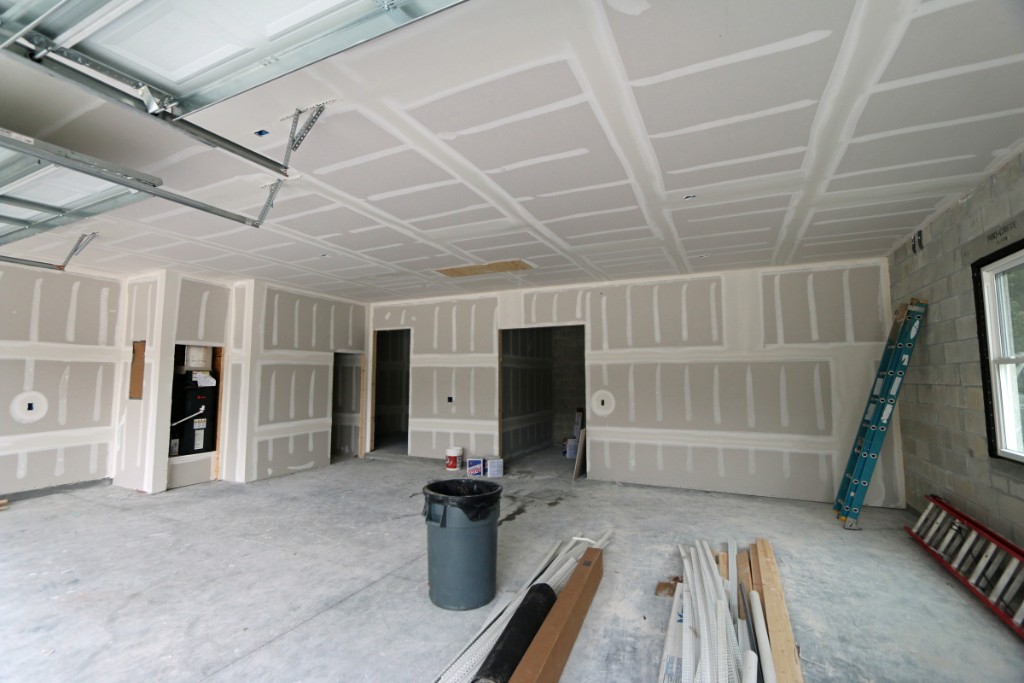
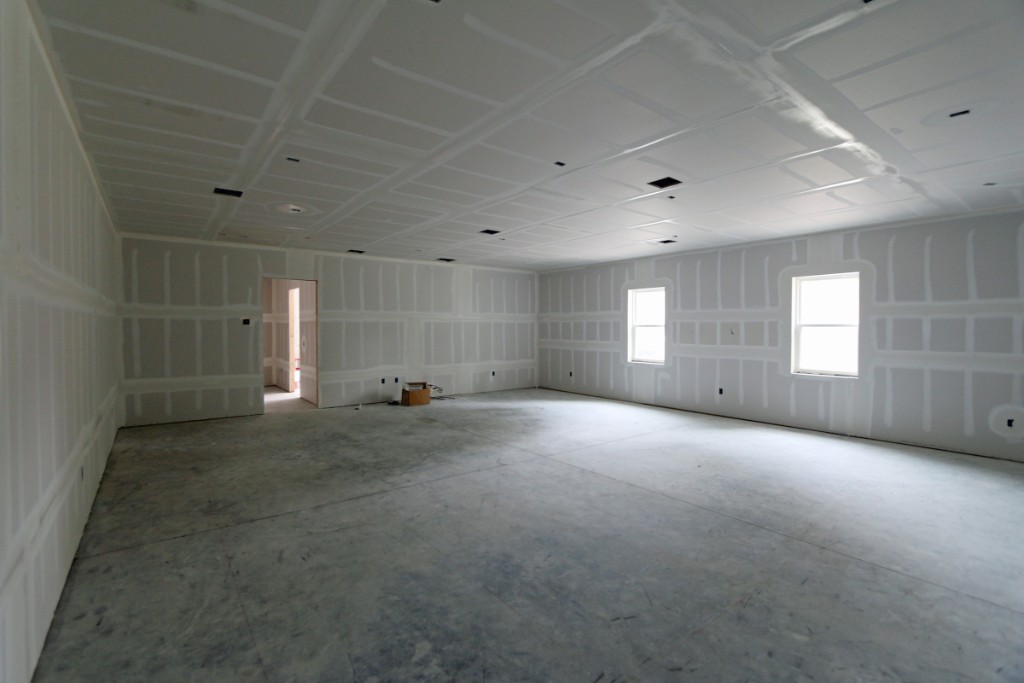
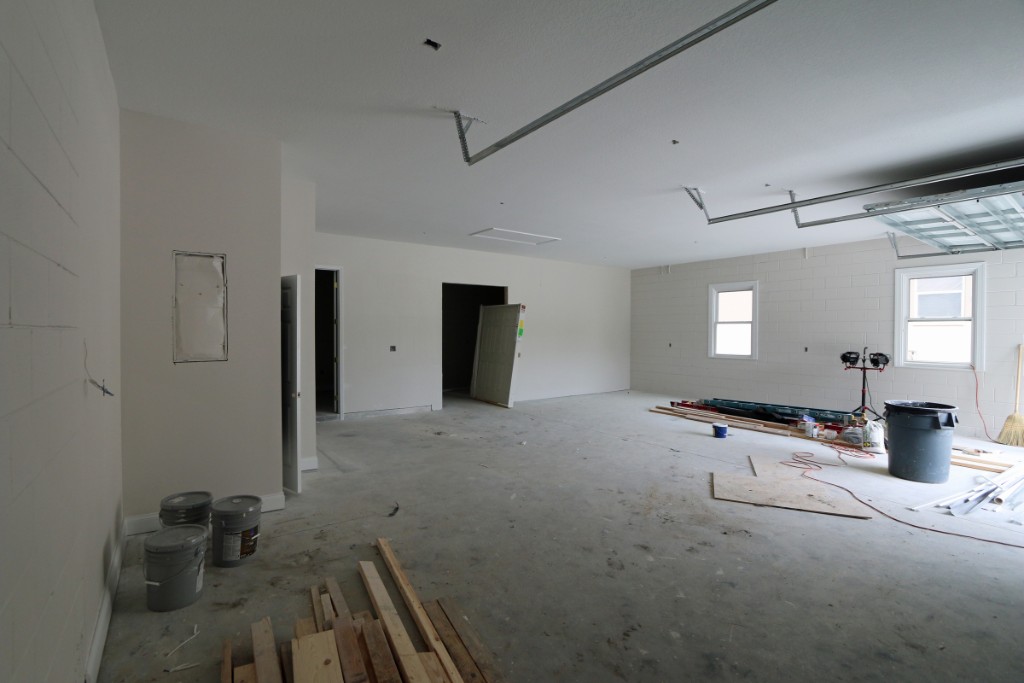
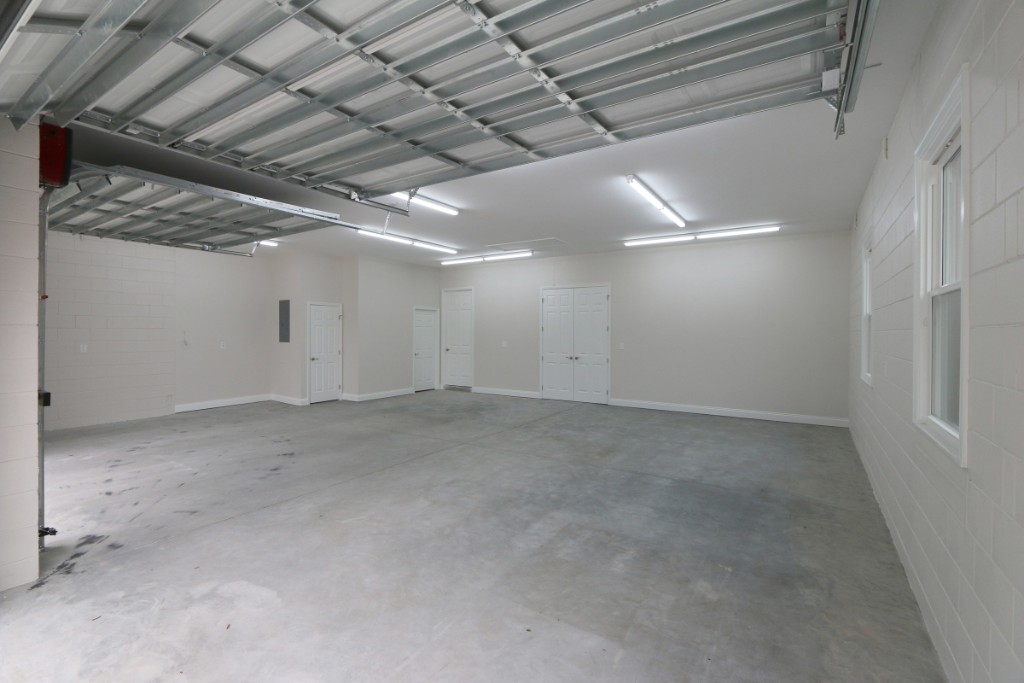
 185 The model workshop. The left door goes out to the garage area and the right door goes into the train room. |
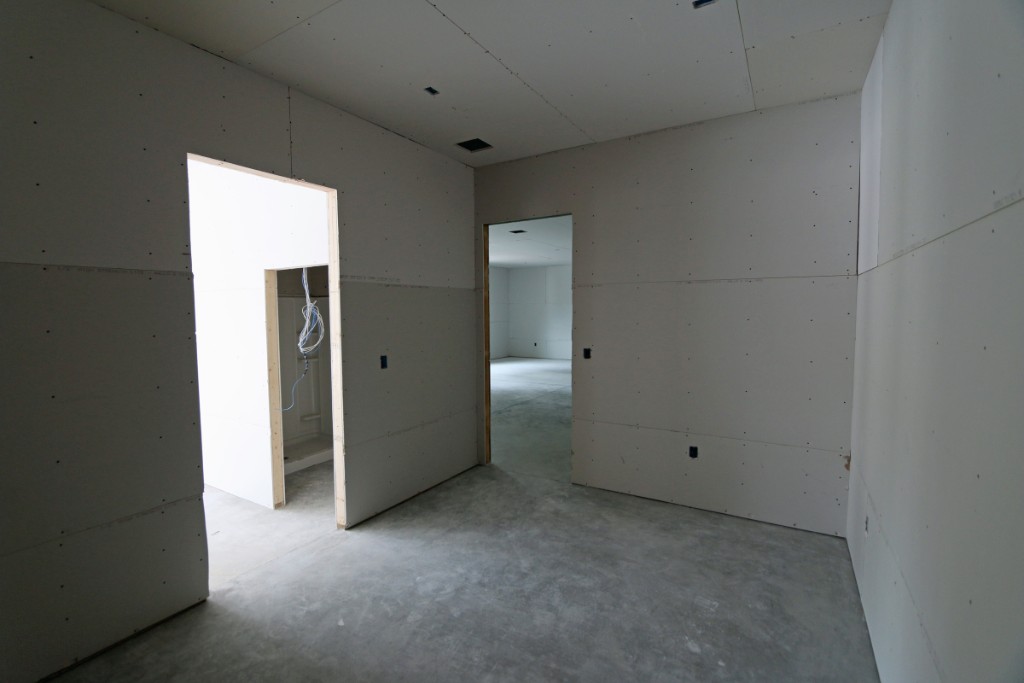
 186 Drywall in the garage area. |
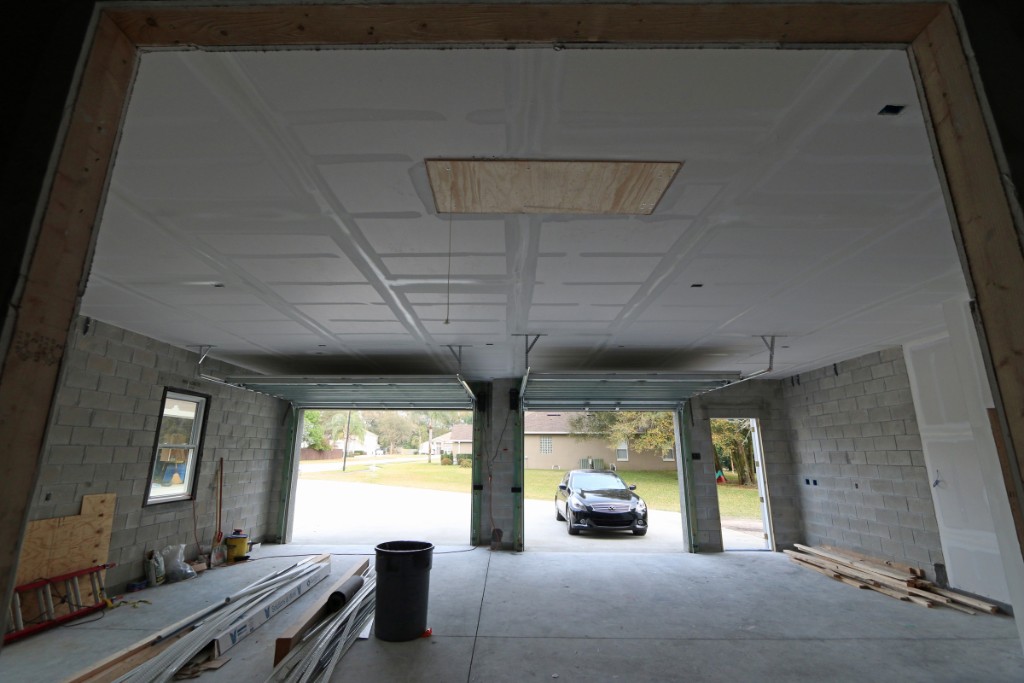
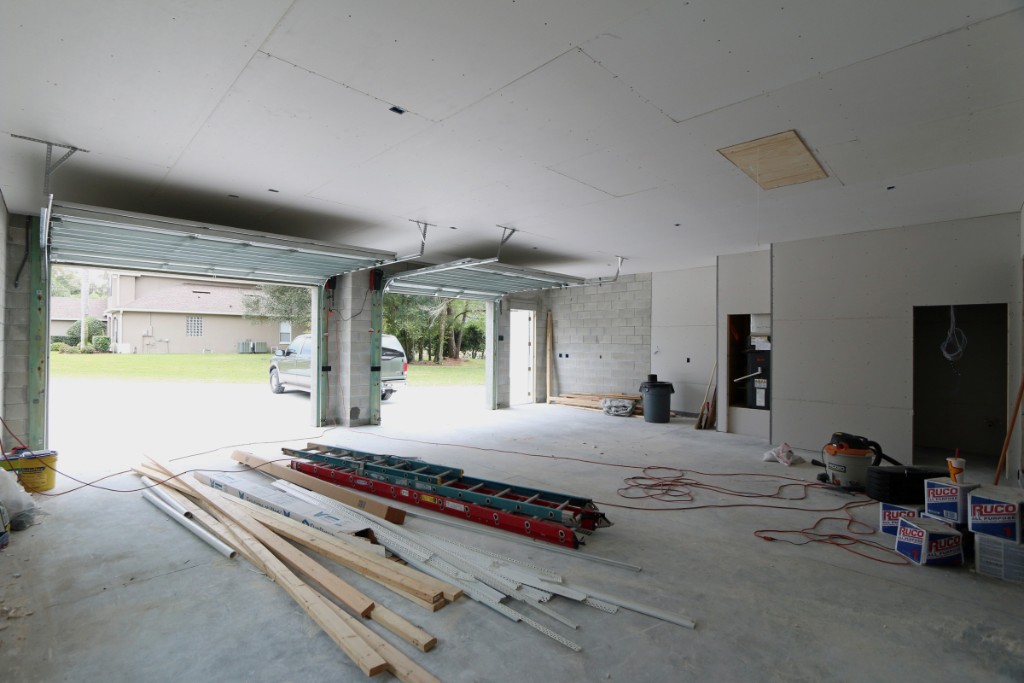 187 Drywall in the garage area. |
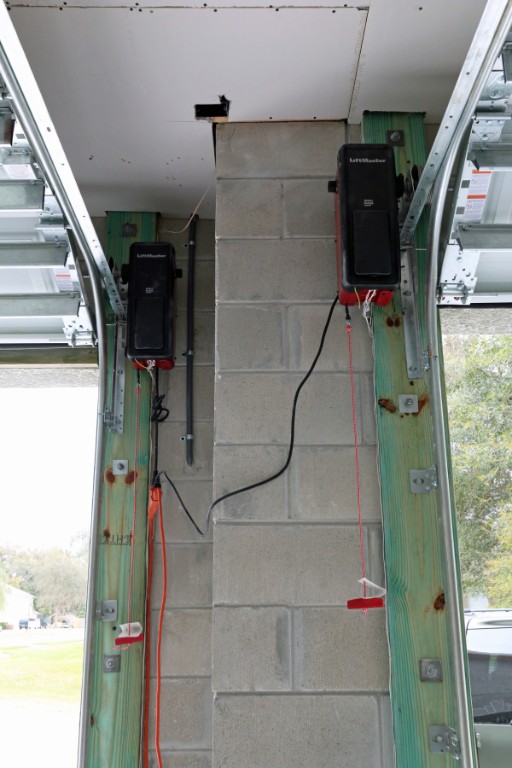 188 The Liftmaster 8500 garage door openers temporarily hooked up with an extension cord. The Liftmaster 8500 openers are amazingly quiet. |
 189 Feb 24 2015 - Soffit and fascia installed |
 190 |
 191 |
 192 |
 193 Feb 25 2015 - First pass of tape/mud. |
 194 First pass of tape/mud. |
 195 First pass of tape/mud. |
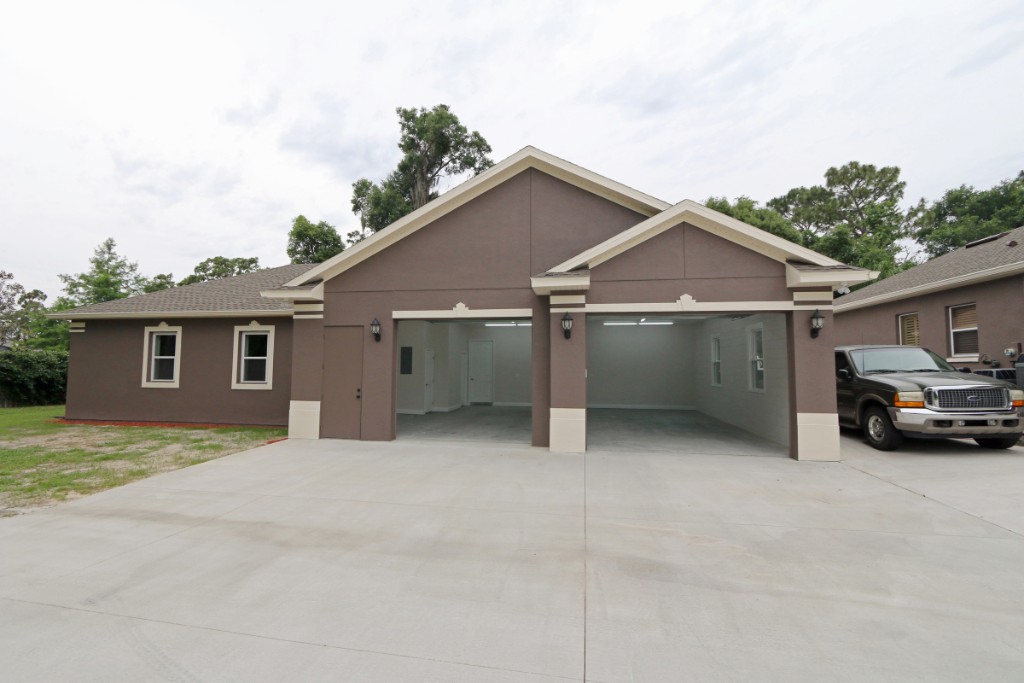
 196 First pass of tape/mud. Looking from the woodshop doorway towards the front of the garage. |
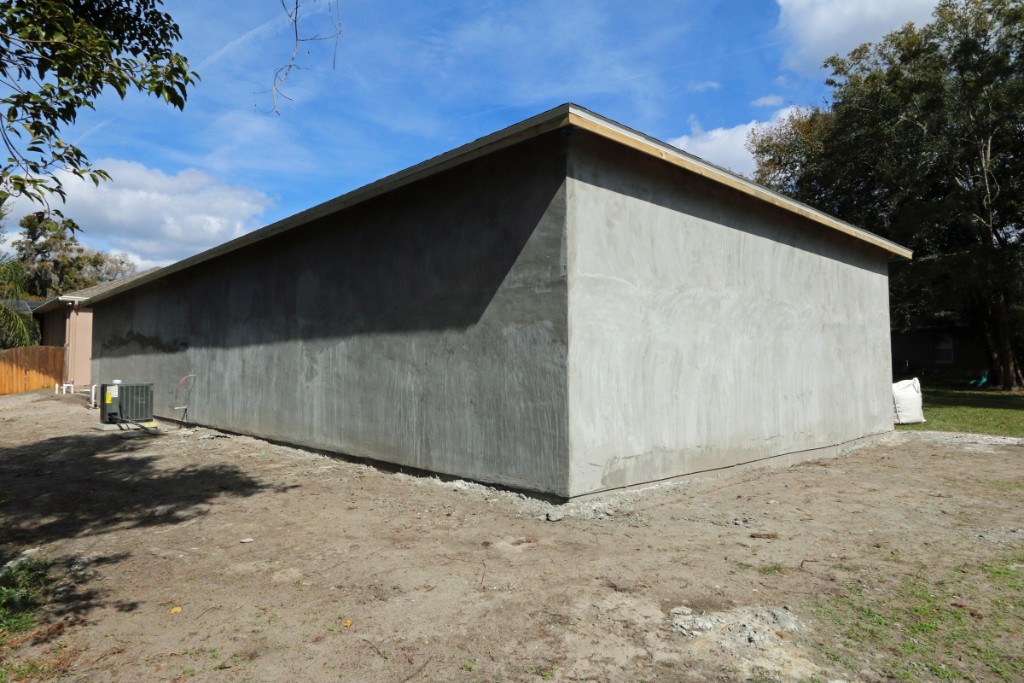
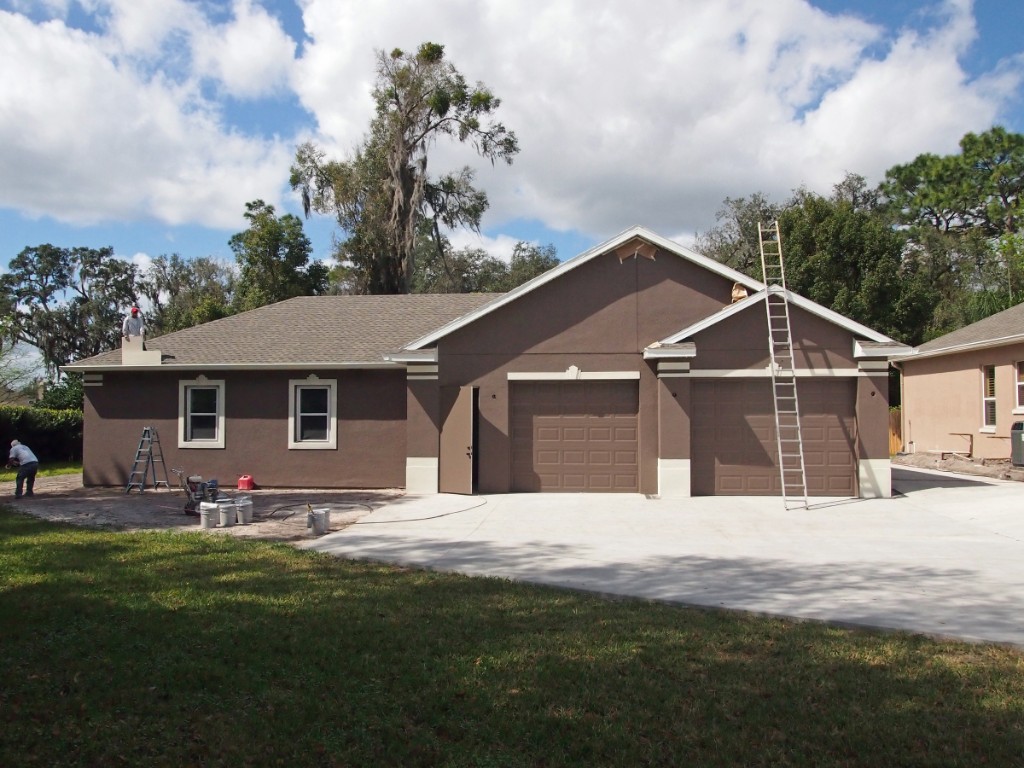 197 March 4 2015 - The painters have started painting the exterior of the garage. We were never happy with the way the house color turned out when it was repainted about 6 1/2 years ago so we are using the detached garage build as an excuse to repaint the house with a different color. The house will be repainted later this week to match the detached garage color scheme. The main color is Sherwin Williams SW6040 'Less Brown'. The trim color is SW7571 'Casa Blanca' (which is the same trim color that was used on the house before). Hopefully this darker color provides some 'stealth' so the detached garage's visual imprint is minimized. :) |
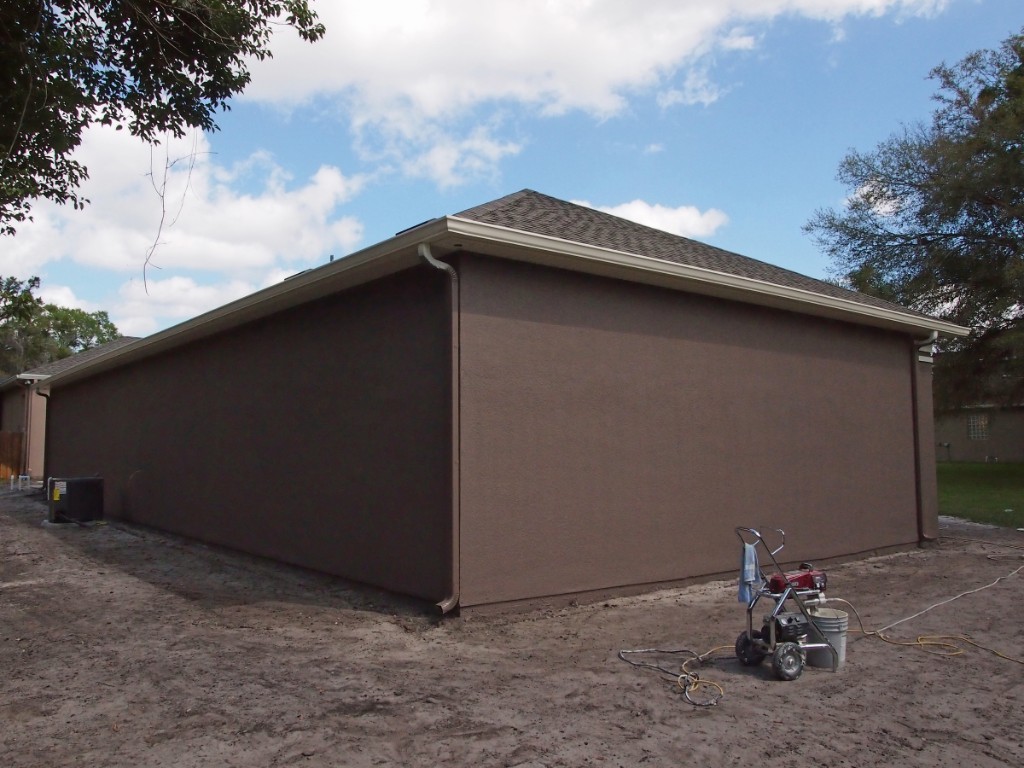 198 This is the "Concrete Bunker of Ultimate Doom" view of the garage. :) |
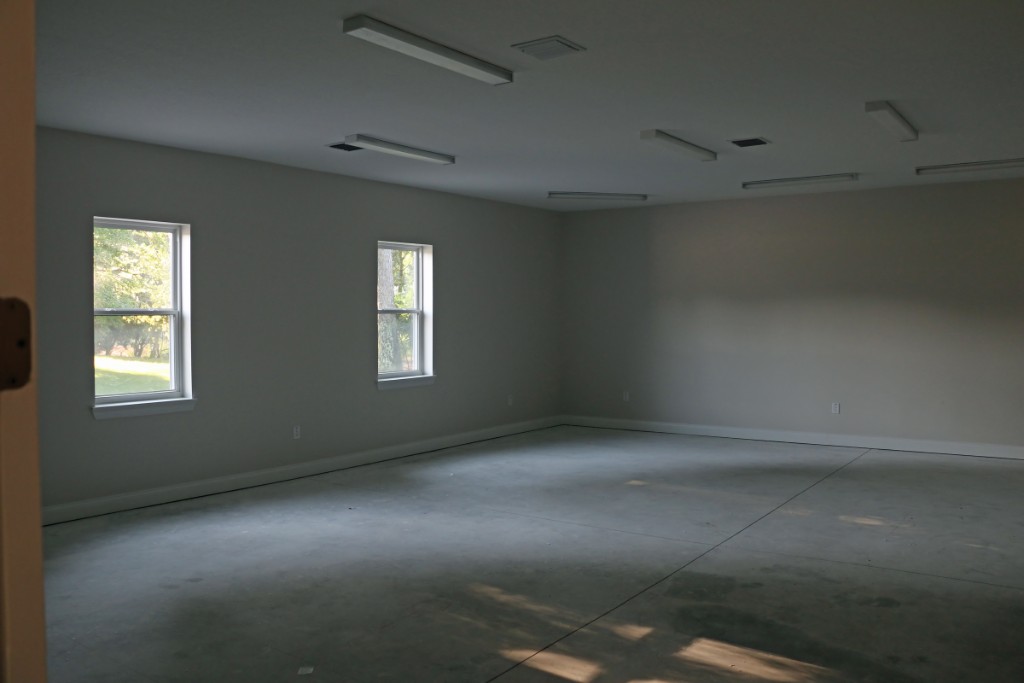
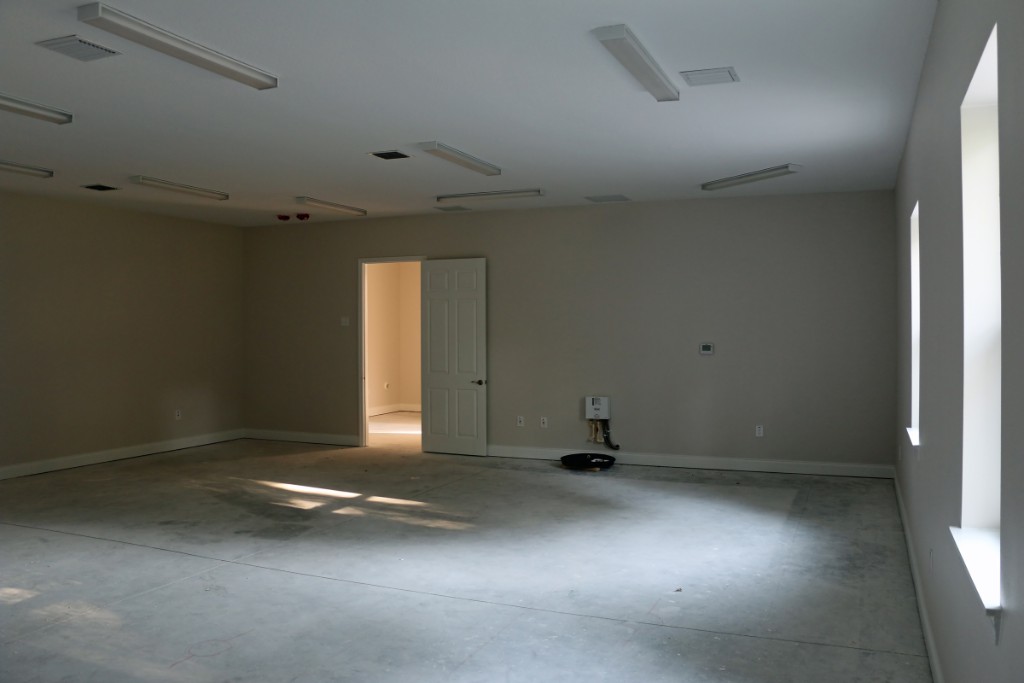
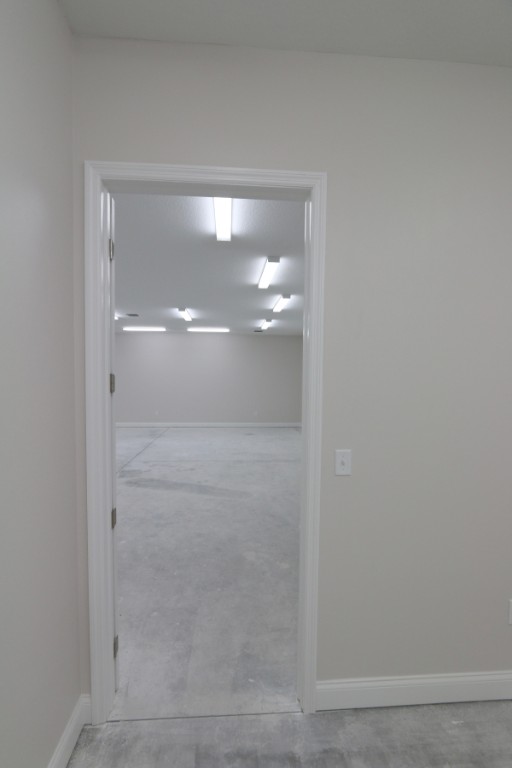
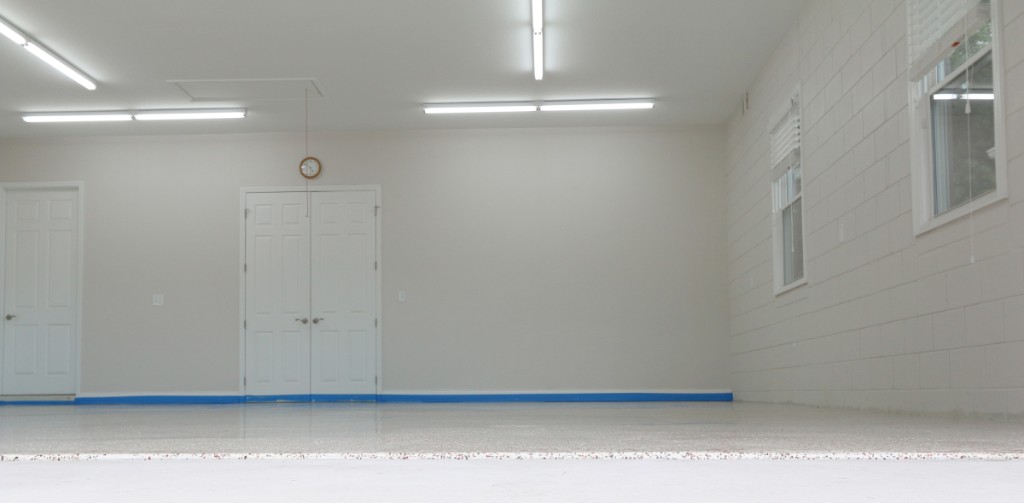
 199 March 7 2015 - Connelley Painting has started painting our house to match the detached garage color scheme. |
 200 The walls, ceiling, doors, and trim have been painted in the detached garage. The ceiling, doors, and trim are pure white and the walls are Sherwin Williams SW6035 Gauzy White. We are still waiting for the correct size double door for the woodshop which has prevented some of the baseboard trim from being installed as well. |
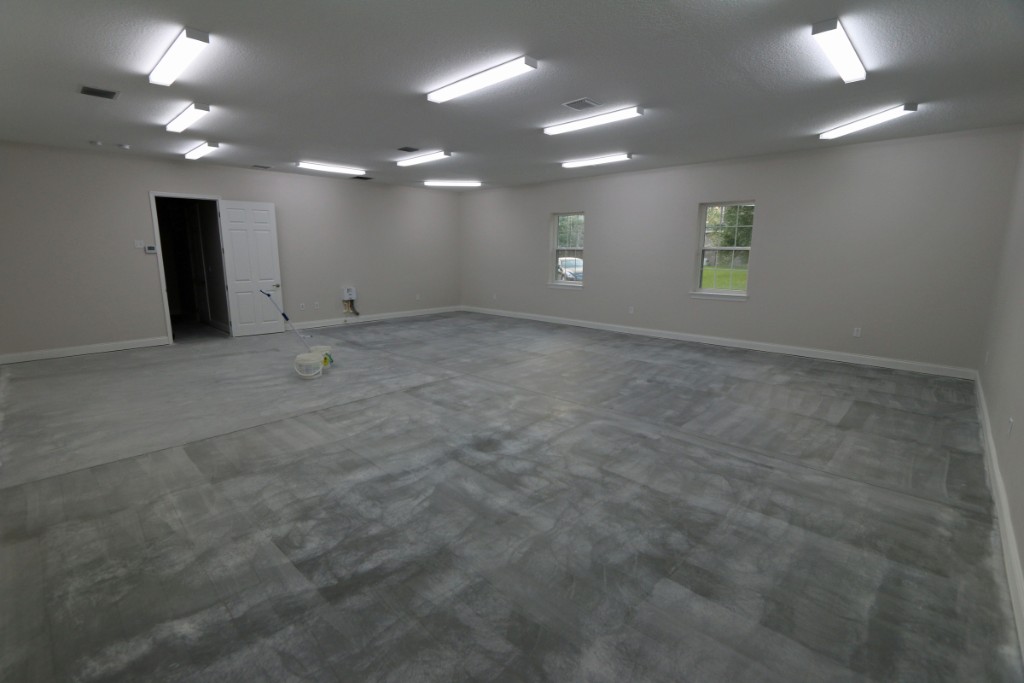
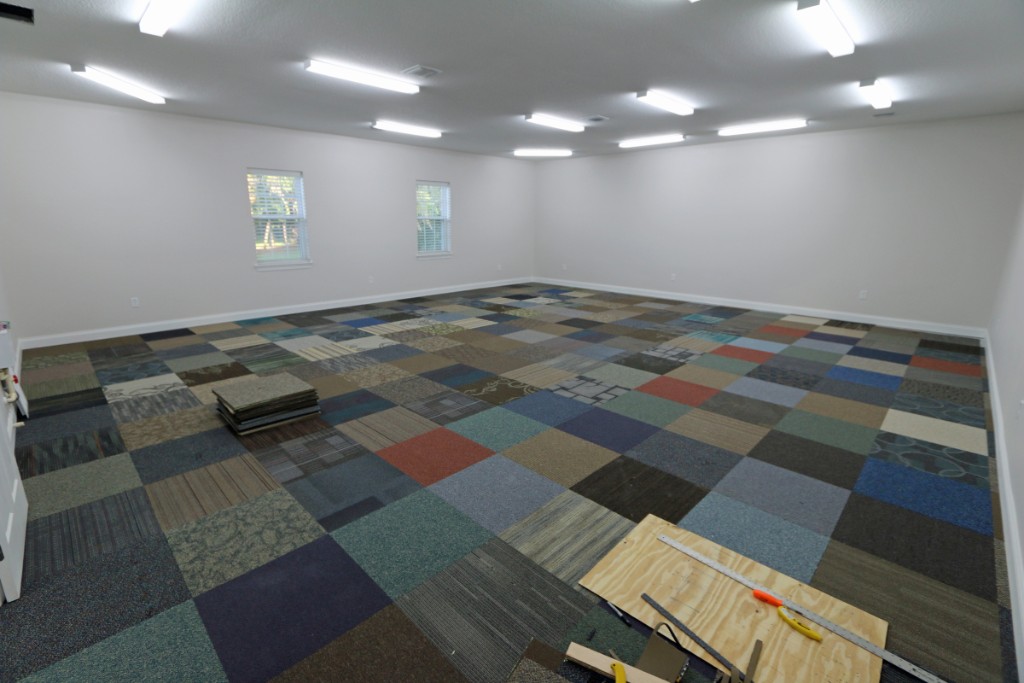
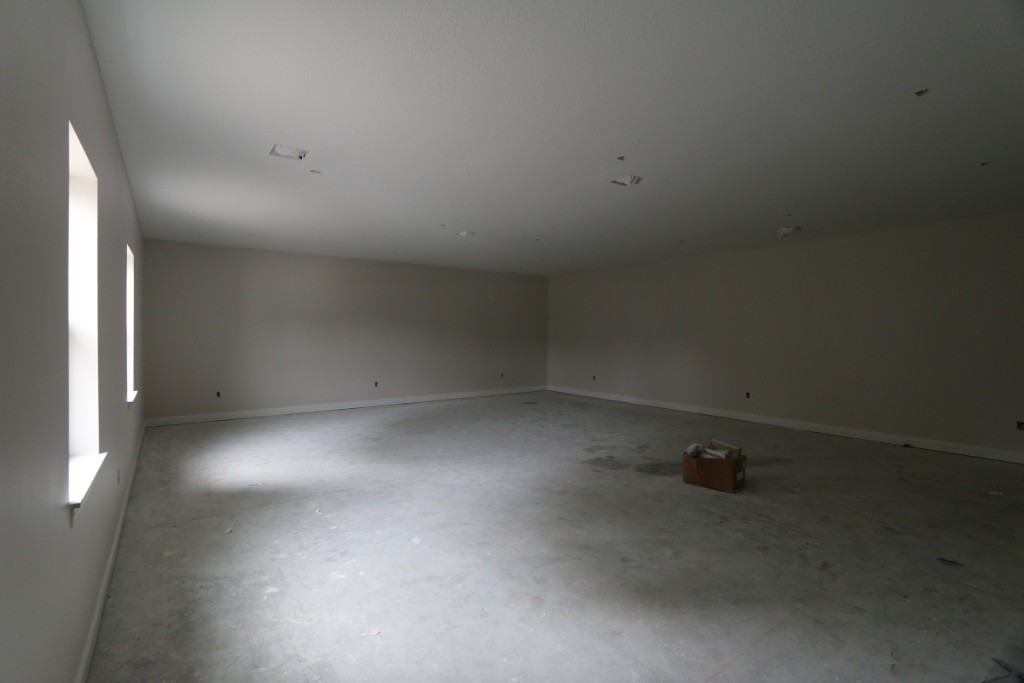 201 I chose this wall color because it's neutral and fairly light. |
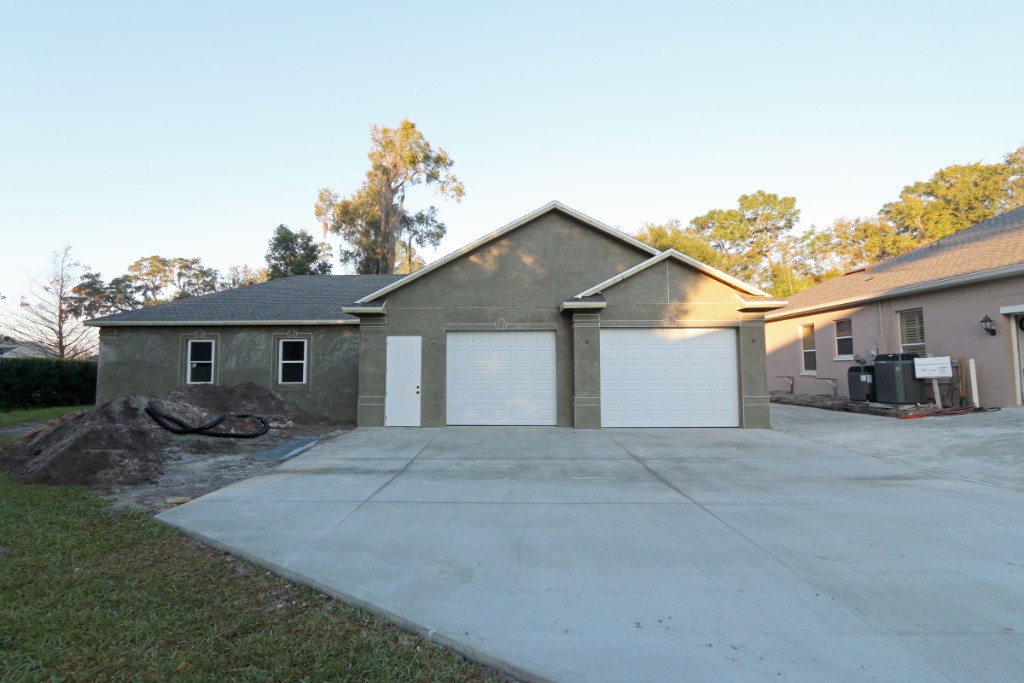
 202 The train room floor needs a major cleanup. Once it's complete I plan to install 24" random carpet tiles. They are cheap and easy to replace when 'accidents' happen. |
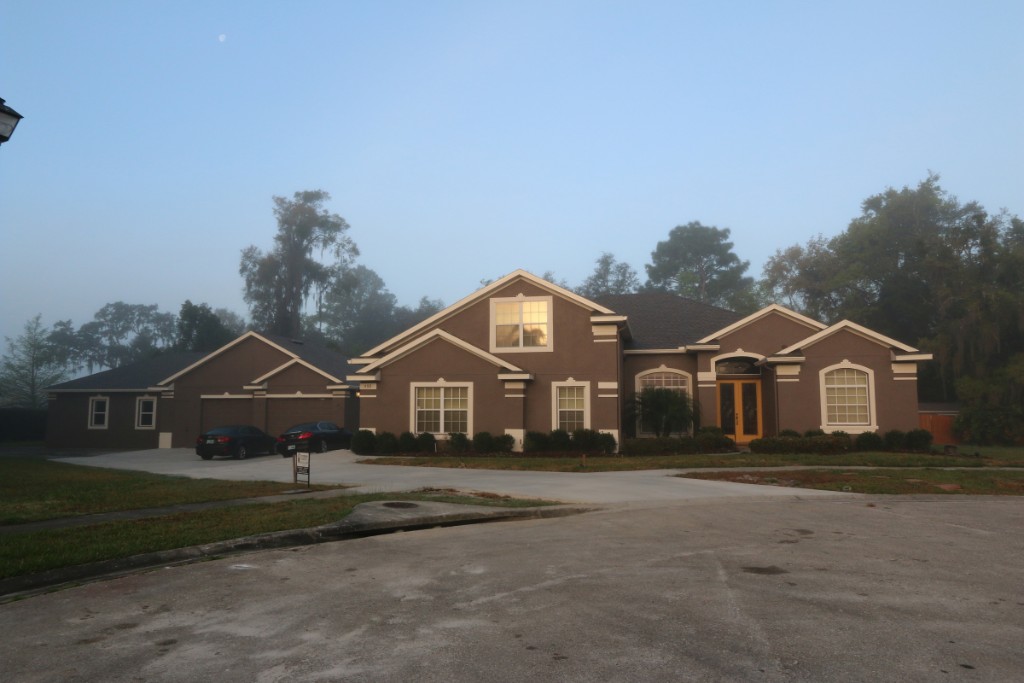 203 March 10 2015 - Both the house and the detached garage have been painted. |
 204 Both the house and the detached garage have been painted |
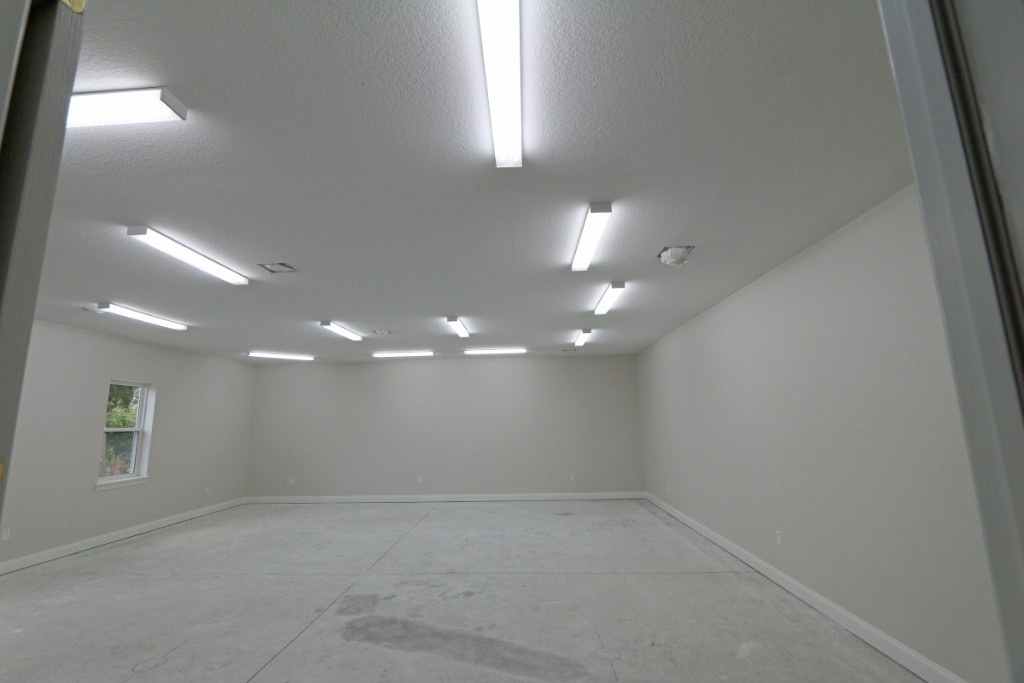
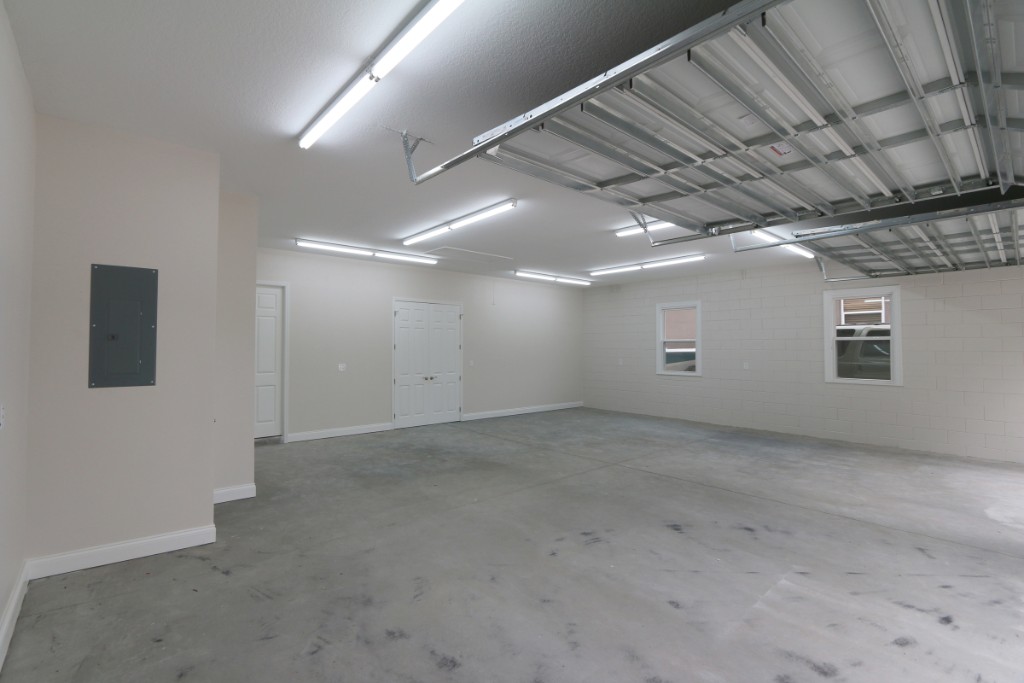
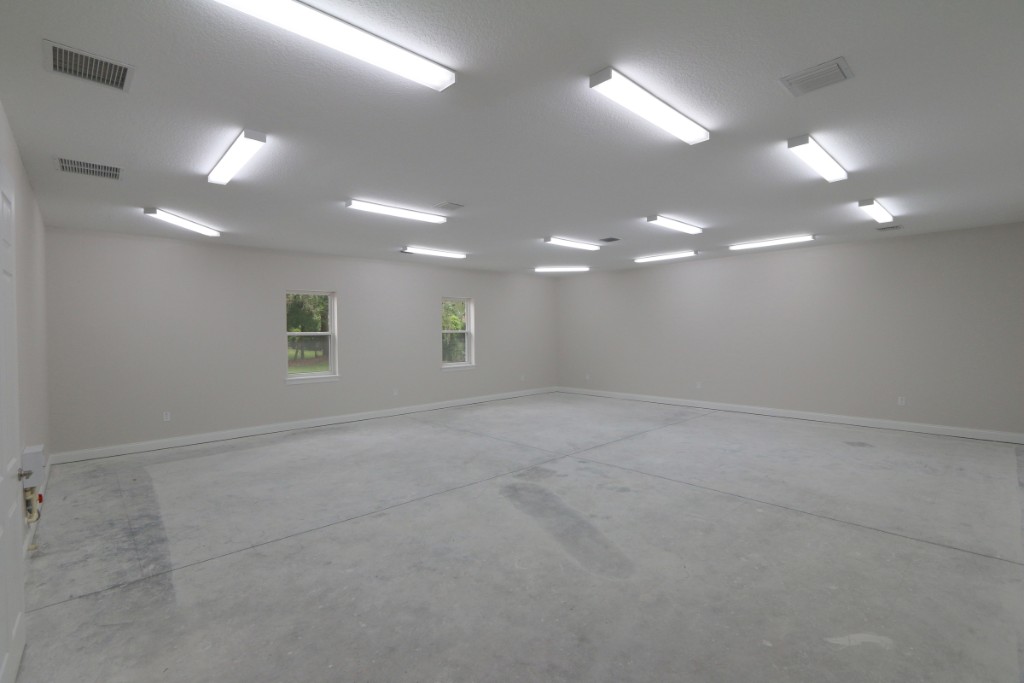
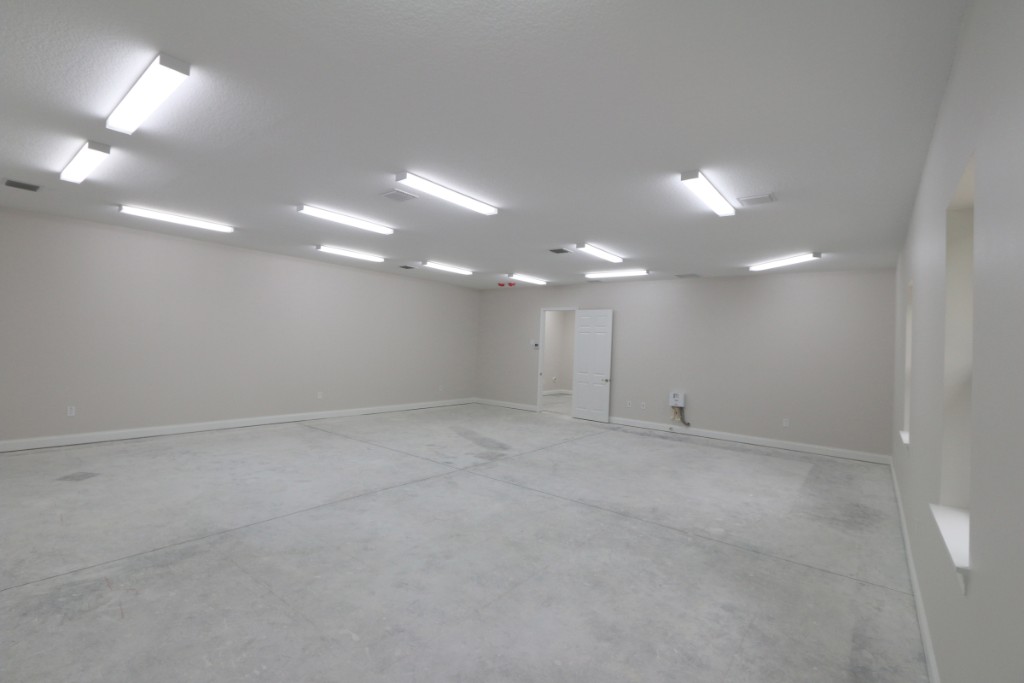
 205 March 21 2015 - The electricians installed all the outlets, light fixtures, etc this week. They rigged an extension cord from our house to the panel in the detached garage in order to test all the 120V circuits. The electrical inspection is scheduled for tomorrow and if it passes then Florida power & Light will come out and hook up the 200AMP service from the street. |
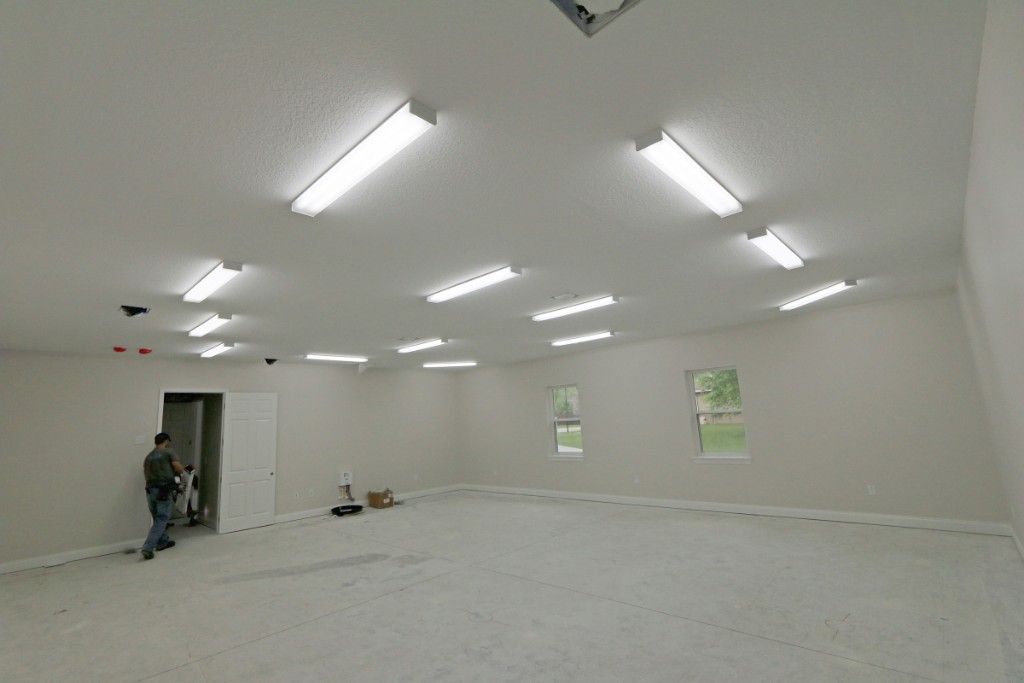
 206 The garage lights being tested. 1.21 Gigawatts of lighting. Old eyes need a lot of light. I like it. All the fluoresecent light bulbs in the detached garage are Maxlite T8 6500K Daylight 3200 Lumen bulbs. The garage area has two independant light zones so not all 1.21GW of lighting has to be on/off at the same time. |
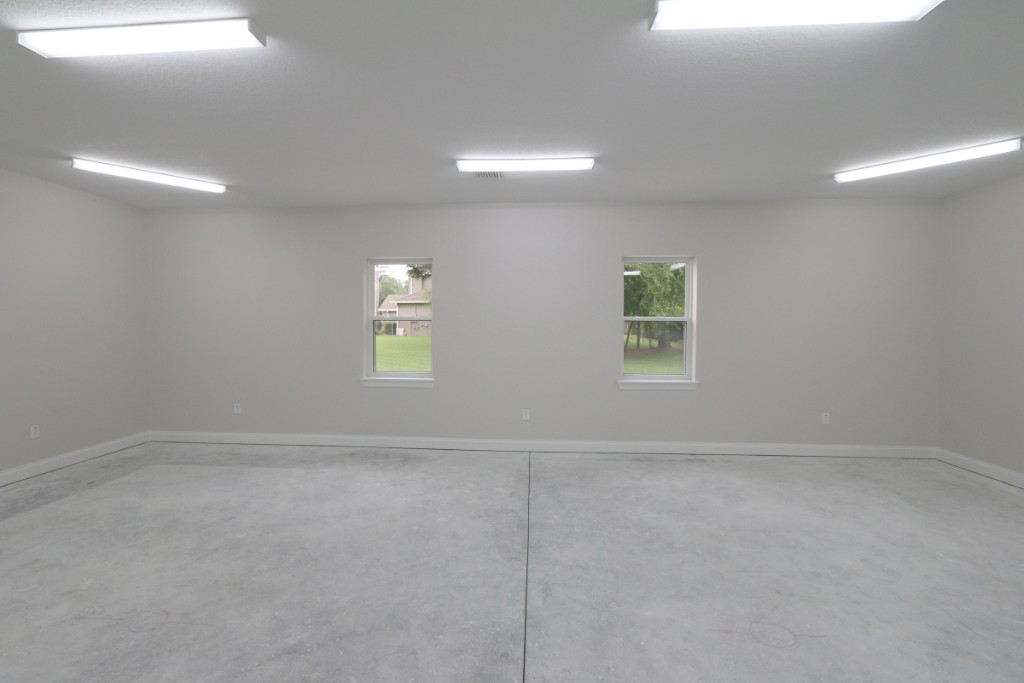
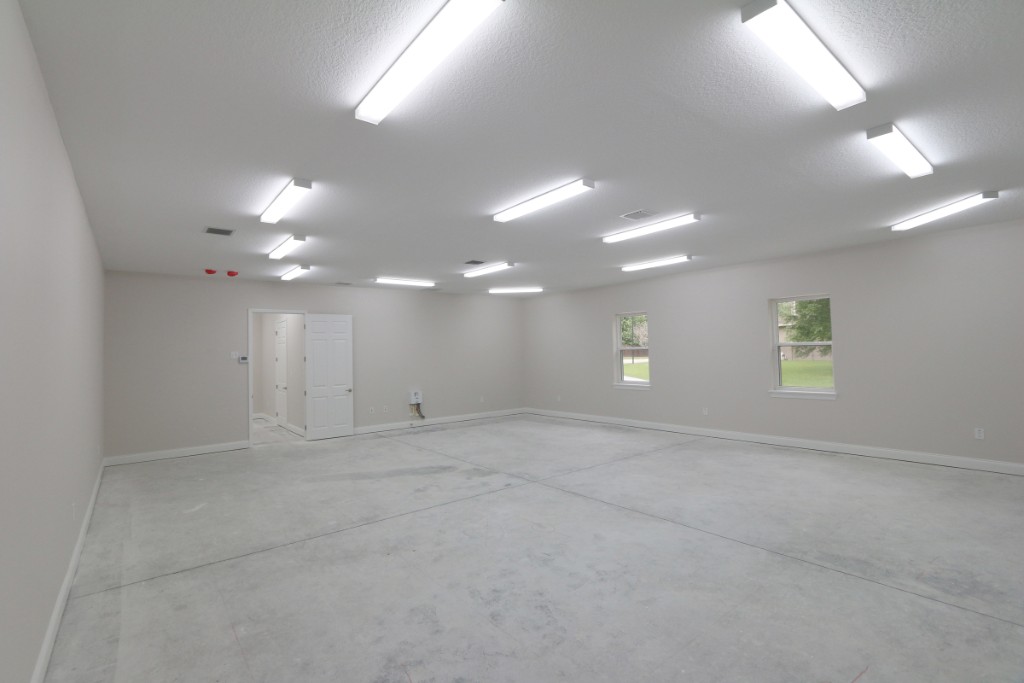
 207 The train room with 13 ceiling light fixtures. The lights in the train room may seem to have an 'interesting' pattern, but it will all make sense once the layout benchwork is constructed. |
 208 Train room lighting.... |
 209 More train room lighting |
 210 Model workshop lighting. I need lots of light for model building (and ammunition reloading). |
 211 The incandescent light bulbs is the attic storage area seem rather yellow after all those 6500K fluorescent light bulbs. |
 212 |
 213 |
 214 |
 215 April 4 2015 - Still waiting for plumbing final inspection and overall final inspection to be passed. |
 216 |
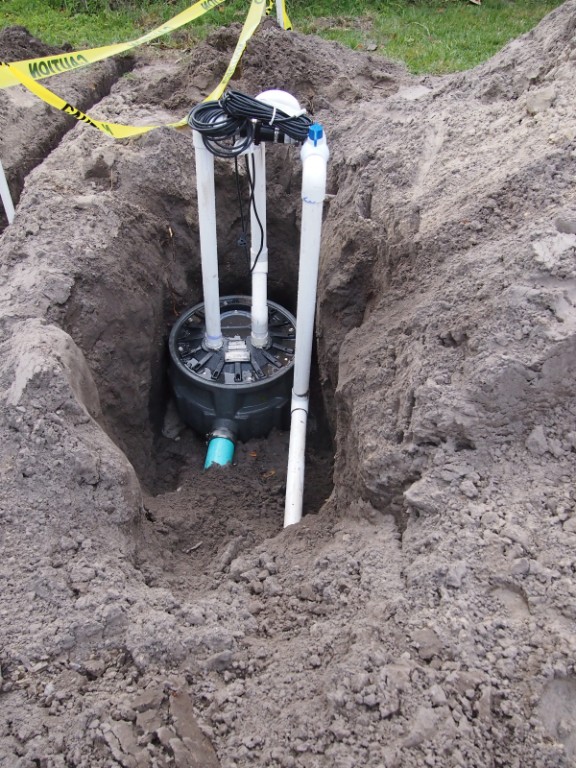
 217 |
 218 Once the GC is done with the garage structure we will have irrigation/sprinkler system installed and then landscape/sod around the garage. |
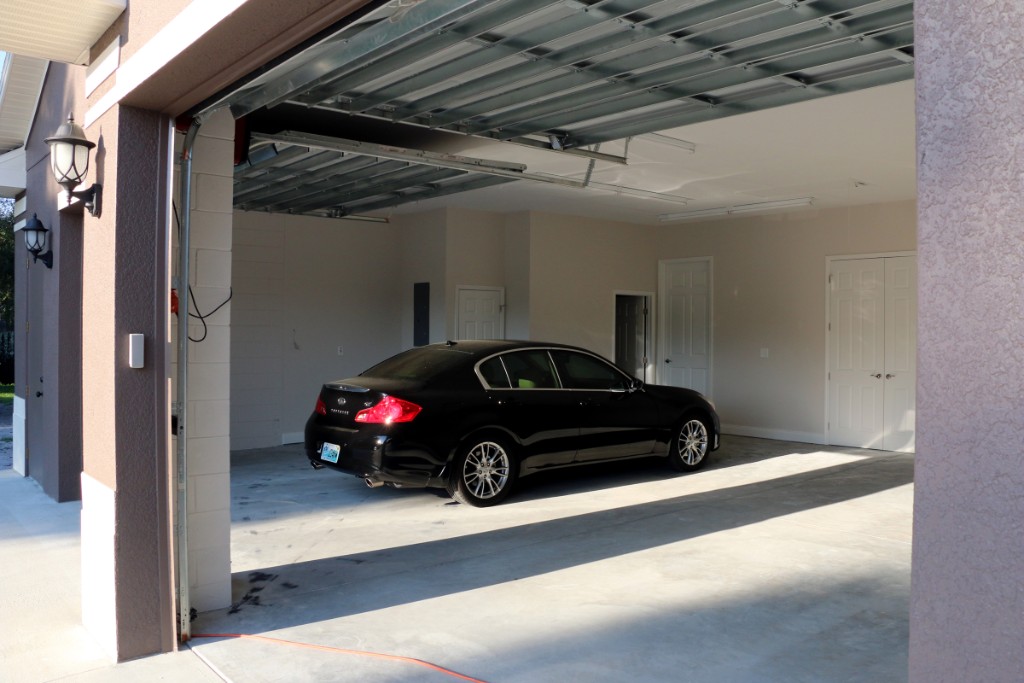
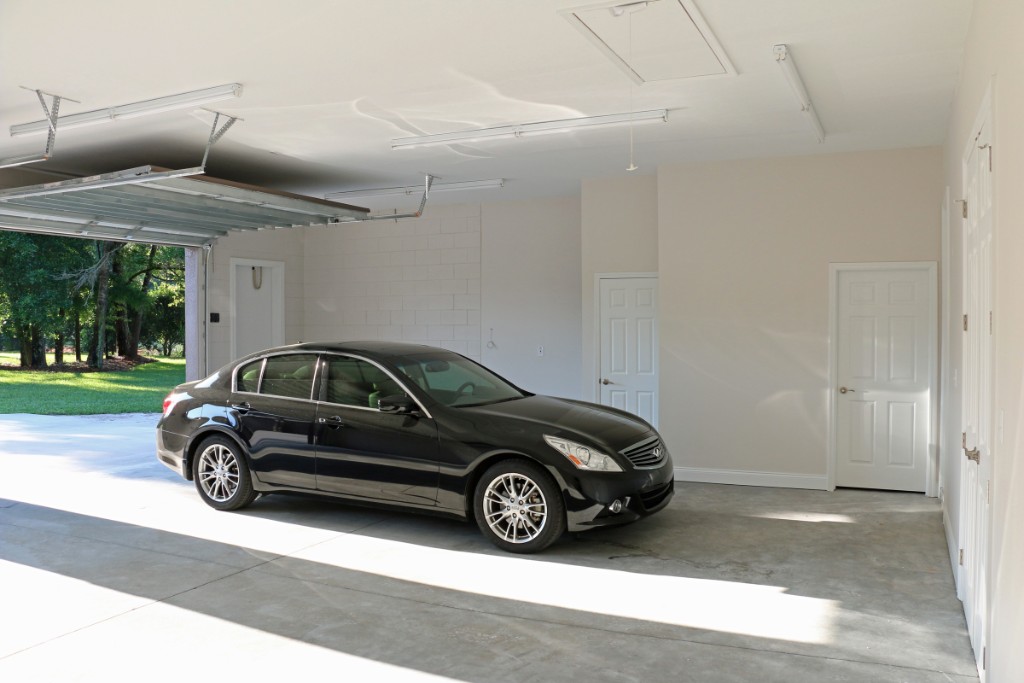
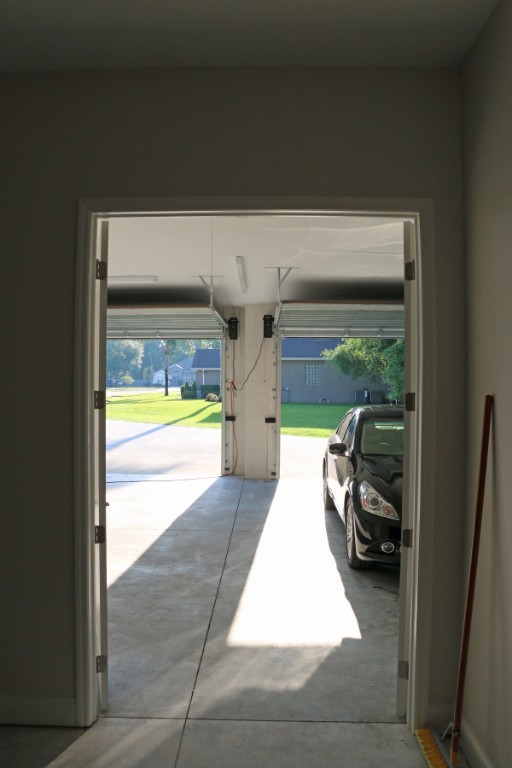
 219 |
 220 Our attached garage is still full of stuff that will move to detached garage once it's complete so for now I park the Infiniti in the detached garage. |
 221 |
 222 I can't wait to get electrical power hooked up. |
 223 |
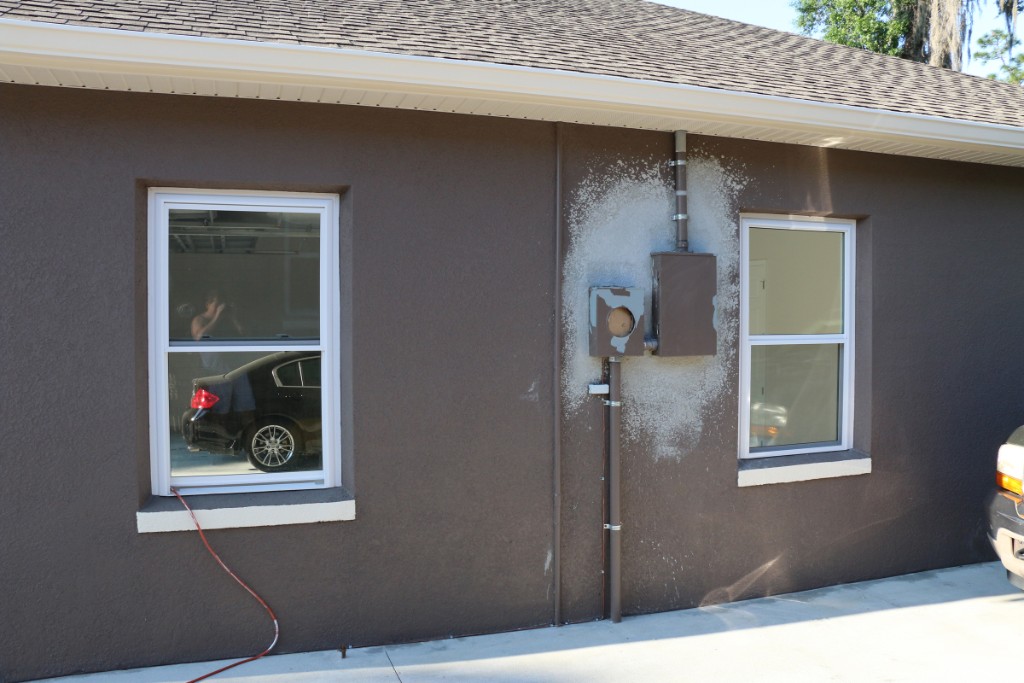
 224 |
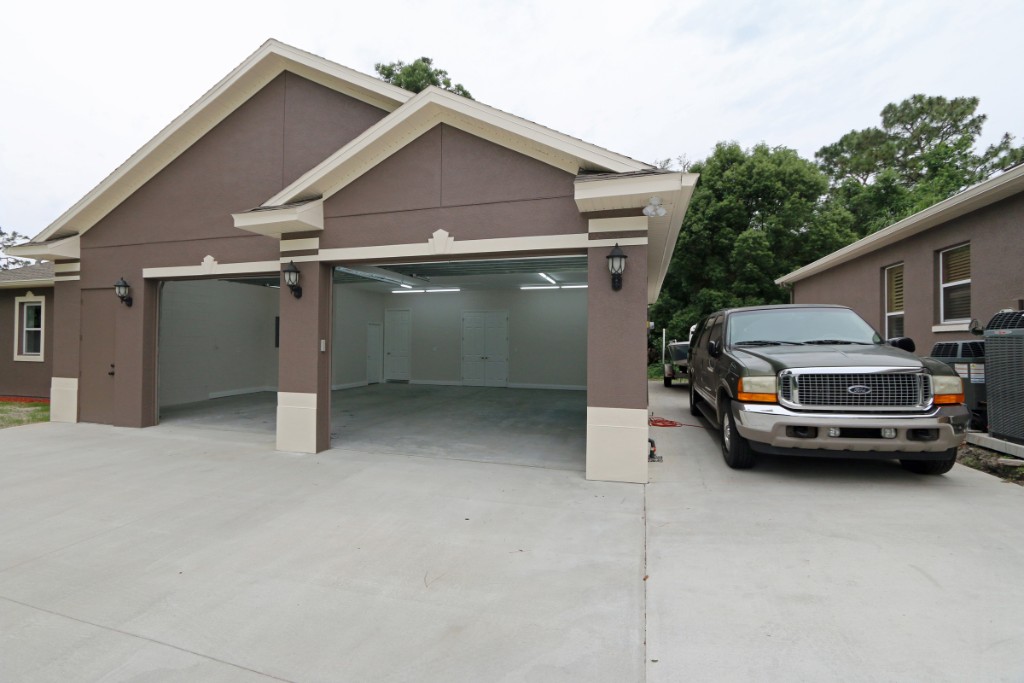
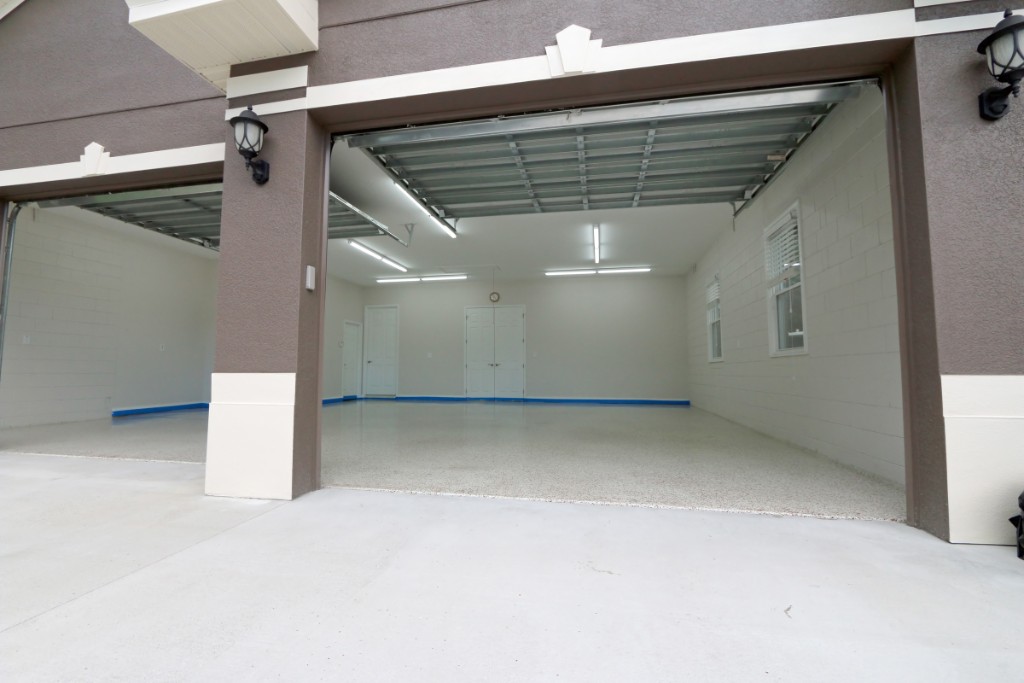
 225 The electrical final inspection failed because the center of the handle for the main garage 200AMP disconect breaker was 6' 7 1/2" above the ground the code specifies a max height of 6'7". When the meter and external disconnect boxes were installed the driveway had not been poured and the assumption was that the top of the driveway would be 4"-6" higher than it ended up being. The electrical boxes were lowered about 4" which required replacing the cables from the exterior box to the interior breaker panel, and patching lots of stucco. Ouch. |
 226 April 27 2015 -- Finally. Finally FPL hooked up the 200AMP service and installed the meter for the detached garage. It was actually the county that took a full week to send the "Certificate of Completion" to FPL before FPL could schedule the power hookup. I brought the Tidewater 21 Bay boat home and parked it and the Ford Excursion in the parking spot between the detached garage and the house. They fit nicely. I also briefly put the Tidewater in its spot in the detached garage to confirm it fits comfortably. |
 227 |
 228 |
 229 |
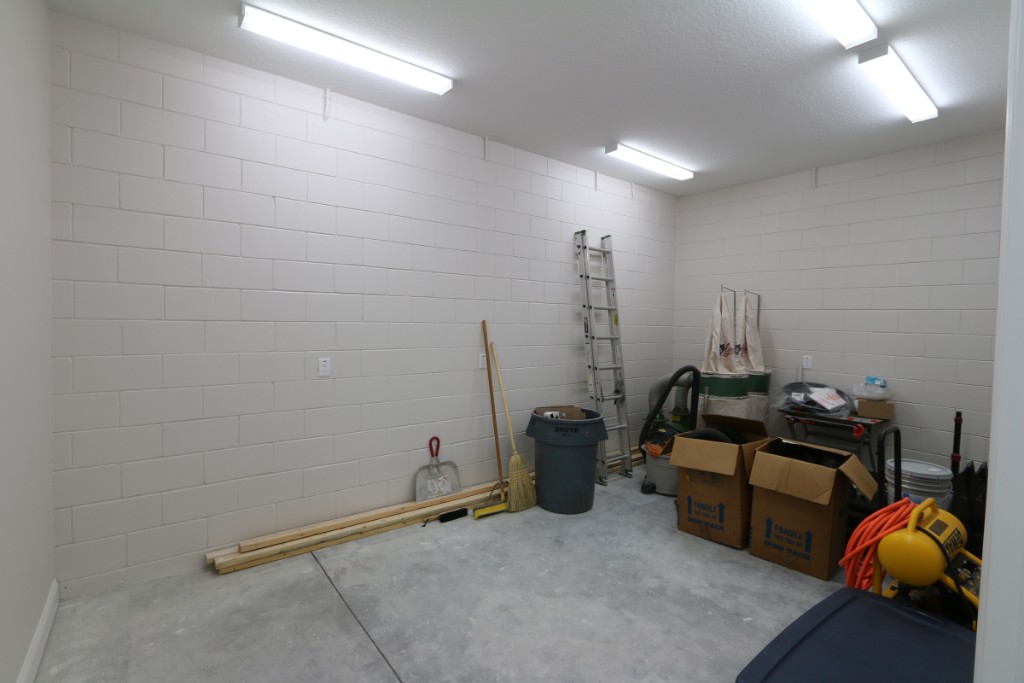
 230 |
 231 I will need to clear all this stuff out when I start the process of installing epoxy coating on the garage floor. |
 232 |
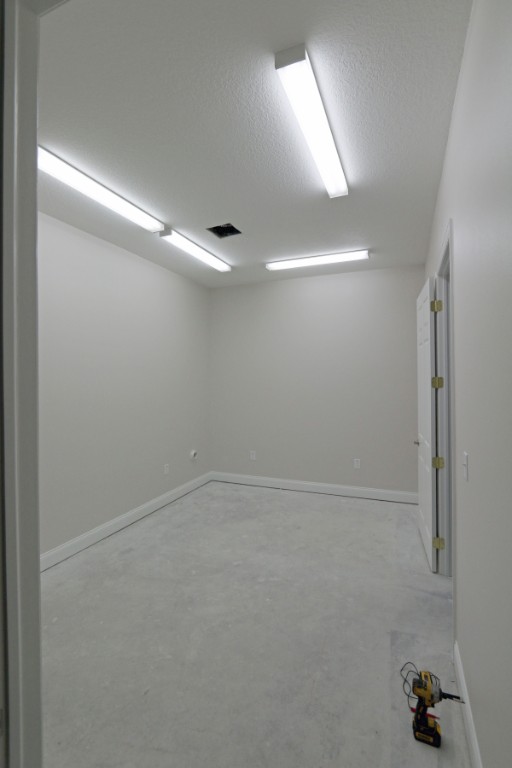
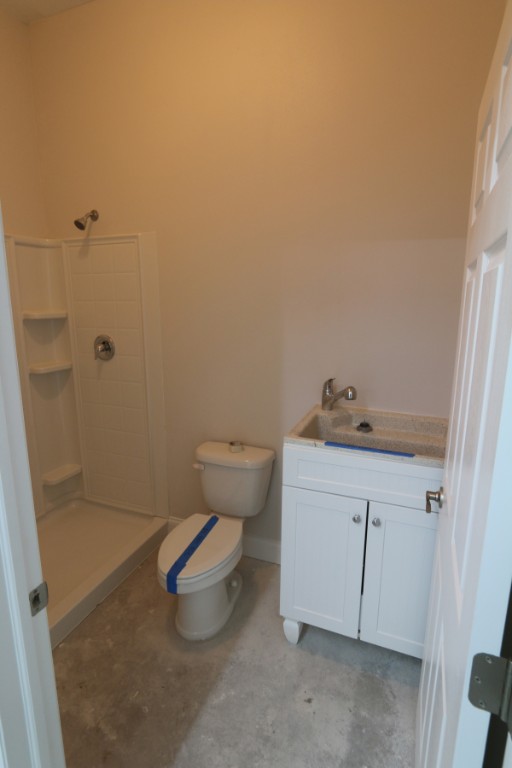
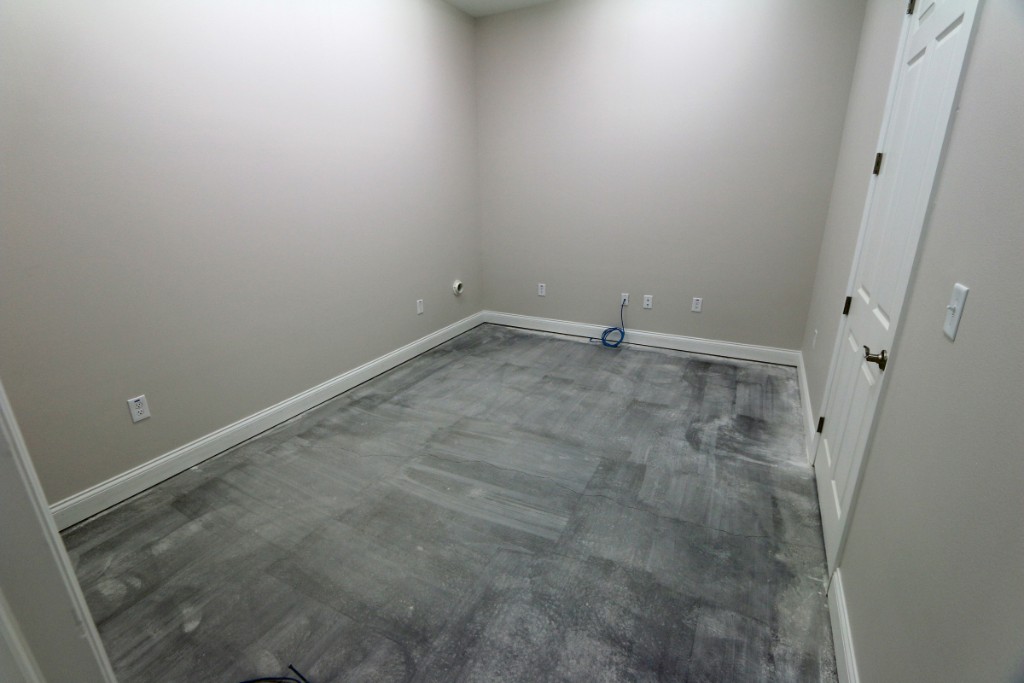
 233 |
 234 The lights in the garage are much brighter and whiter than the light in the bathroom. I have subsequently replaced the original incandescent fixture with a much brighter LED fixture. |
 235 The model workshop |
 236 Looking into the train room from the model workshop. |
 237 |
 238 |
 239 |
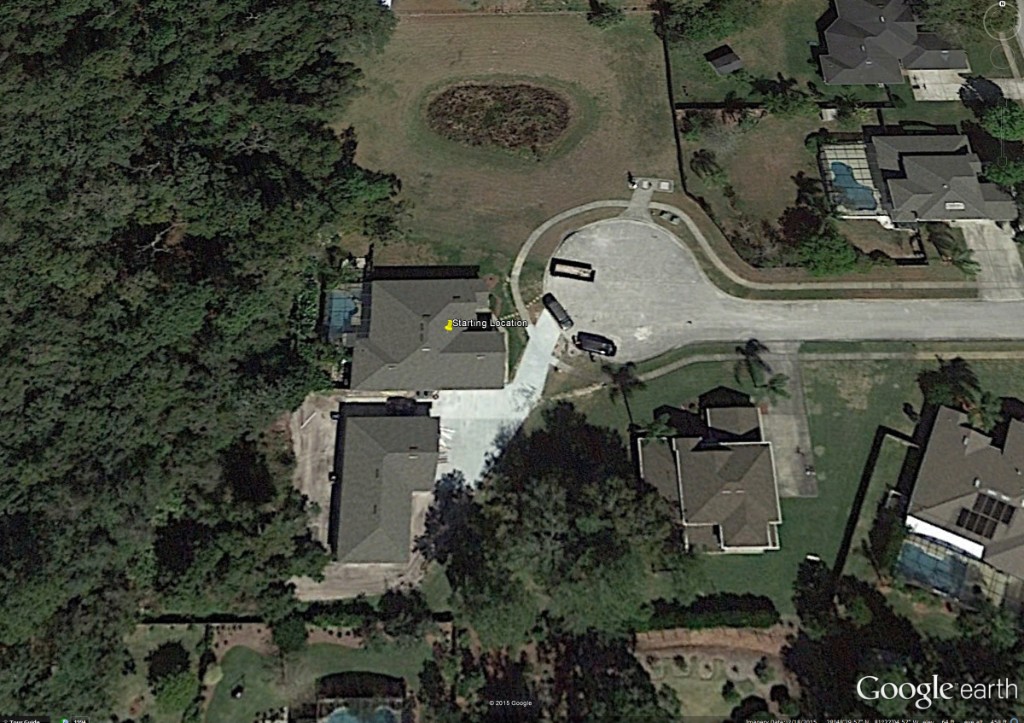
 240 |
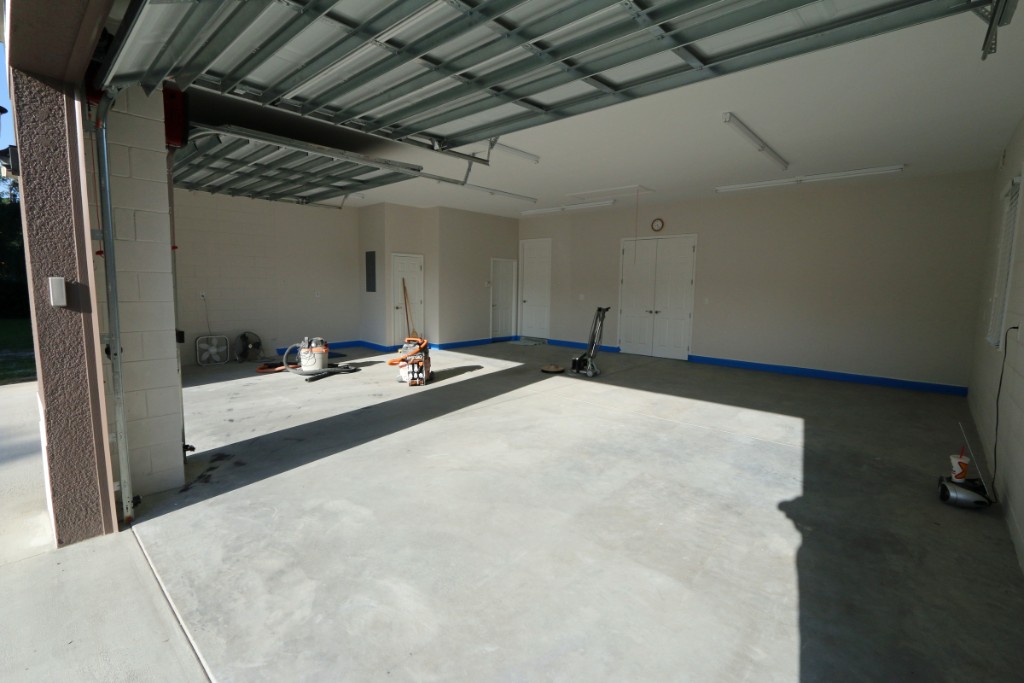
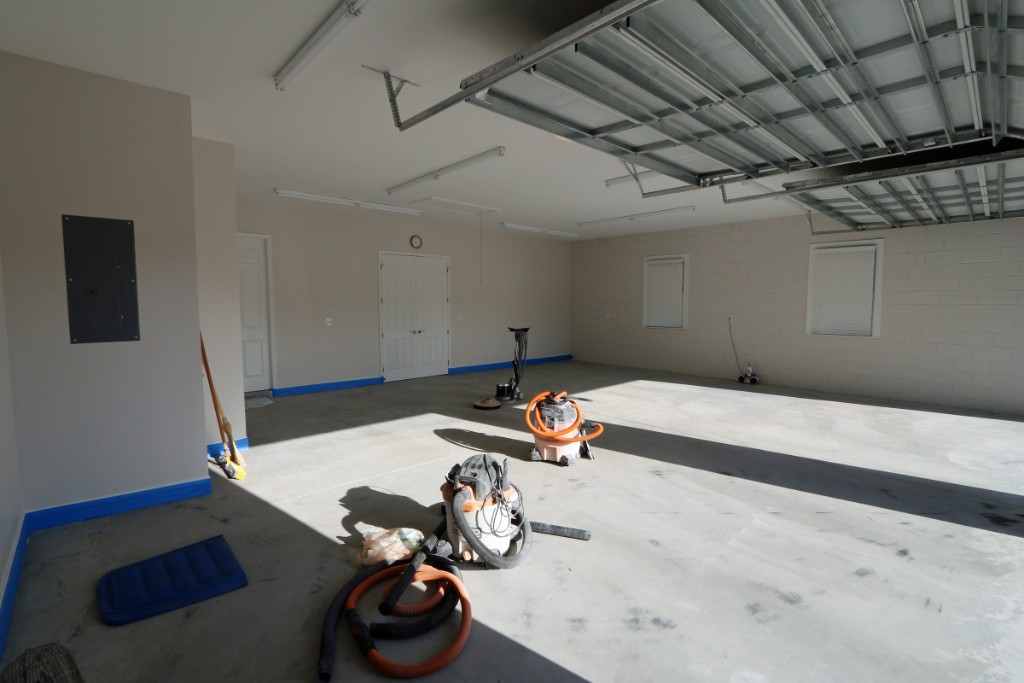
 241 Our detached garage showed up on Google Earth recently. |
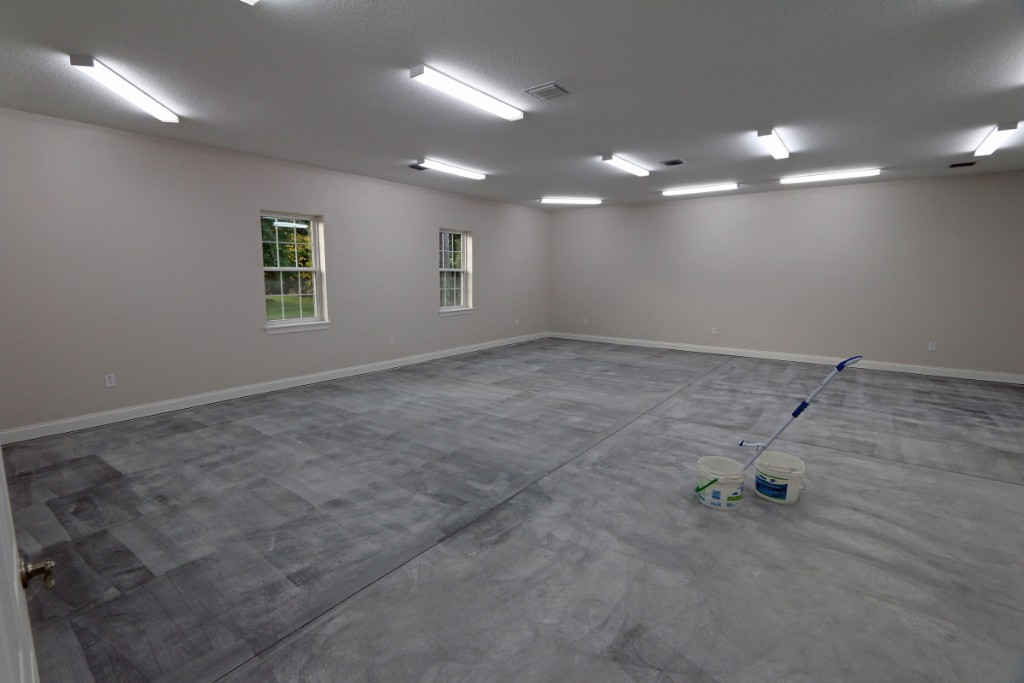
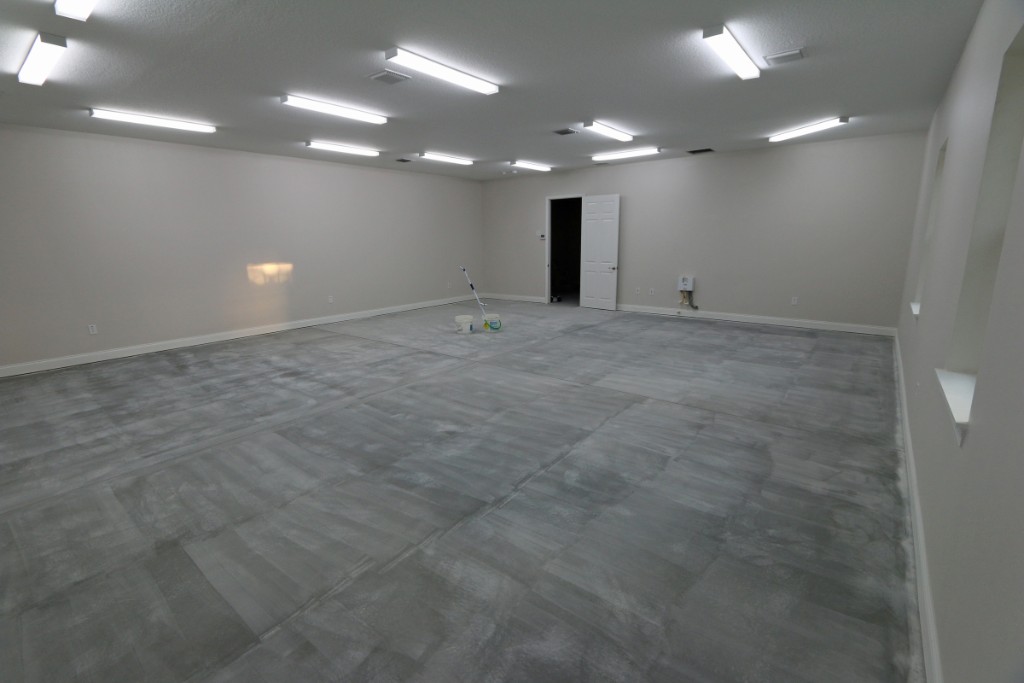
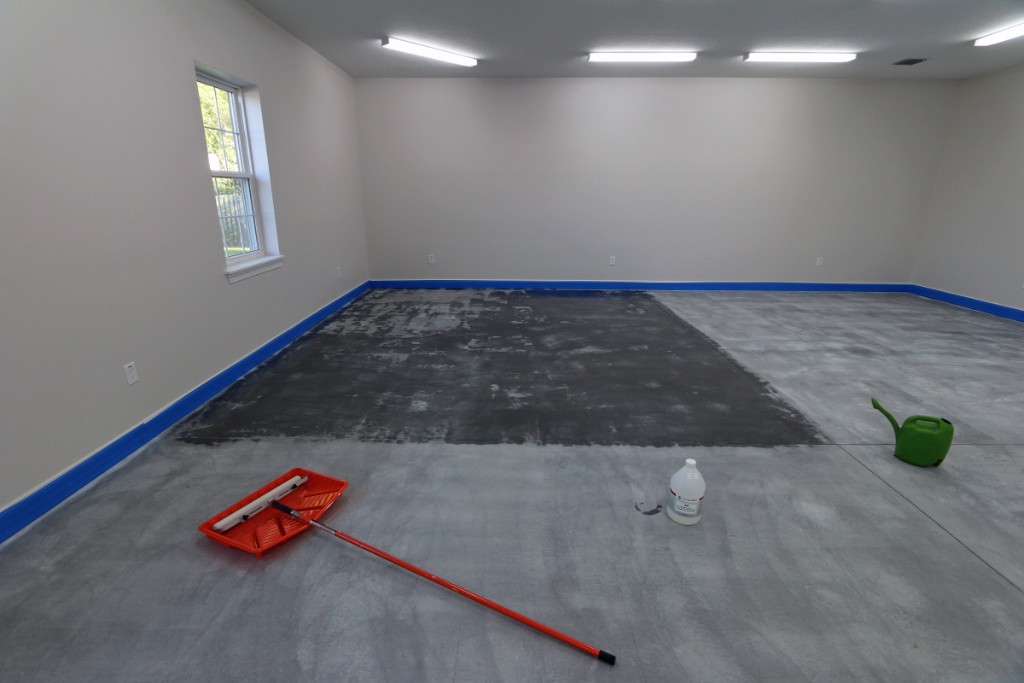
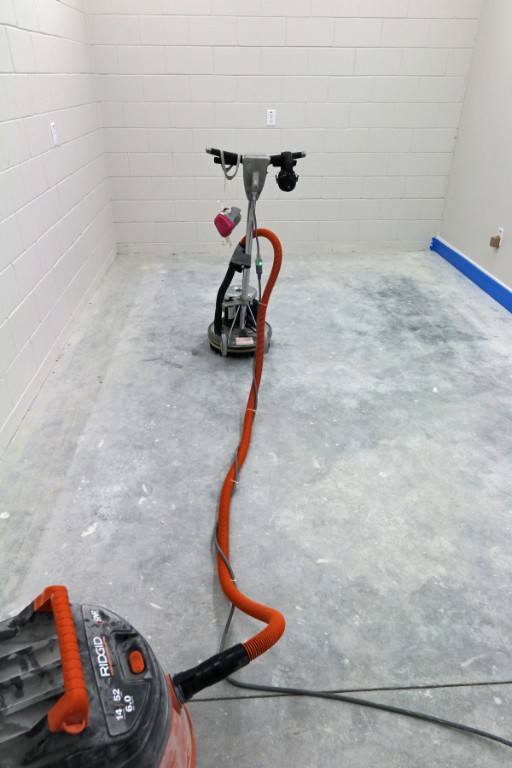
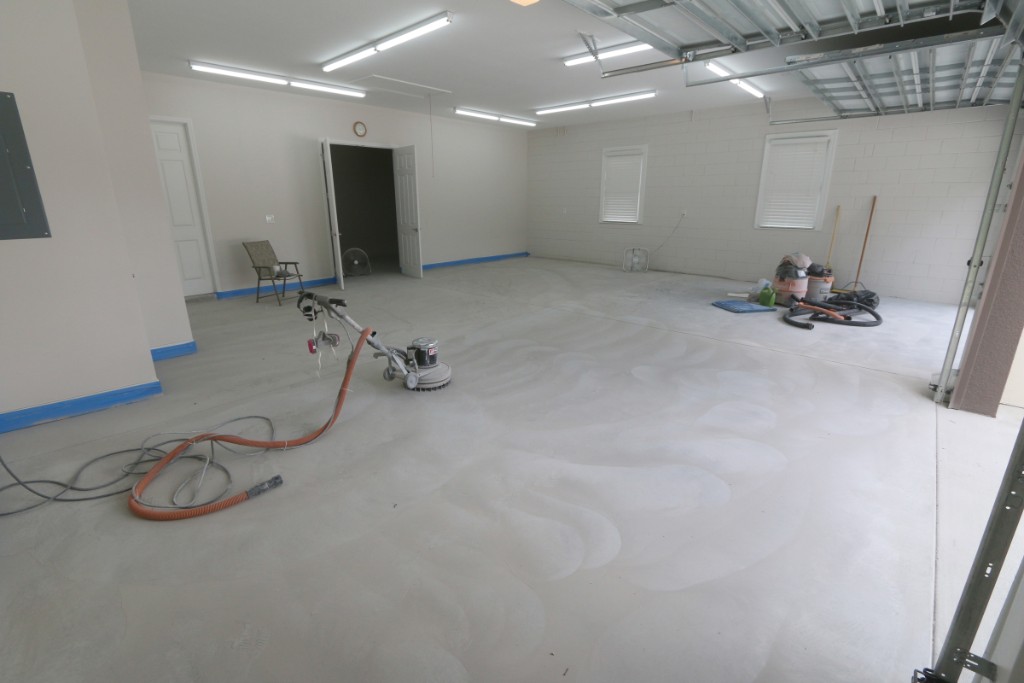
 242 May 4 2015 - I am going to seal the concrete floor in the model workshop and train room in order to try to minimize the amount of concrete dust, so the first step was to grind off the drywall mud schmootz and paint overspray that completely covered the floors. I would have preferred to pressure wash the floor, but with all the finished/painted drywall and baseboards that was not an option. Therefore I grinded using a rented Home Depot "Floor Maintainer" and a Diamabrush pad. Then I swept the floors twice, vacuumed twice and mopped. It looks like I need to mop once more before applying the concrete sealer. I also ran CAT6 ethernet, RG6 cable TV, and telephone lines from the house to the model workshop. |
 243 May 4 2015 - I am going to seal the concrete floor in the model workshop and train room in order to try to minimize the amount of concrete dust, so the first step was to grind off the drywall mud schmootz and paint overspray. I grinded using a rented Home Depot "Floor Maintainer" and a Diamabrush pad. Then I swept the floors twice, vacuumed twice and mopped. It looks like I need to mop once more before applying the concrete sealer. |
 244 May 4 2015 - I am going to seal the concrete floor in the model workshop and train room in order to try to minimize the amount of concrete dust, so the first step was to grind off the drywall mud schmootz and paint overspray. I grinded using a rented Home Depot "Floor Maintainer" and a Diamabrush pad. Then I swept the floors twice, vacuumed twice and mopped. It looks like I need to mop once more before applying the concrete sealer. |
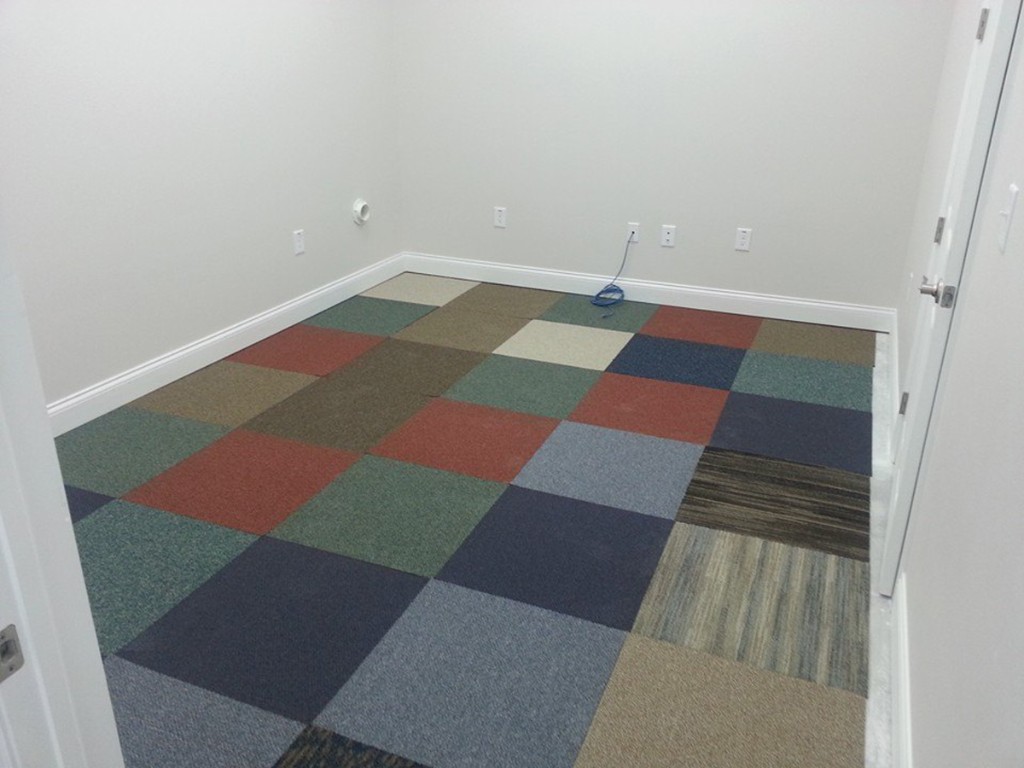
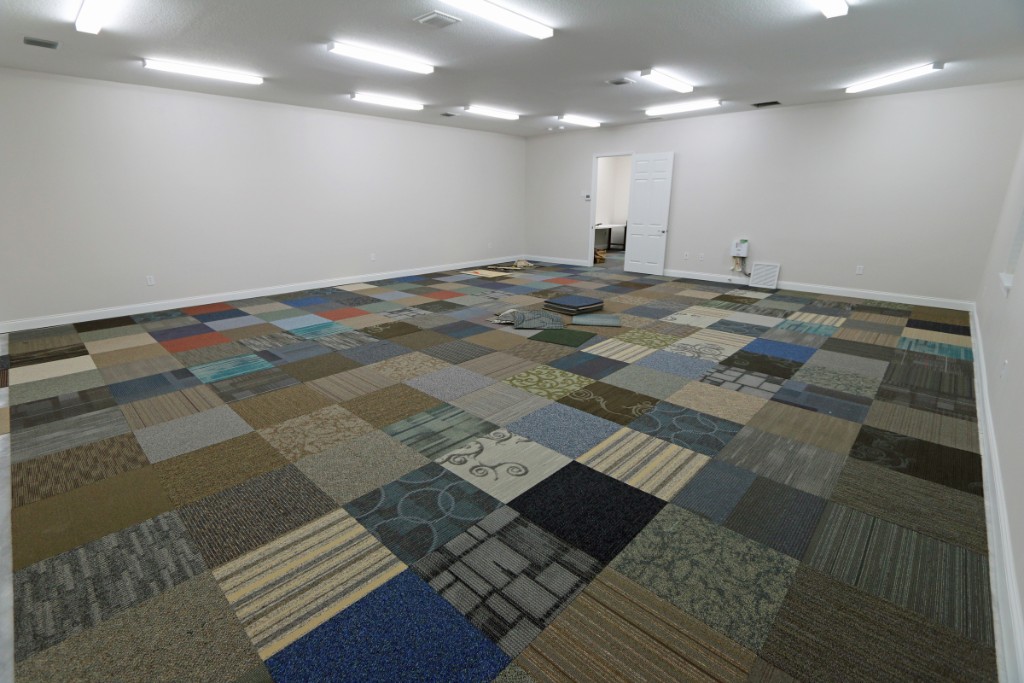
 245 May 4 2015 - I am going to seal the concrete floor in the model workshop and train room in order to try to minimize the amount of concrete dust, so the first step was to grind off the drywall mud schmootz and paint overspray. I grinded using a rented Home Depot "Floor Maintainer" and a Diamabrush pad. Then I swept the floors twice, vacuumed twice and mopped. It looks like I need to mop once more before applying the concrete sealer. |
 246 May 7 2015 - I ordered 1100 square feet of 'cheap' $0.49/sq ft mix/match/random 24" carpet tiles from Caldwell Carpet (http://www.caldwellcarpet.com/cheap-carpet-tile.htm) for the model workshop and train room floors. This is a test of the first 35 carpet tiles off the pallet to see what it might look like. |
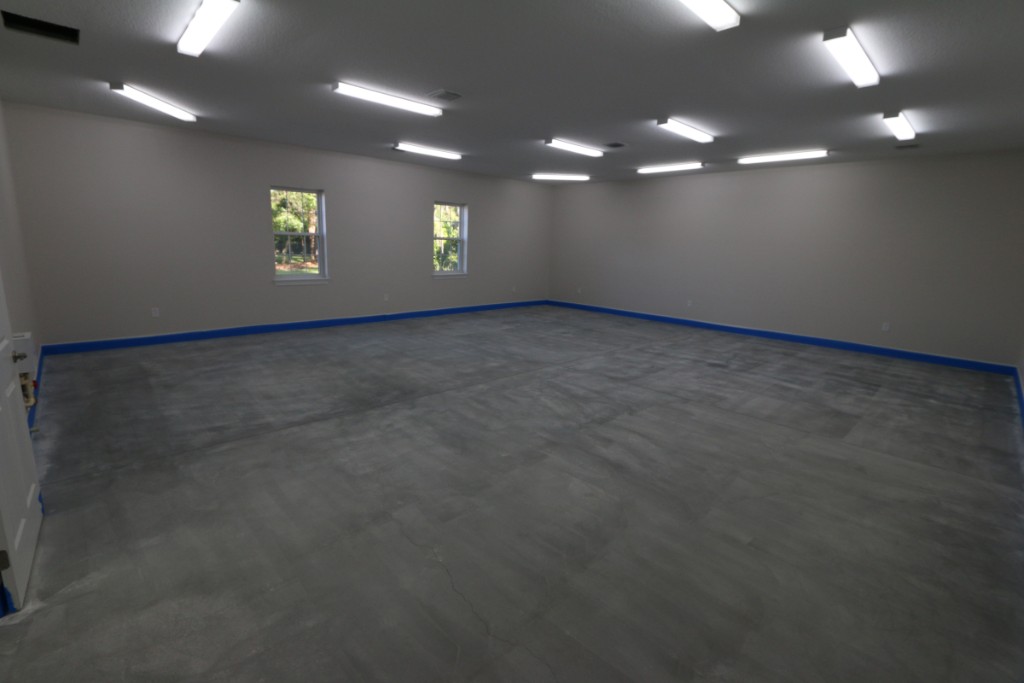 247 Preparing to apply the Trulock B4 concrete sealer/hardener. I taped the baseboards with three levels of painters tape to protect them when I apply the sealer. |
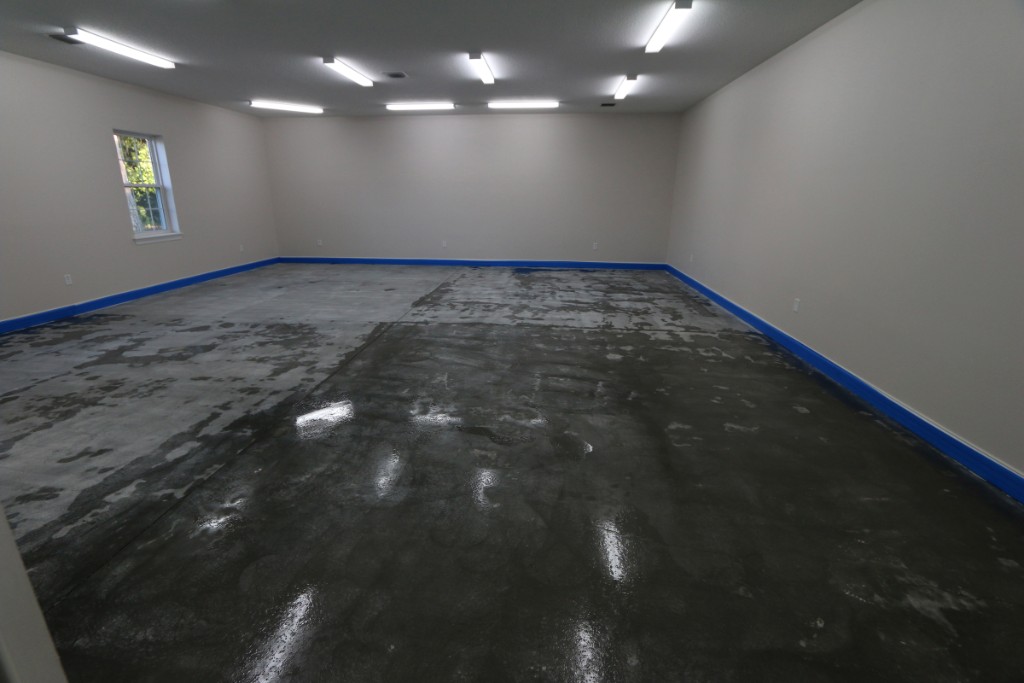
 248 |
 249 This is the first quadrant I applied sealer to. This sealer does not look dark/wet when it dries like some sealers do. It soaks in to the concrete and helps prevent staining and dust creation as well as "densifies" the surfac e of the concrete. |
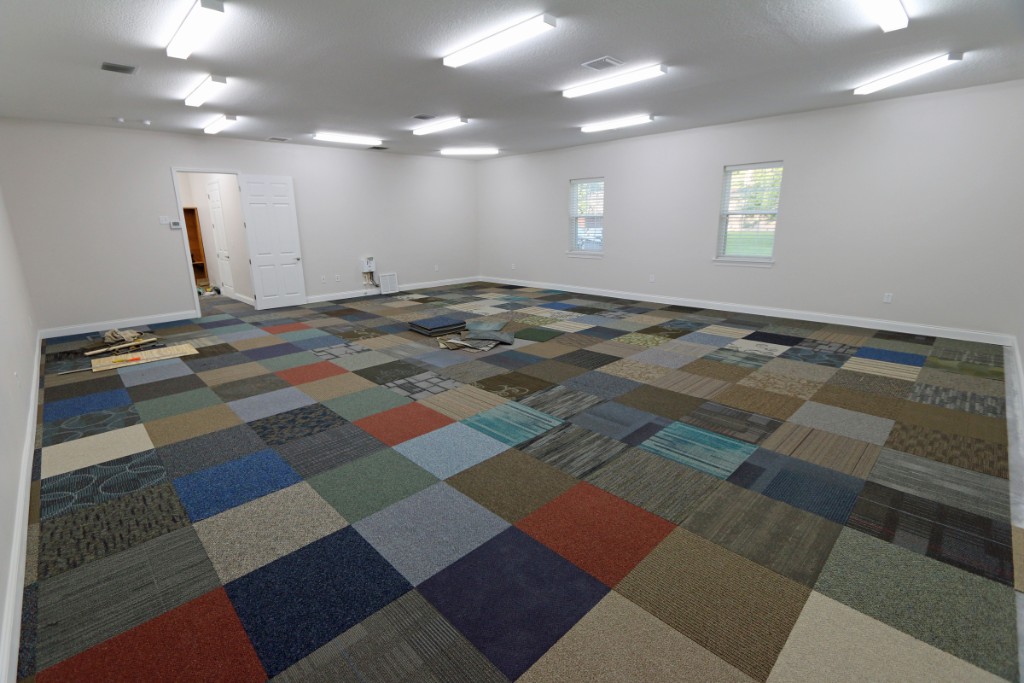
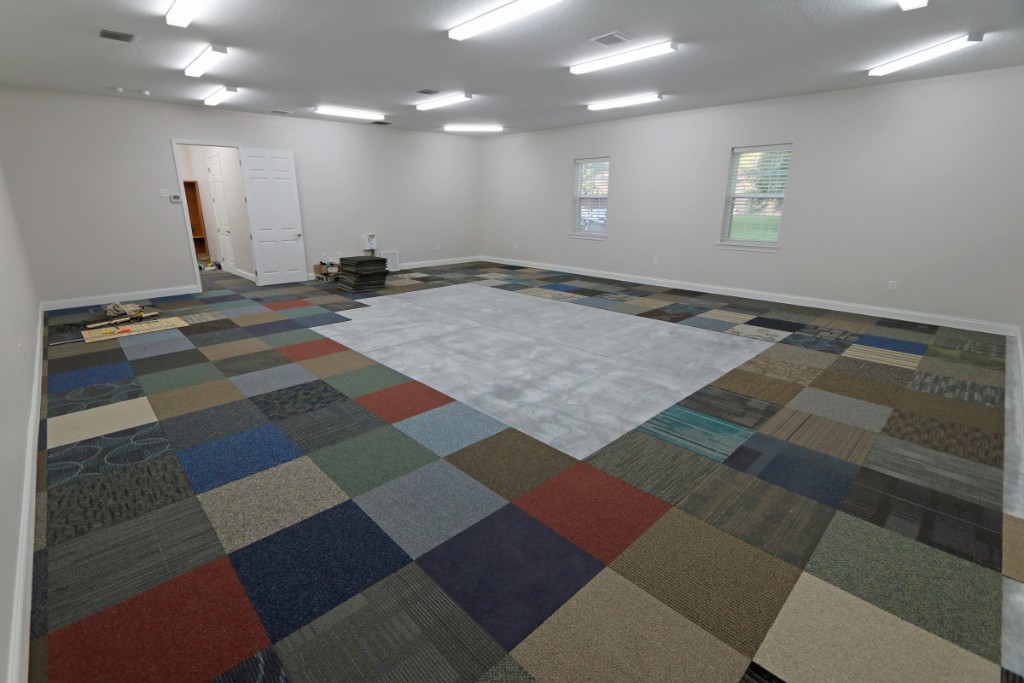
 250 After all four quadrants of the train room had the first of two coats of sealer applied. You can see the first quadrant has already almost completely dried. |
 251 May 9 2015 -- Kelly laid most of the carpet tiles in the train room. I established the working lines and did all the carpet cutting. I still need to finish the two edges on the far left and right of this photo. The train room is currently the lowest priority room to get finished. |
 252 |
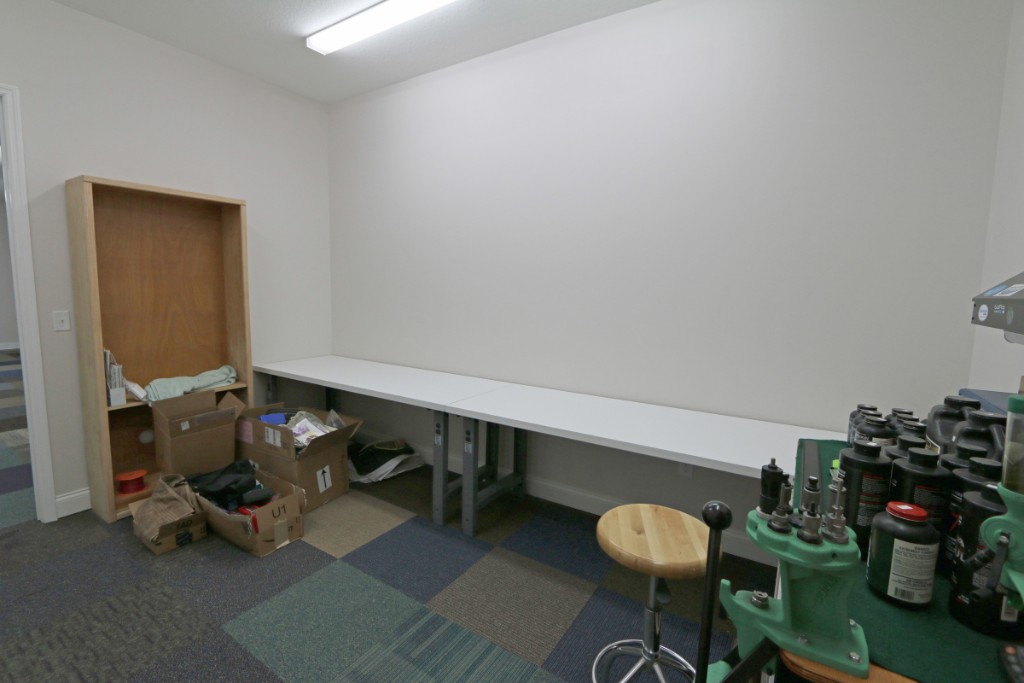
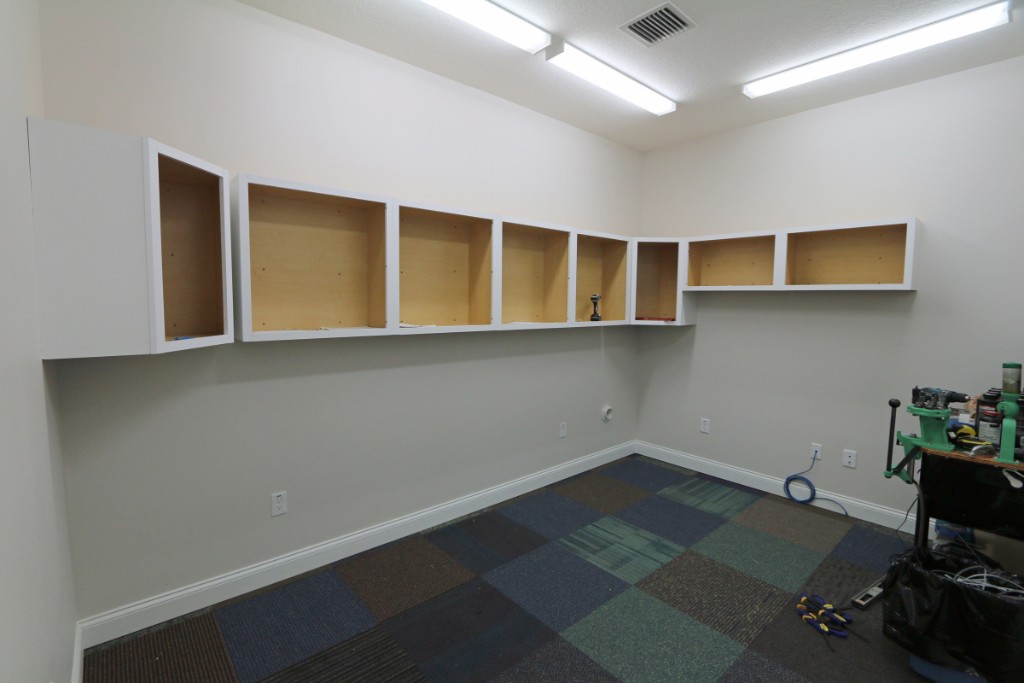
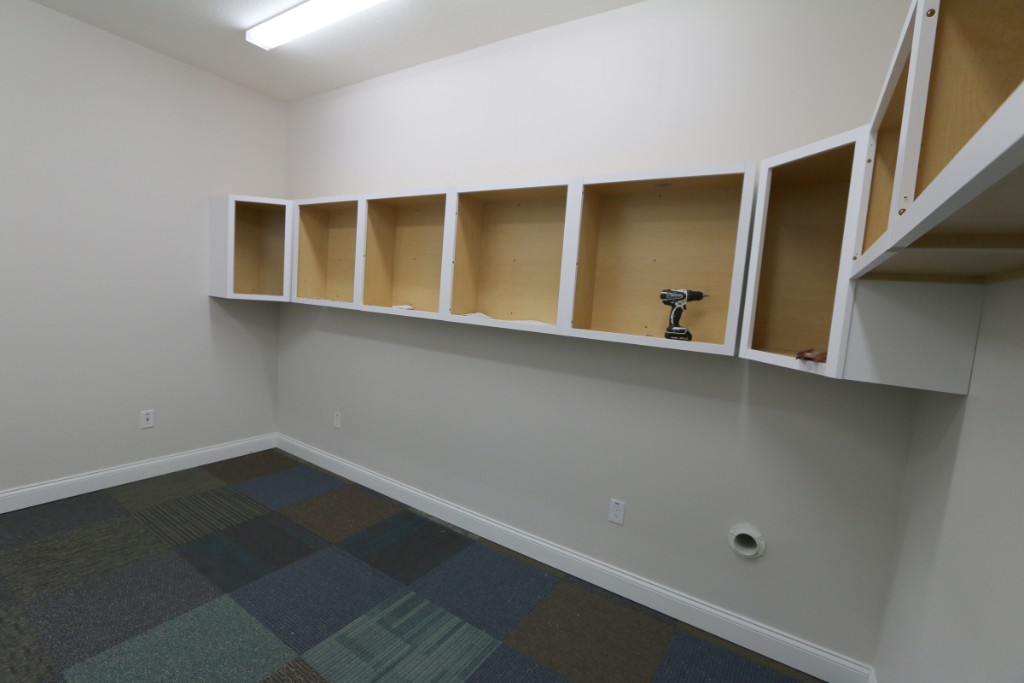
 253 |
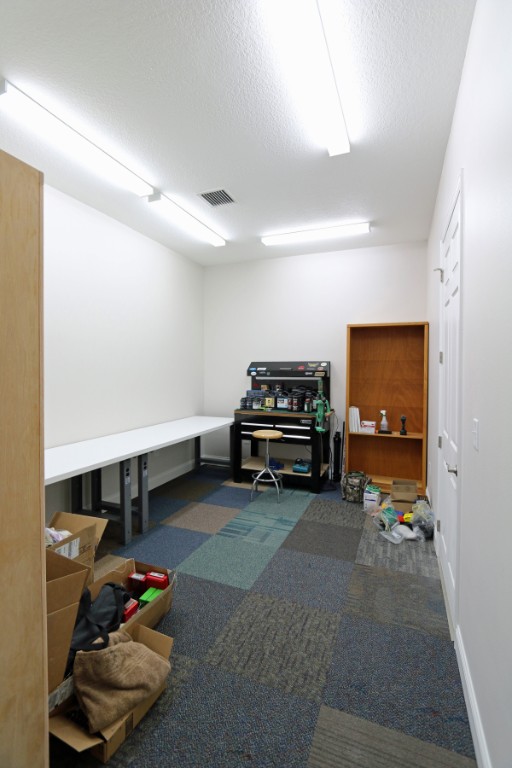 254 According to "the boss" the highest priority was to get my reloading station out of the office in the house so I finished the carpet tiles in here first. I also built a couple 30"x80" work tables for the model workshop using solid core door slabs and adjustable height workstation legs purchased from Global Industries.I plan to install 30" tall kitchen wall cabinets along the entire 14ft left wall and 18" tall cabinets above the reloading station. |
 255 I need to paint the book cabinets as well (when time allows). Having cabinets across that entire 14ft wall will be great for storage, and I need a lot of storage for all the kits and rolling stock I have acquired over the years. |
 256 The 'hole' in the center of the room is where the "room within a room" for the mushroom layout design will be built. It will have 2x4 stud walls and the backdrop for the upper level of the layout will drop from the ceiling creating a "room within a room". |
 257 |
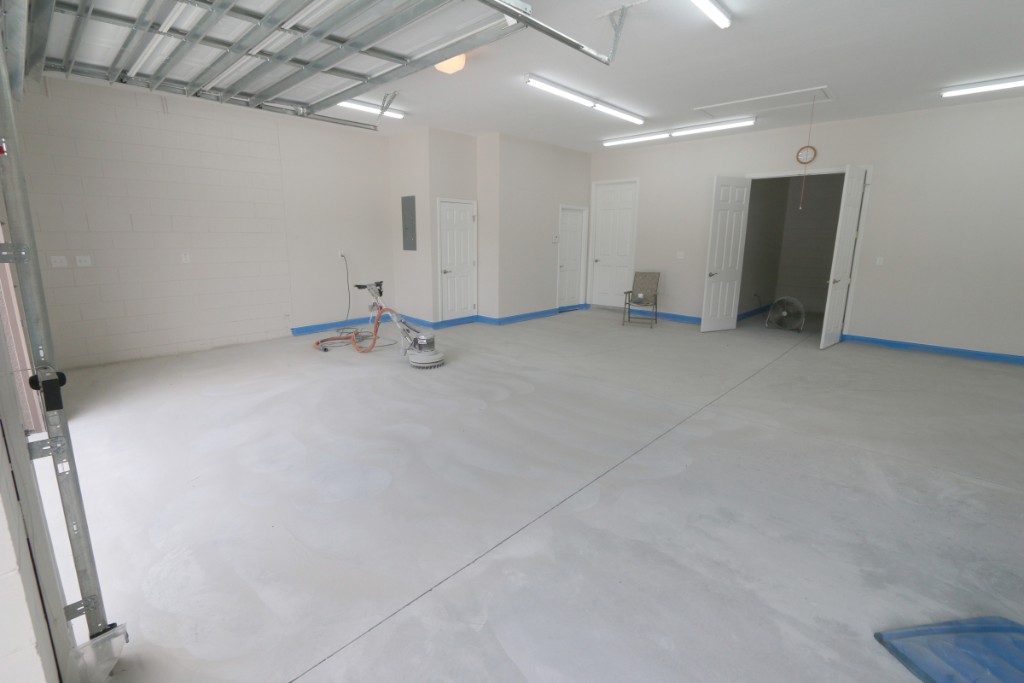
 258 May 16 2015 -- Getting ready for the big garage floor grind day in preparation for installing an epoxy floor coating (primer, epoxy + flakes, urethane clear coat). You first have to 'profile' the concrete to allow the primer/epoxy to have good adhesion to the concrete (to avoid tire lift, etc). 'Profiling' the concrete opens the pores on the top of the concrete. To profile the concrete you can either use an acid wash or grind the top. Most experts recommend to grind |
 259 |
 260 The woodshop floor was not pressure washed so it still has a nice layer of paint overspray. |
 261 I've got the Home Depot rental floor maintainer with a Diamabrush 'concrete preparation' disk to grind the floor. I also have a respirator because the grinding generates a ton of dust (even with the shop vac attached to the shroud on the grinder). And I have ear muffs because the grinder is very loud (especially in a small room). |
 262 7 1/2 hours later, the garage and woodshop floors have been grinded into submission. Time to start cleaning up the dust.... |
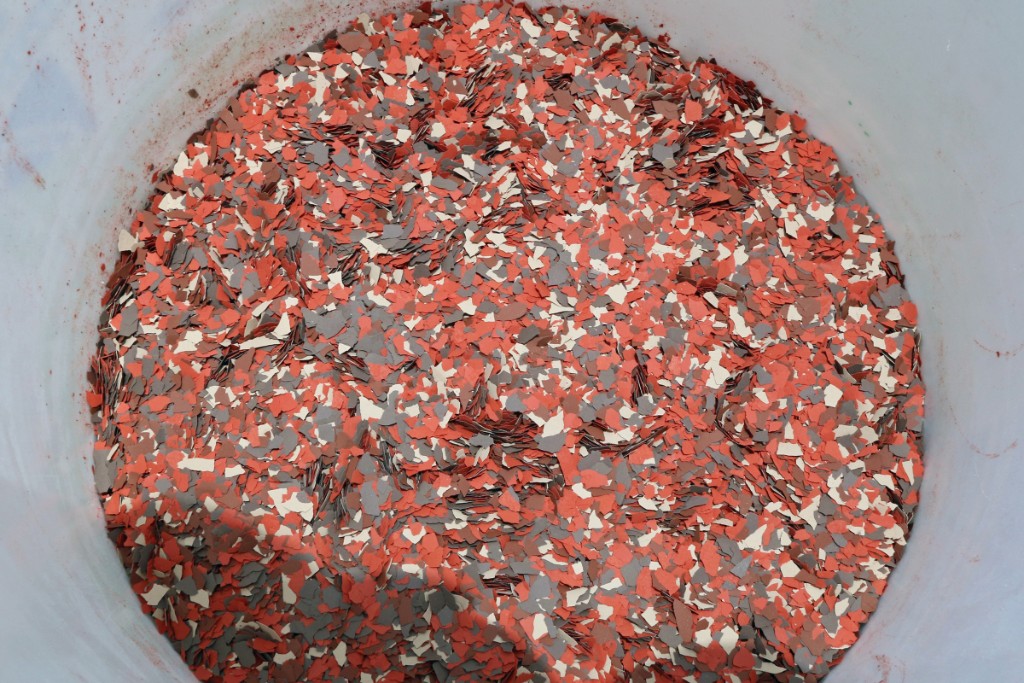
 263 |
 264 Here is the mixture of 5lb bags of 'flakes' I plan to install with the epoxy floor. The flake colors are (L-R): C1060 Brown, C9996 Redwood, C9954 Caramel, and C7551 Terra Cotta. |
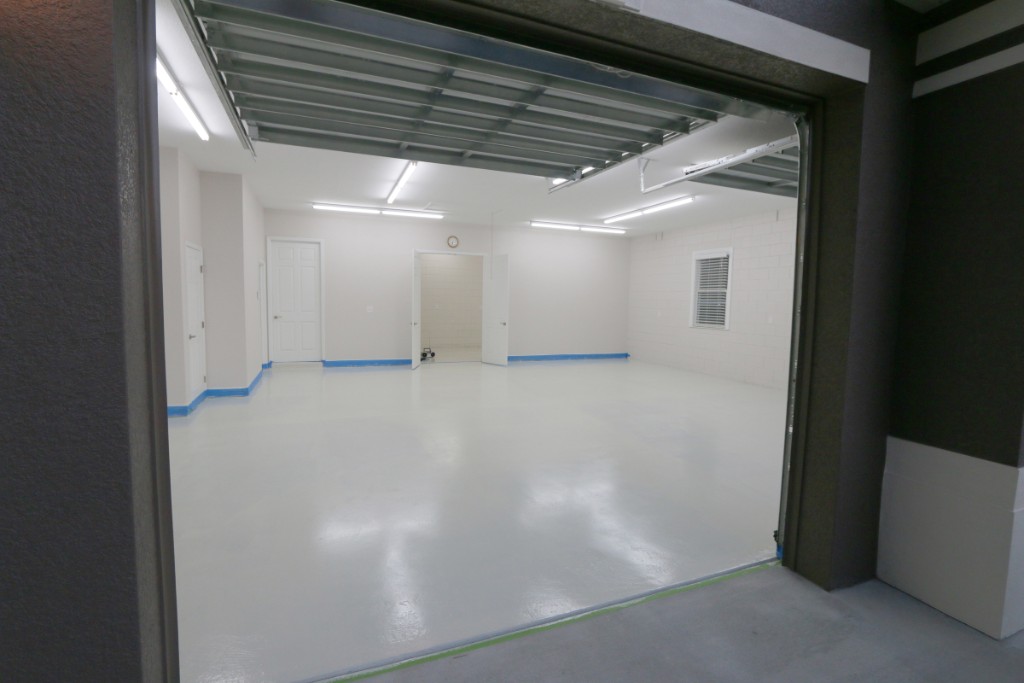
 265 And this is what the flakes look like when mixed together. This blend was much too red for my tastes and I subsequently changed the blend to tone down the amount of red. |
 266 May 23 2015 - I used the woodshop as a proof of concept/practice area for the epoxy floor coating. I purchased the materials from Justin at www.garageflooringllc.com. Justin has been great to work with. After grinding the floor I swept, vacuumed, and wet mopped twice. Next I filled the concrete slab control cut channels with epoxy gel in order to (hopefully) produce a seamless floor. And then I vacuumed again. Kelly and I applied the 2-part primer today. The epoxy base color is "off white". The photos on the web show Off White to be a very light taupey gray. However the primer looks more like a yellowish beige (like the walls). Unfortunately I can still see a line where the control cut was filled. Hopefully it will be obscured more when I apply the epoxy coat, flakes, and then clear urethane topcoat. |
 267 After the primer coat has dried. |
 268 May 24 2015 - The next day I applied the epoxy and flakes. This photo was taken while the epoxy is still wet. I had major issues trying to get the epoxy to spread with the 1/4" notched squeegee and I ended up using the back (flat) side of the squeegee to spread the epoxy before back rolling in both directions with a 1/4" nap 18" roller. This is the sort of issue for which I chose to use the 200 sq ft woodshop room as "proof of concept" before doing the 950 sq ft garage area. After back rolling I applied the flake. There were several instances where the flake didn't completely disperse and I ended up with small flake clumps on the floor. I found that bouncing the flakes off the ceiling completely alleviated the clumping issue. Im hoping that once the epoxy dries and I sweep off any loose flakes that the size of the clumps might be reduced. |
 269 After applying the epoxy and flakes. Once the epoxy dries I will apply the clear urethane topcoat. |
 270 This is the 1/4" notched squeegee that proved to be an utter failure at spreading the epoxy. |
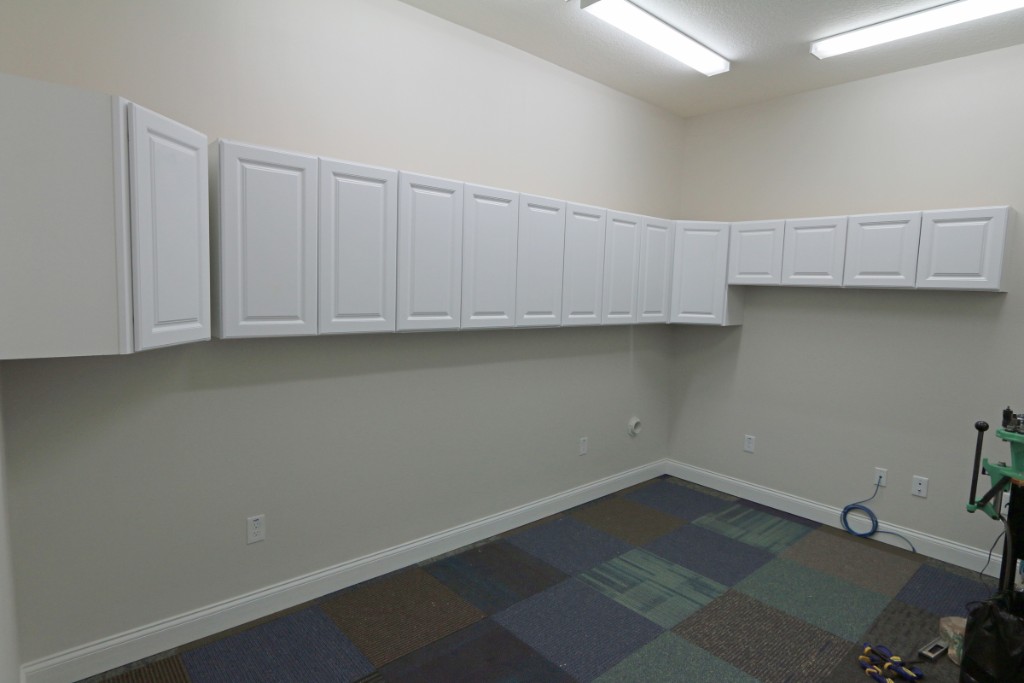
 271 Closeup of the floor about two hours after applying epoxy/flake. |
 272 May 25 2015 - Kelly and I installed the cheap Home Depot wall cabinets in the model workshop. As a bonus the cabinets were on sale for 20% off this weekend. This was the first time we installed cabinets and it seemed to go ok, but these are NOT nice cabinets. But great for a workshop. |
 273 |
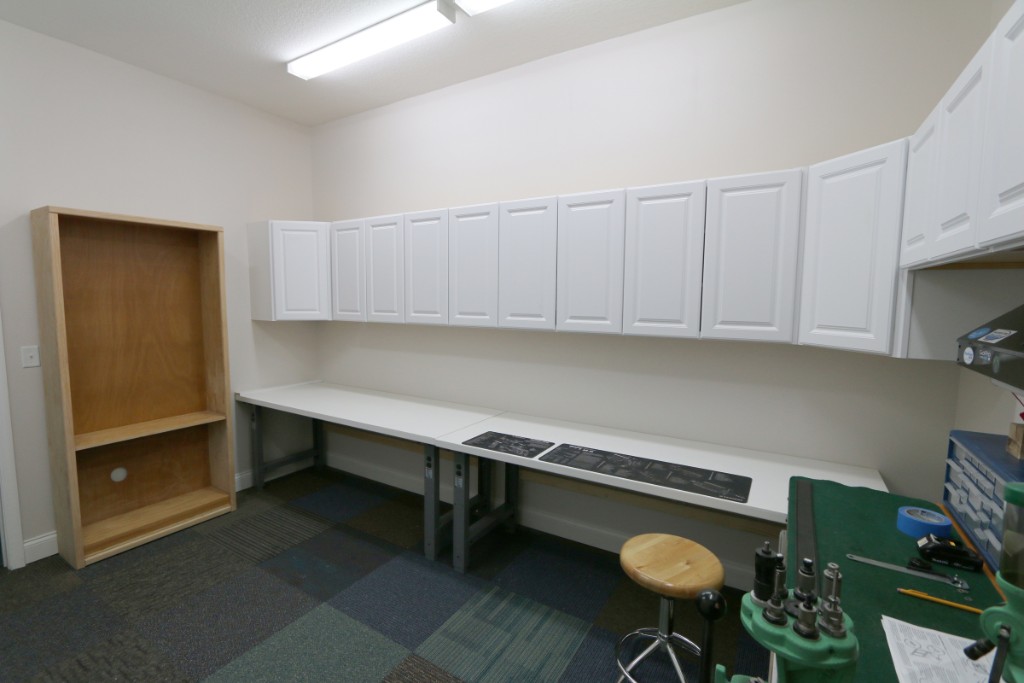
 274 I still need to align the doors and install a couple short spacers next to the corner cabinets on both ends. |
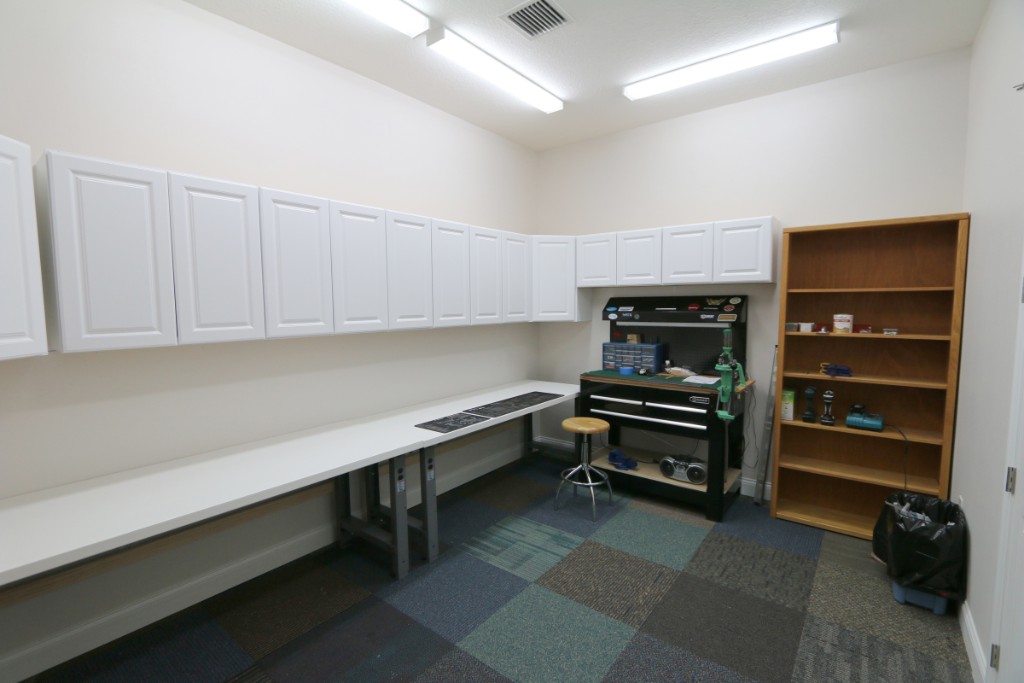 275 I moved the work tables and reloading station back into their respectives places. It looks like the model workshop will have a fairly efficient layout. |
 276 I still need to put a coat of stain and clearcoat on the wood book shelf that Kelly had sanded down for an aborted project. |
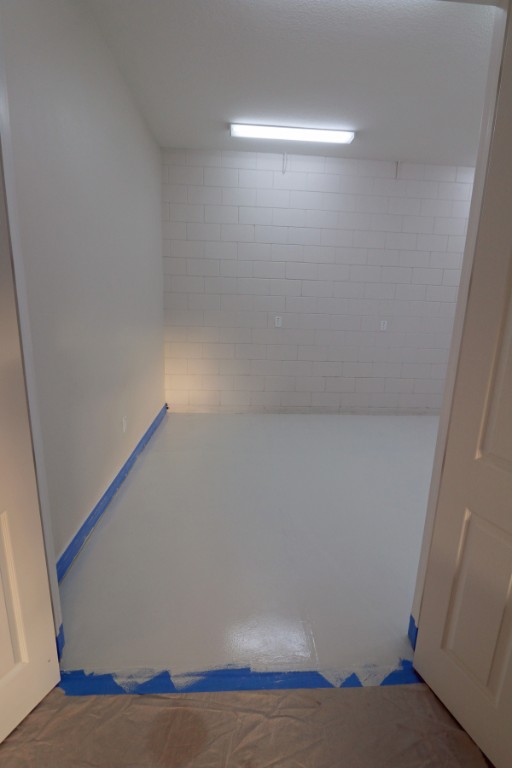
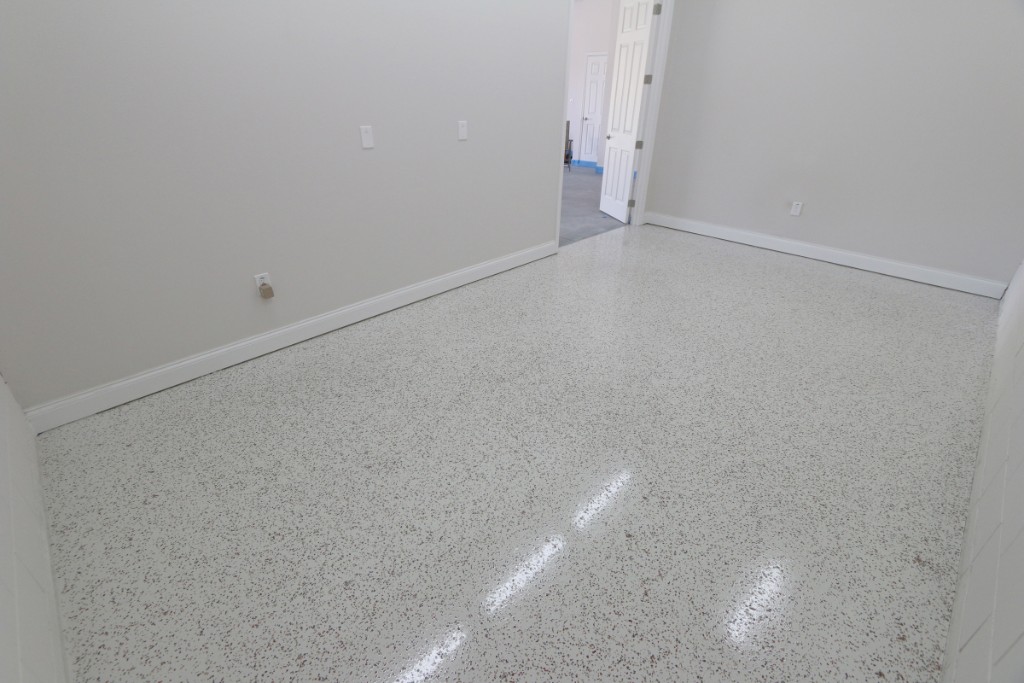 277 After the urethane clear topcoat had dried and I had removed the blue painters tape off the baseboard. |
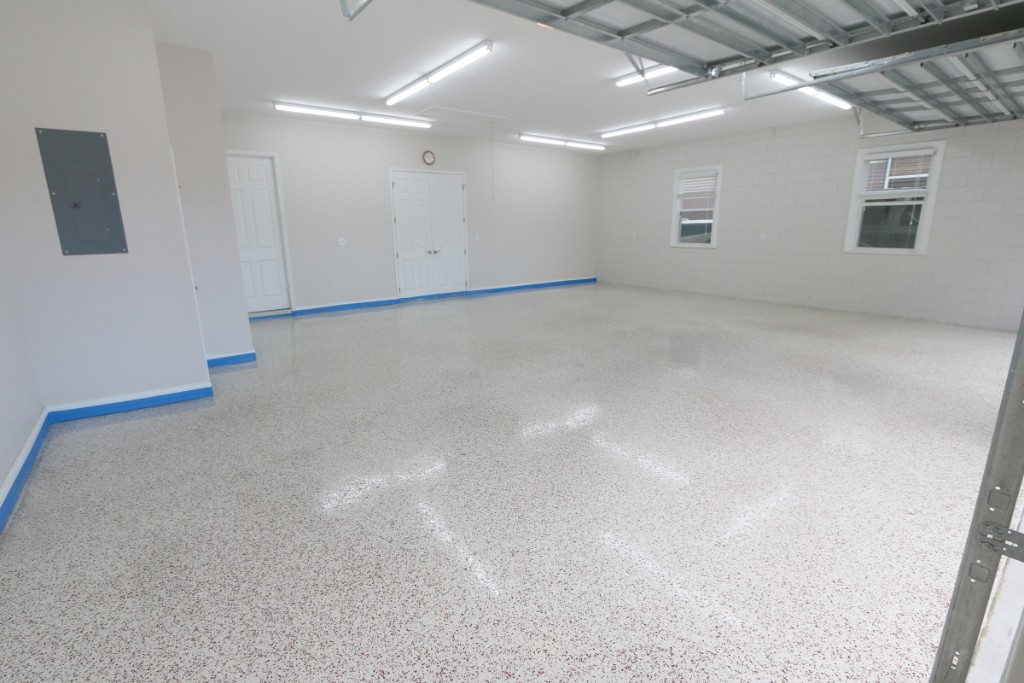
 278 May 29 2015 - After applying the primer coat. |
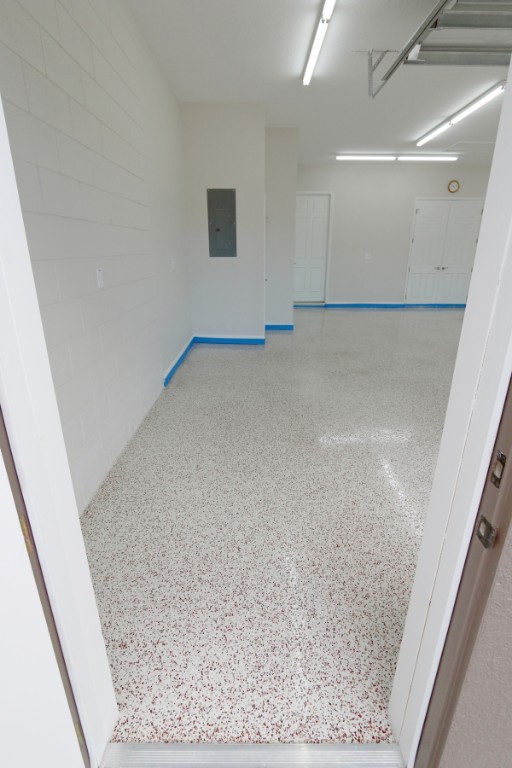 279 May 31 2015 - After applying the epoxy/flake and the urethane topcoat. |
 280 |
 281 |
 282 My favorite thing about the epoxy floor is how the edge of the slab looks as it meets the driveway concrete. The garage doors come down onto the driveway concrete (which is inset into the slab). |
 283 |
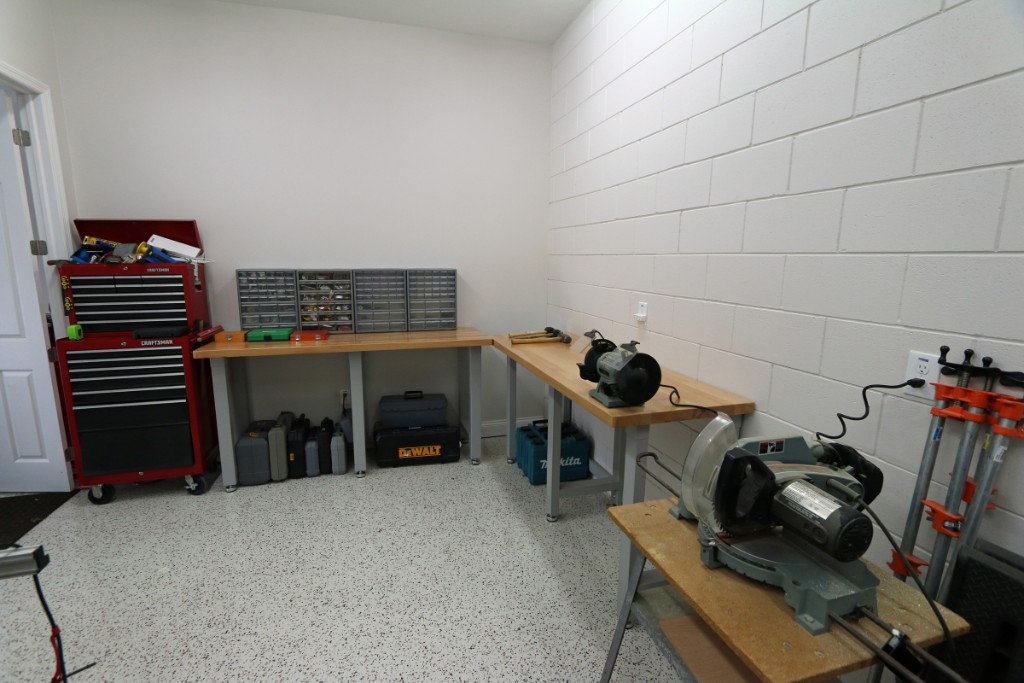 284 June 11 2015 - Starting to organize the woodshop. It's going to be more of a general purpose workshop than a true woodshop, but while designing/building the garage I always referred to this room as the woodshop to avoid confusion with the model workshop. |
 285 I got most of the reloading components/supplies and relaoding station organized. |
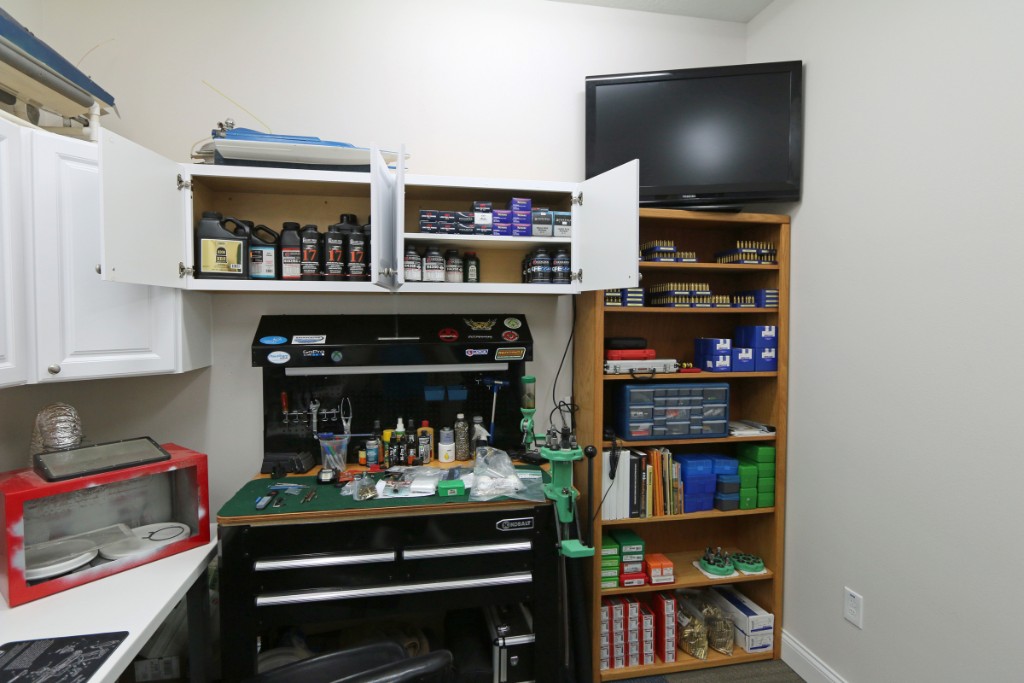 286 The powder and primers fit in the cabinets above the reloading station. I built the extra shelf for the upper cabinet on the right. |
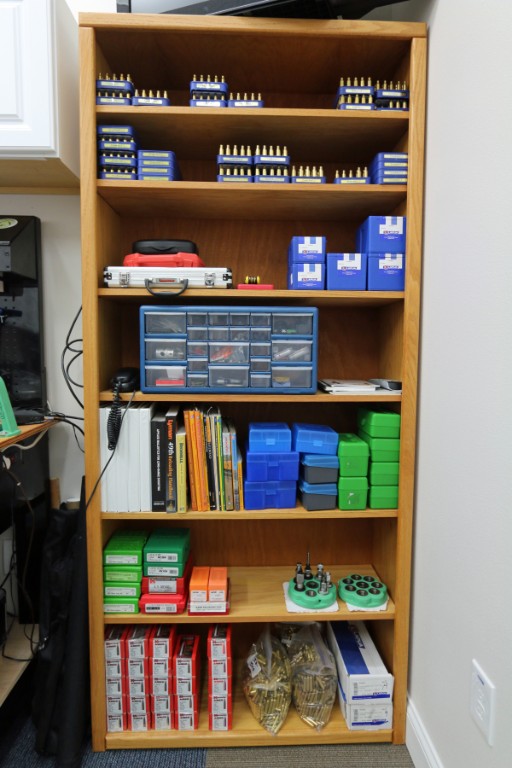 287 Brass at the top, heavy bullets at the bottom. Tools and books in the middle. |
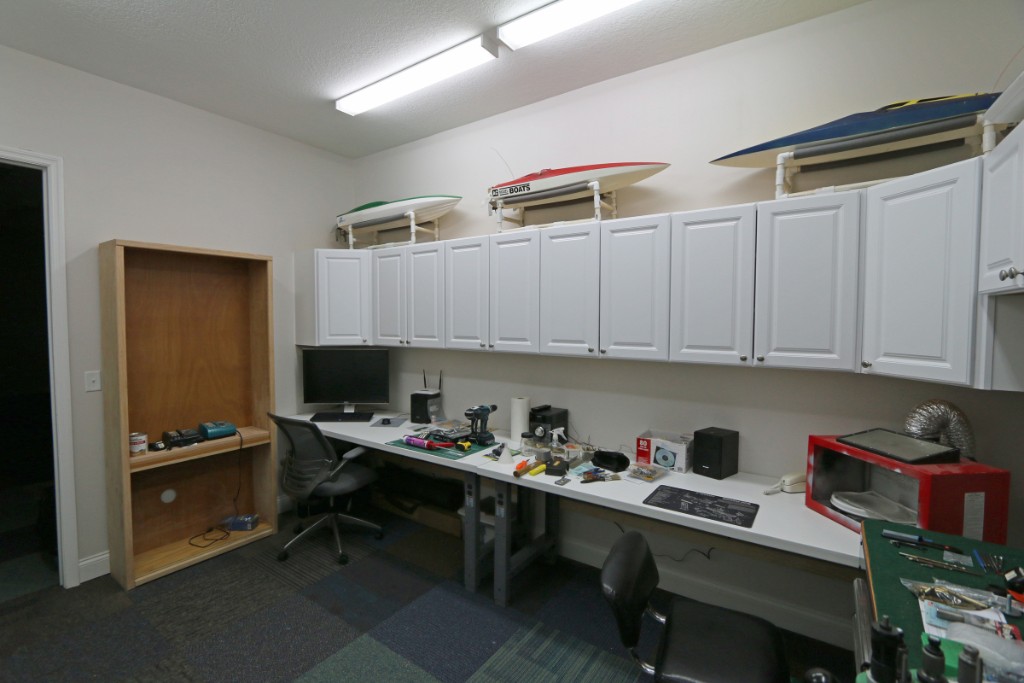 288 I also brought my weeder boats home from offsite storage. I'll be happy to get those going again. |
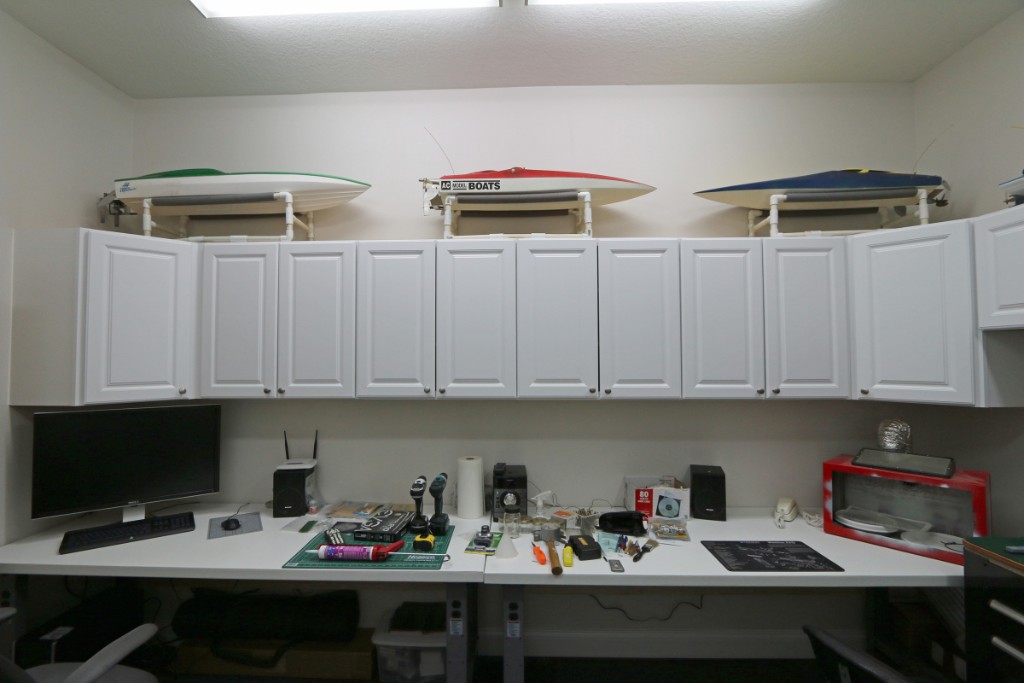 289 30" Dell monitor and desktop PC on the far left. Model spray paint booth on the far right. |
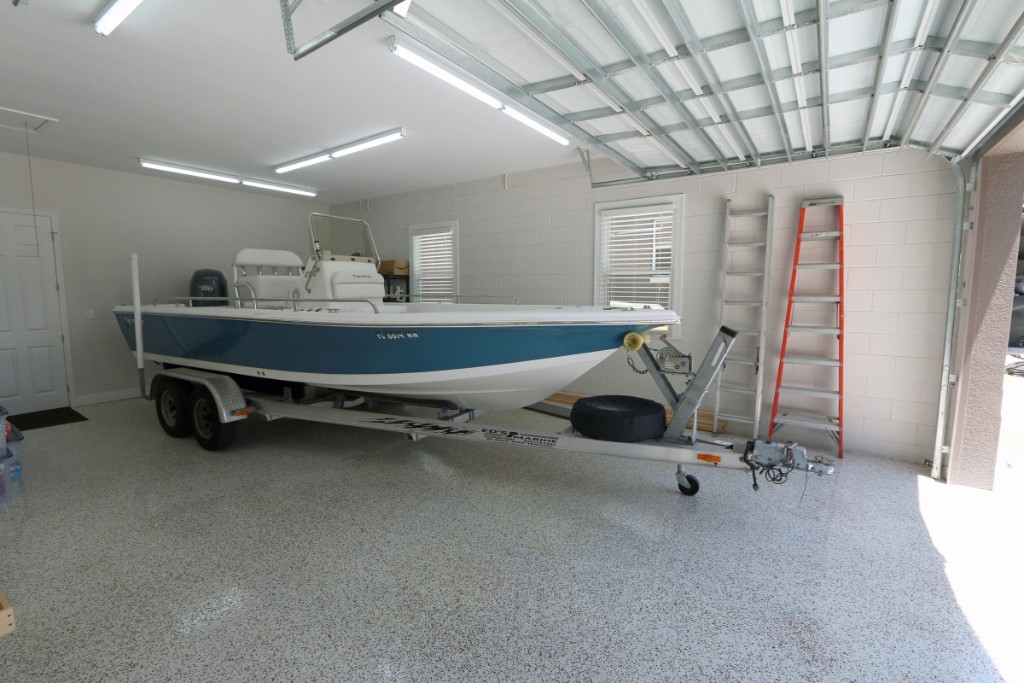 290 I waited 7 days after installing the epoxy floor before finally moved the boat into the garage. It fits with 2 ft to spare in the front. |
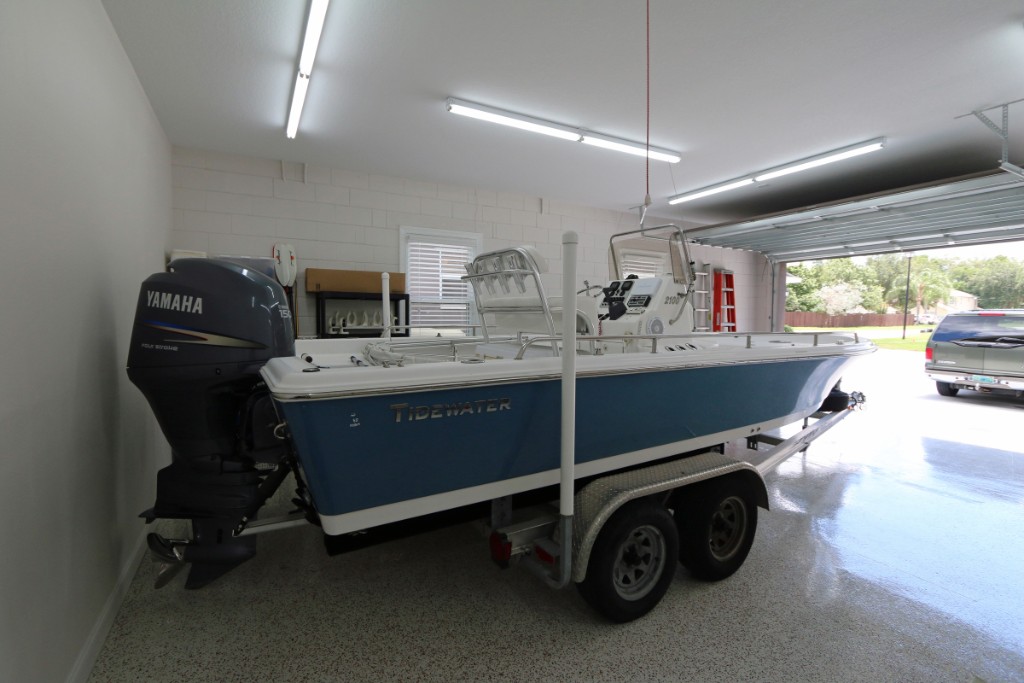 291 You can see how glossy the floor surface is with the clear urethane topcoat. |
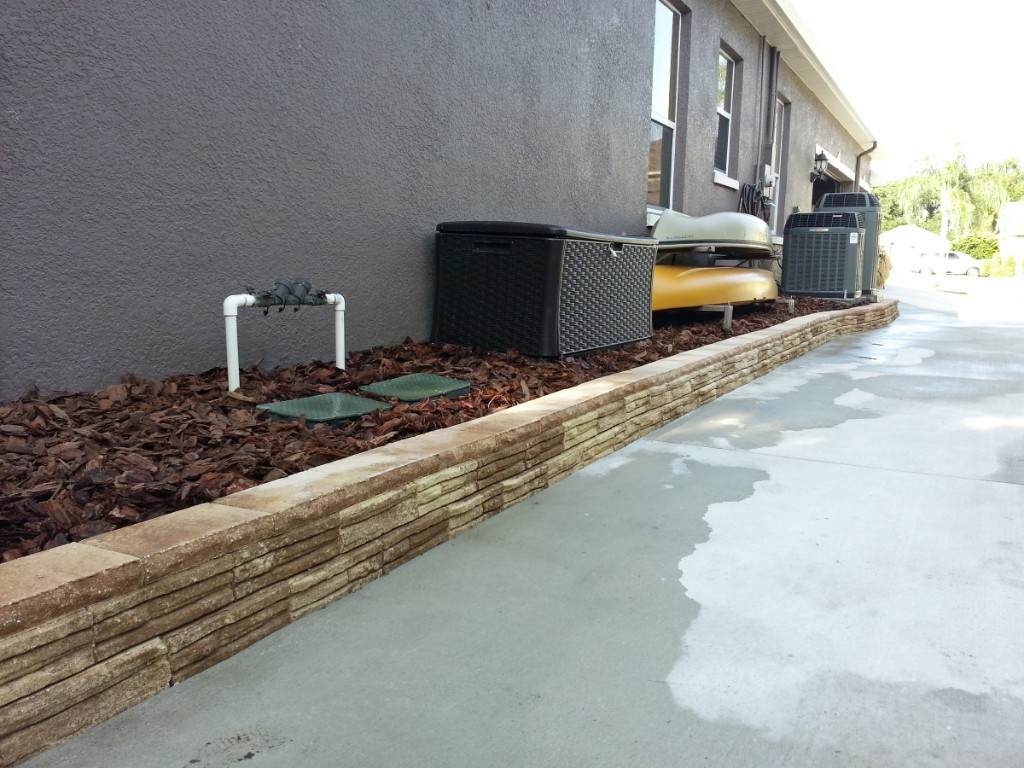 292 June 28 2015 - I built a low retaining wall along the new driveway. |
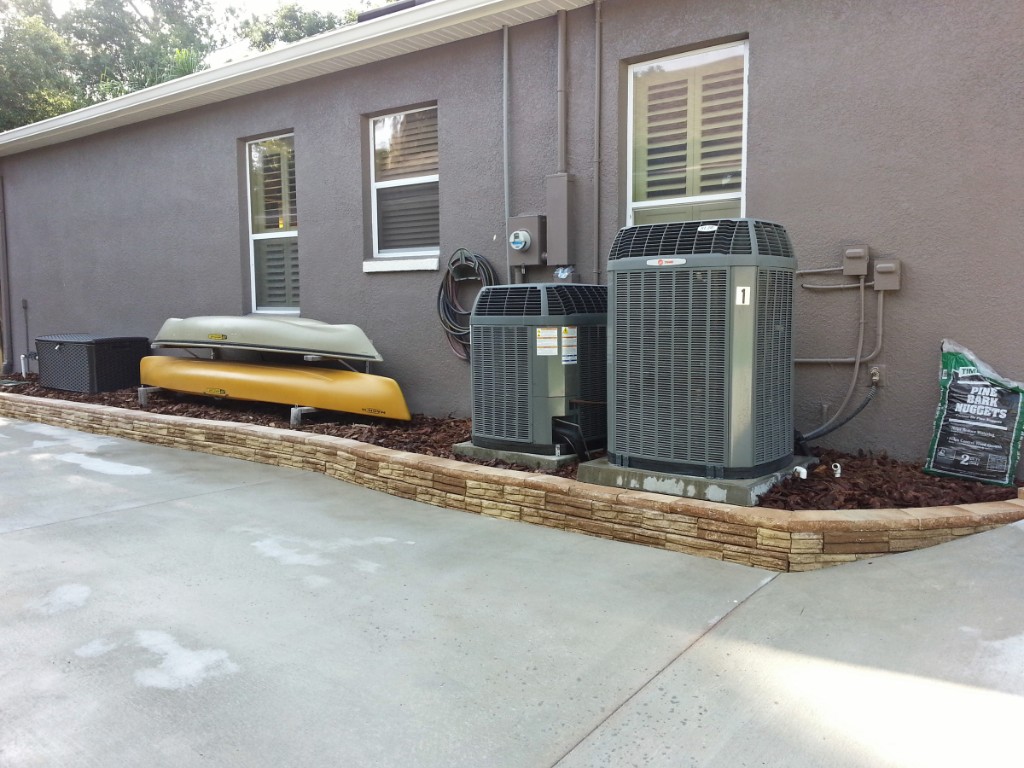 293 The AC compressors and concrte pads had started leaning so I leveled them before building the retaining wall. |
 294 July 2 2015 - Every evening during June the temperature in the detached garage has been between 97 and 101 degrees. As the sun is rising in the morning I have used my IR temp sensor to measure the temp of the exterior of the garage and the light/trim colored stucco is around 85 degrees, the dark colored stucco is about 105 degrees, and the dark metal garage doors are about 135-140 degrees. My first step to reduce that temperature was to install foam garage door insulation panels. Hopefully the insulation will help reduce the temperature in the garage. I think what will help more is that we are going to repaint the garage doors to be the much lighter/reflective trim color. We are also going to repaint the back (west) exterior wall to be the light trim color to reduce the amount of heat it absorbs in the afternoon. |
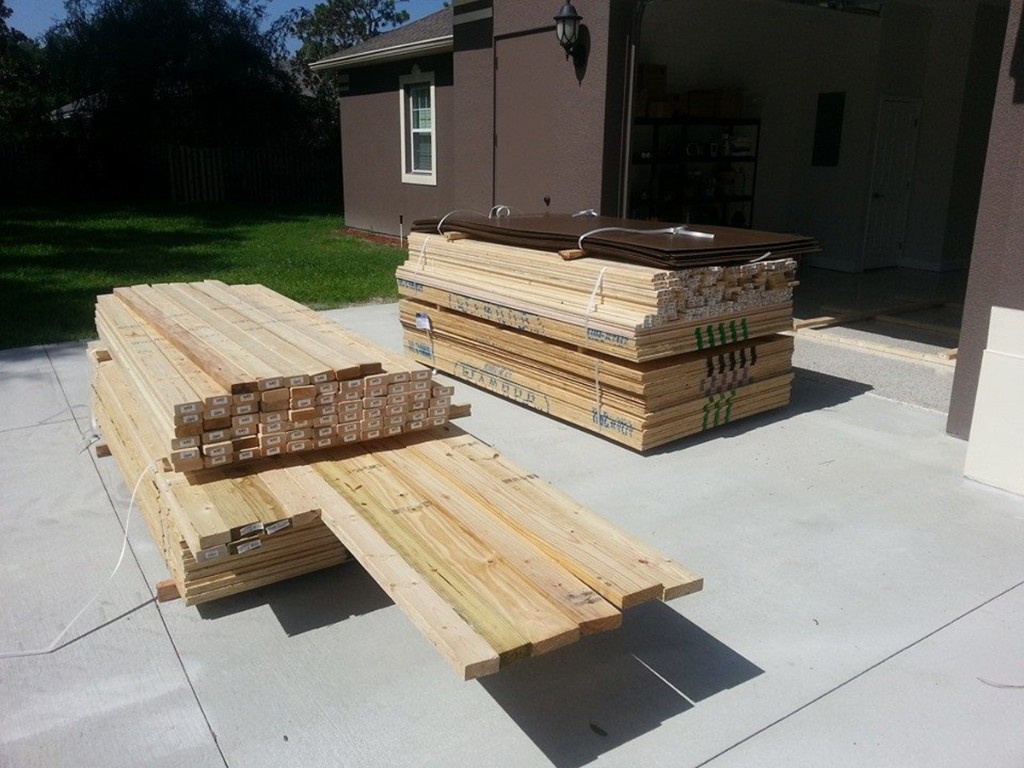 295 July 3 2015 - My initial order of lumber from Lowes for the model railroad layout benchwork was delivered (onto the driveway). |
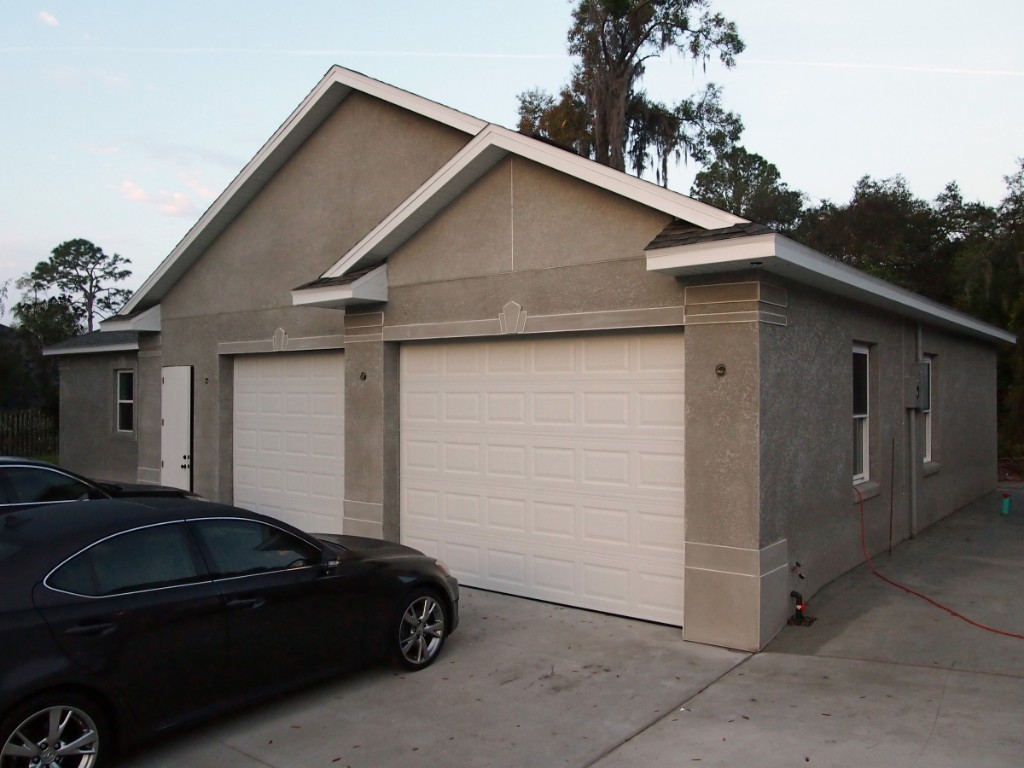
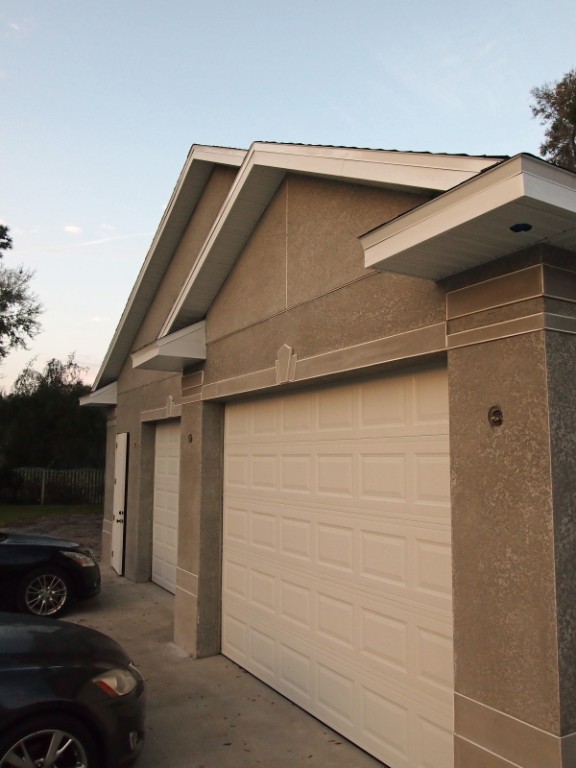
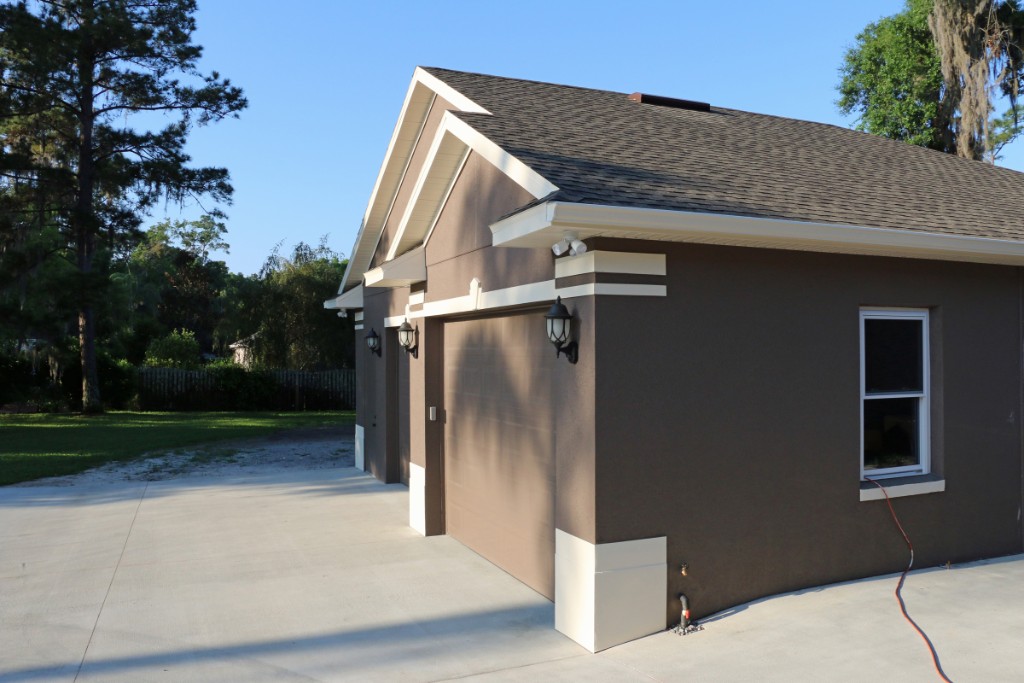
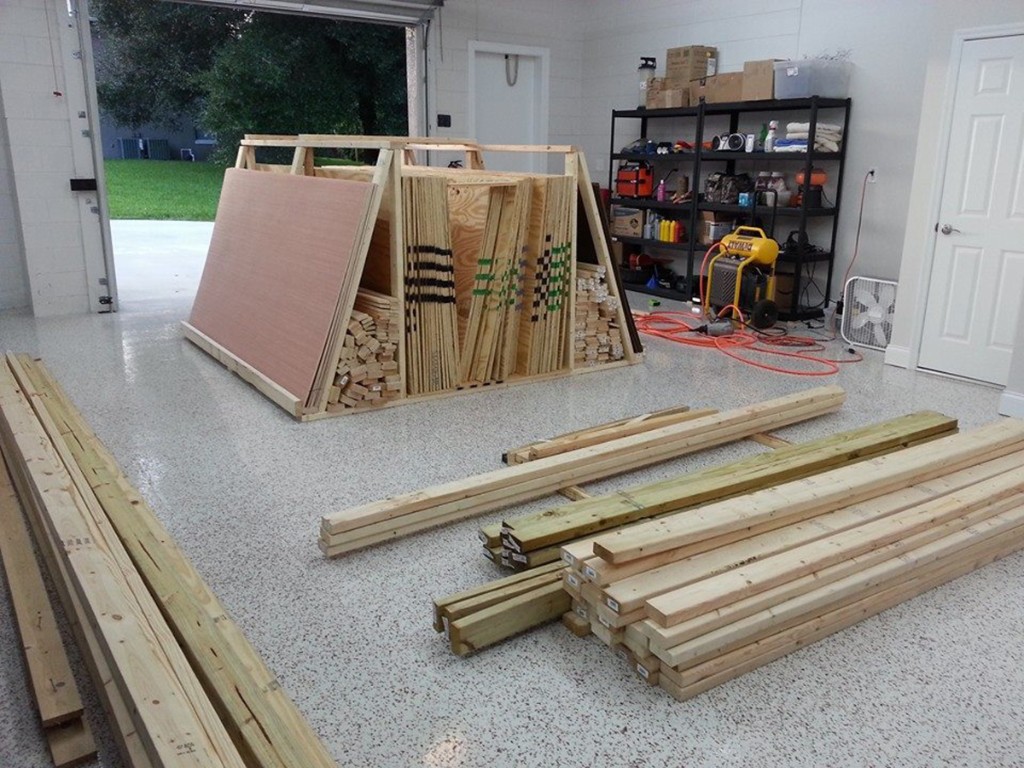 296 I built a storage rack and then moved the lumber into the garage. I plan to start construction on the benchwork tomorrow. |
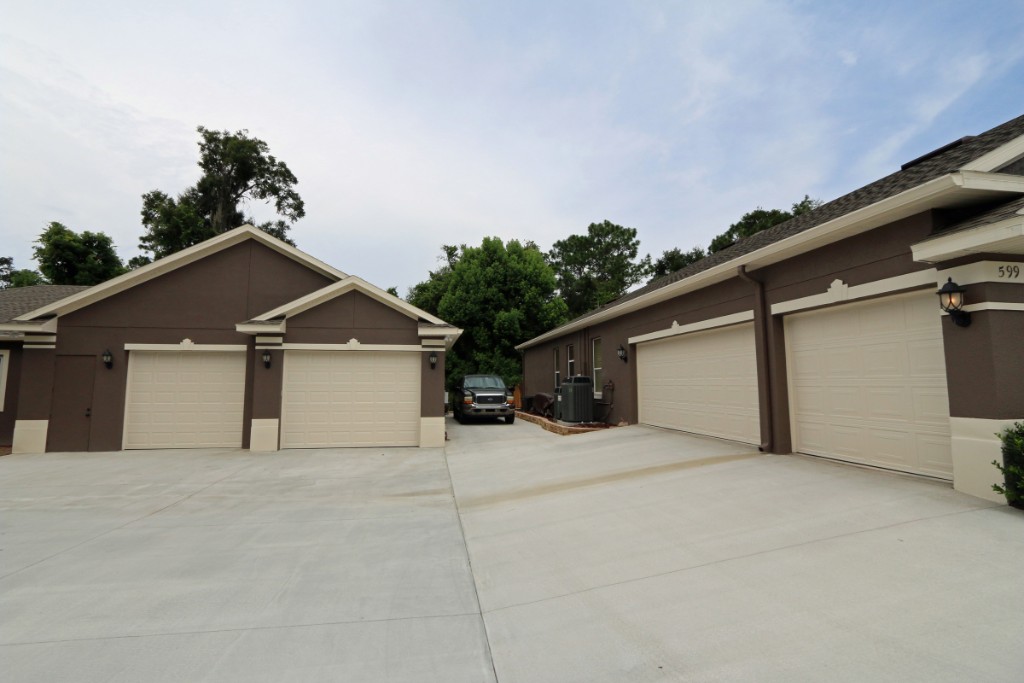 297 Aug 8 2015 -- After being delayed for about a month because of so much rain we finally got all four garage doors and the west wall of the detached garage repainted with the lighter trim color. Hopefully this will help keep it a little cooler in the garages (along with the insulated garage doors). |
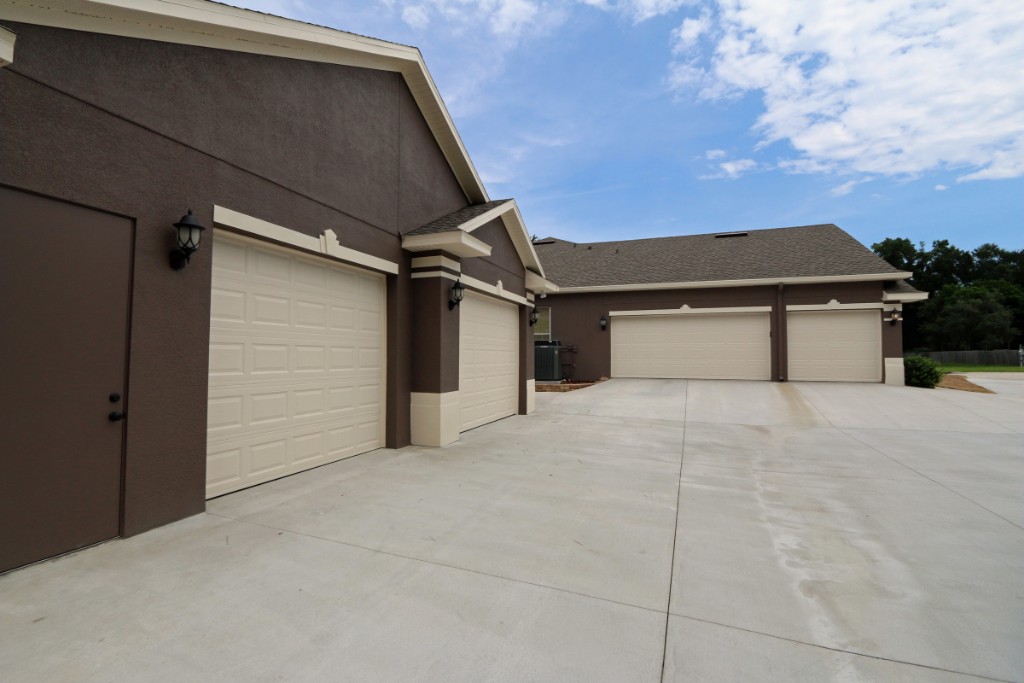 298 I would have preferred the garage doors to have been painted this color from the beginning, but sometimes you must defer to 'the boss'. |
 299 The west wall of the detached garage cannot be seen from the street or any of our neighbors. I would have liked to have repainted the south wall as but the boss said no because it's visible from our neighbor's back yard. |
 300 August 19 2015 - Landscapers are working on the landscaping and laying new sod around the house and detached garage. |
 301 |
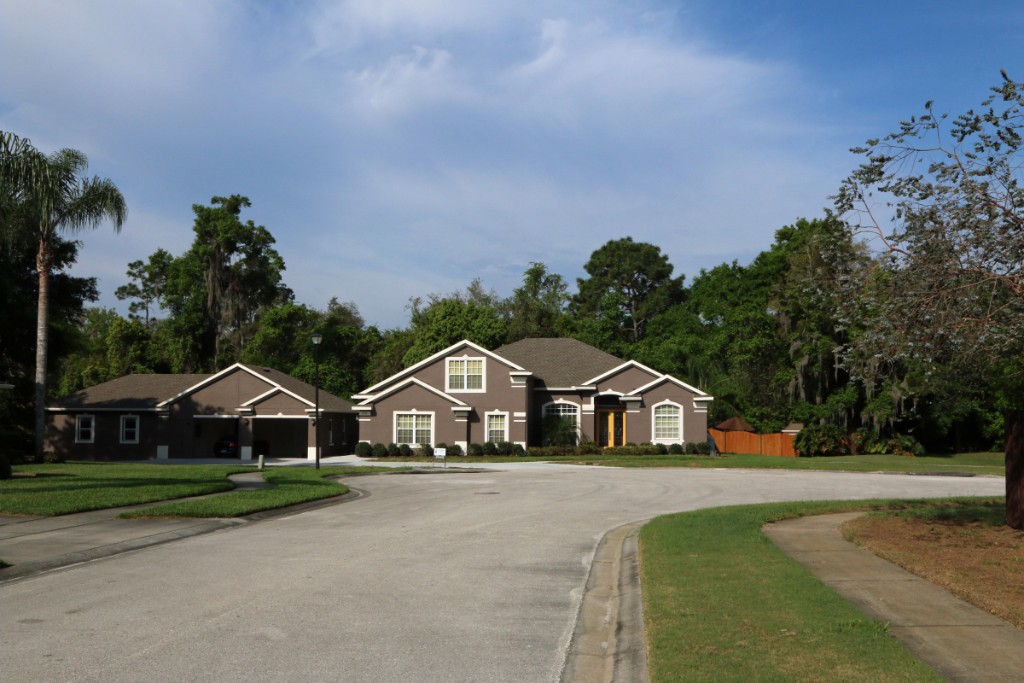
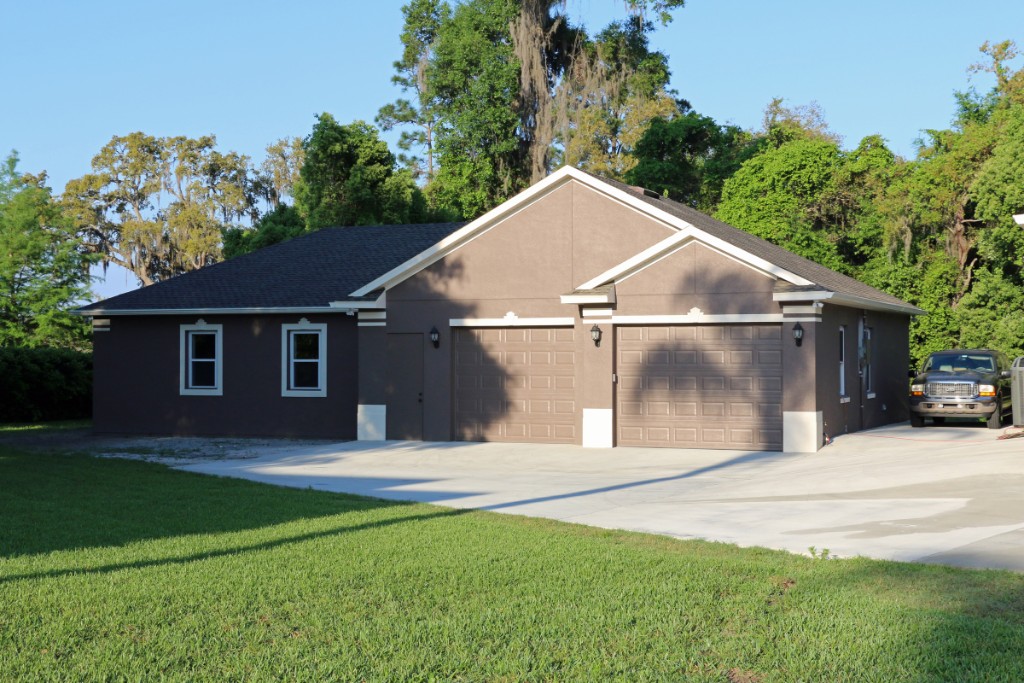
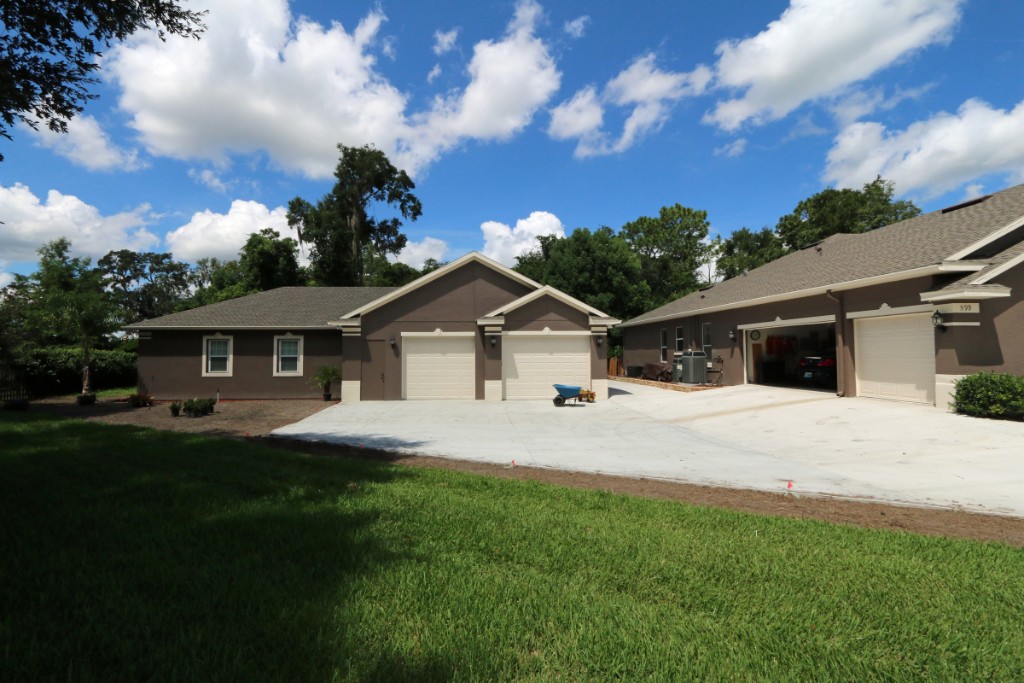
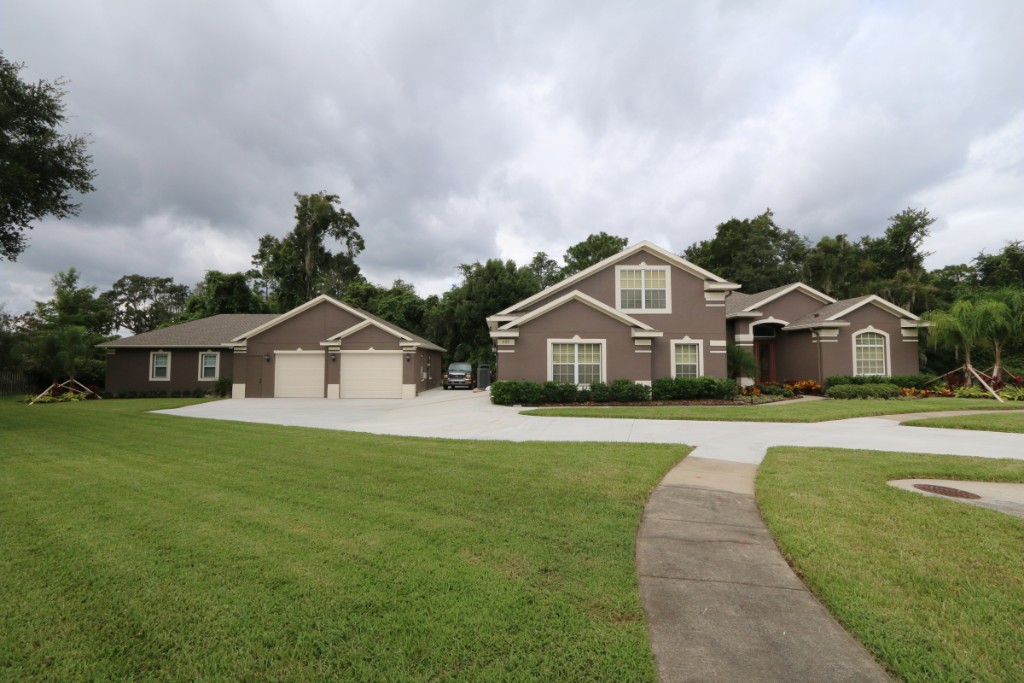
 302 |
 303 After the new landscaping for the detached garage and house was complete. |
 304 |
 305 |
 306 |
 307 Oct 4 2015 - The new sod is doing well and the landscaping looks great. |
 308 The palm trees will have to be staked for about 6 months. |
 309 |
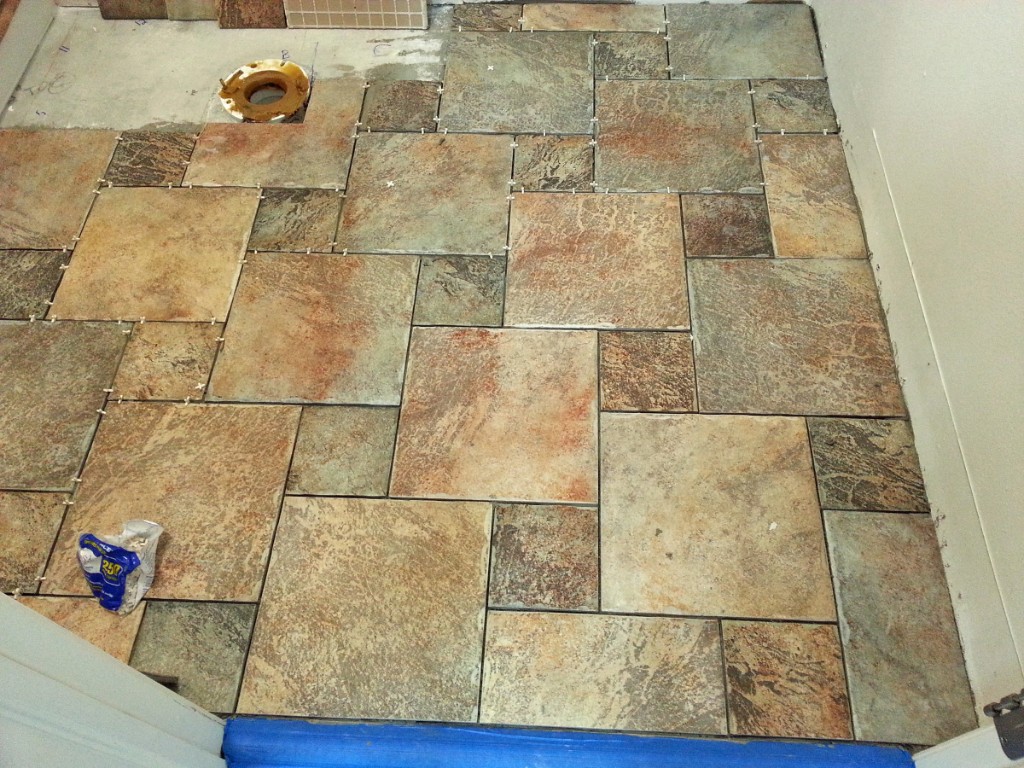
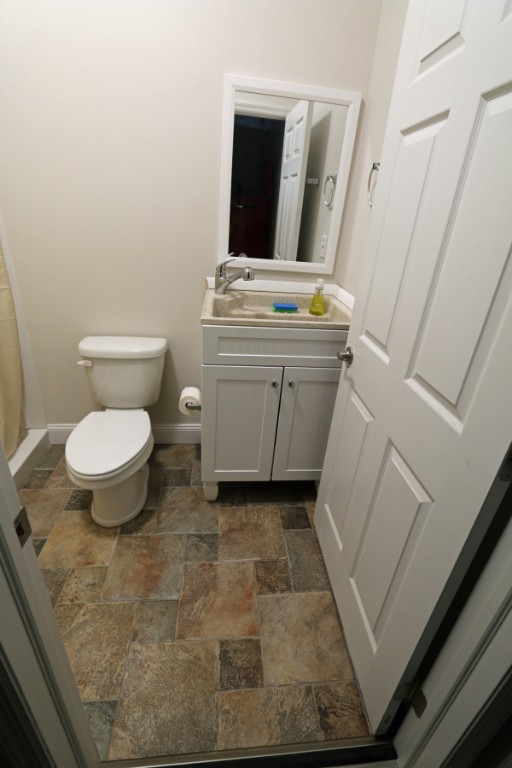
 310 The lawn and landscaping have never looked this good before. |
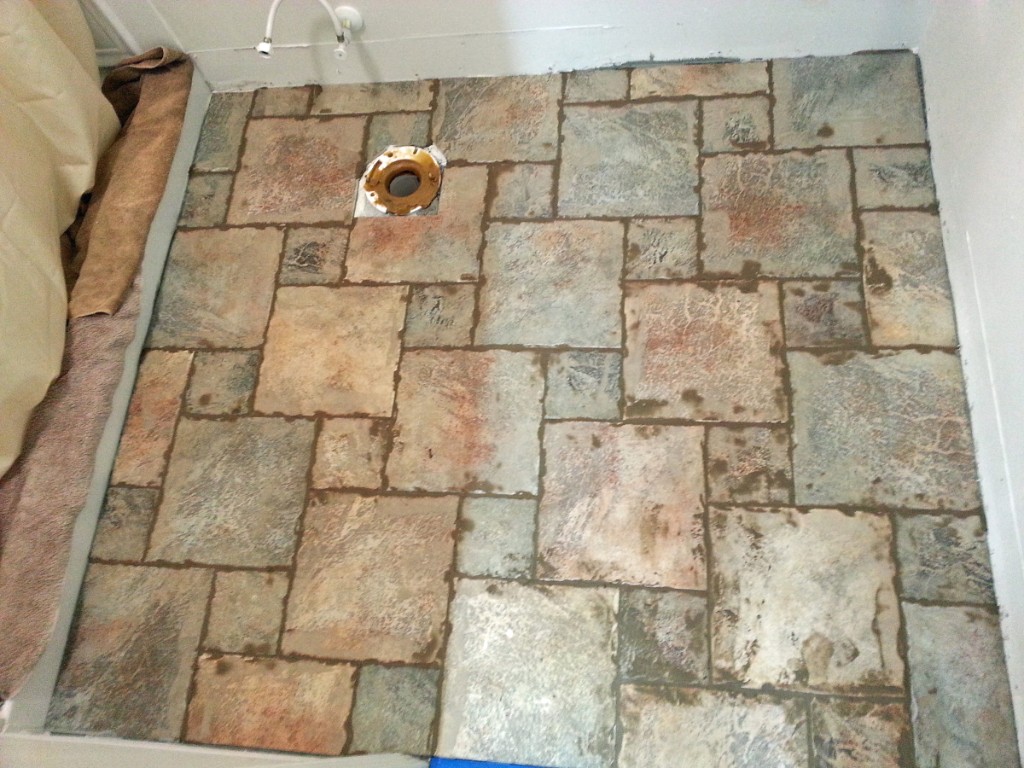
 311 Nov 8 2015 - Finally getting around to installing floor tile in the bathroom. I'm using tile that was leftover from when I redid the pool bathroom in the house. Because I wanted to anchor the tile pattern in front of the bathroom door and I don't have the confidence in my tile measuring/cutting/laying to start in the back corner I chose to start in front of the door and work my my towards the back corner. This required three tile laying sessions but that's ok because I wasn't in any hurry. |
 312 After the initial grouting before cleaning the excess grout. |
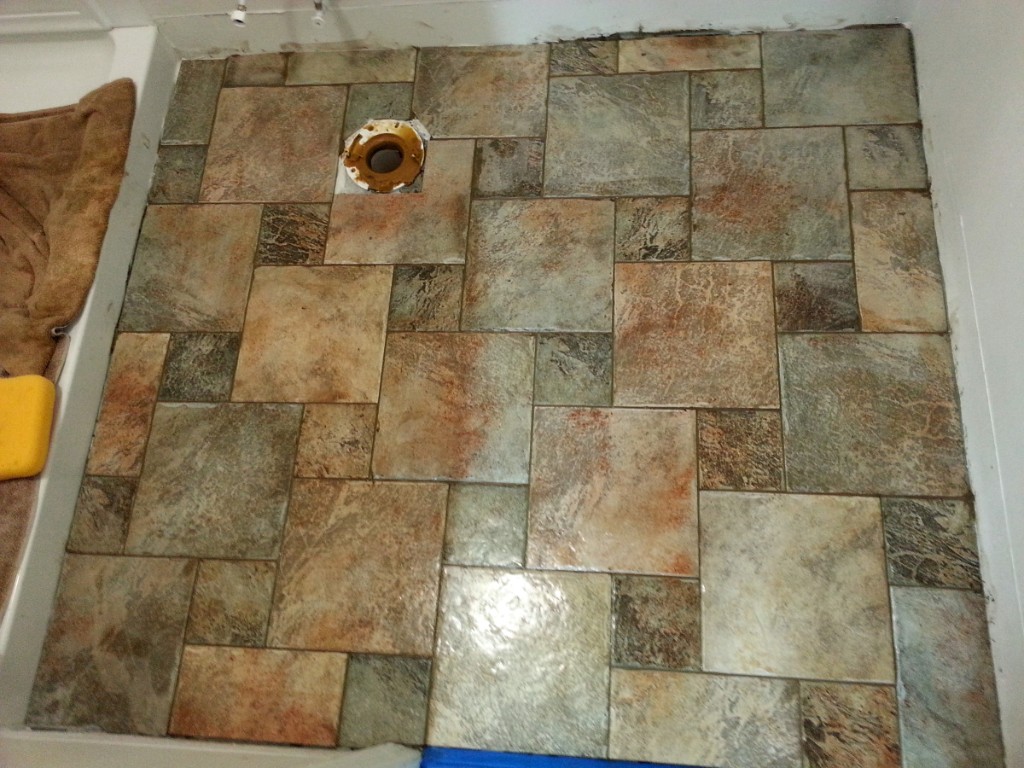 313 After the first pass at grout haze removal (using white vinegar). |
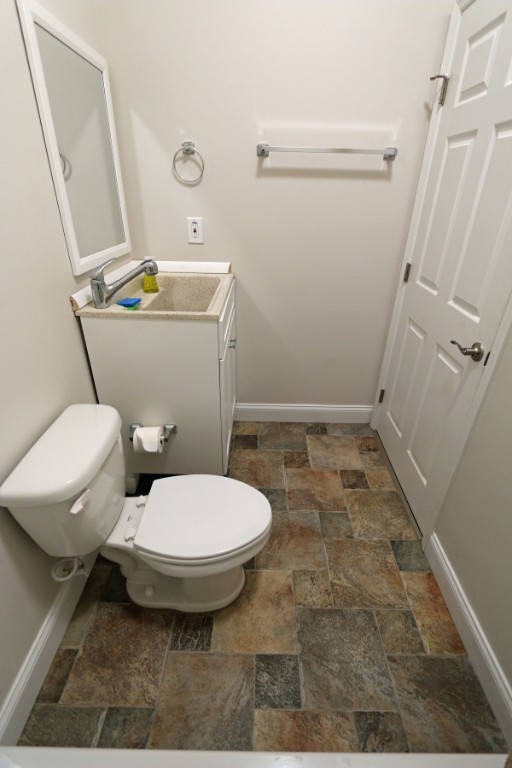 314 The completed floor. I need to finish installing the trim around the top of the vanity. The walls (drywall) have considerable curve near the corner where the vanity is so I need to install some trim to try to hide the non square walls. |
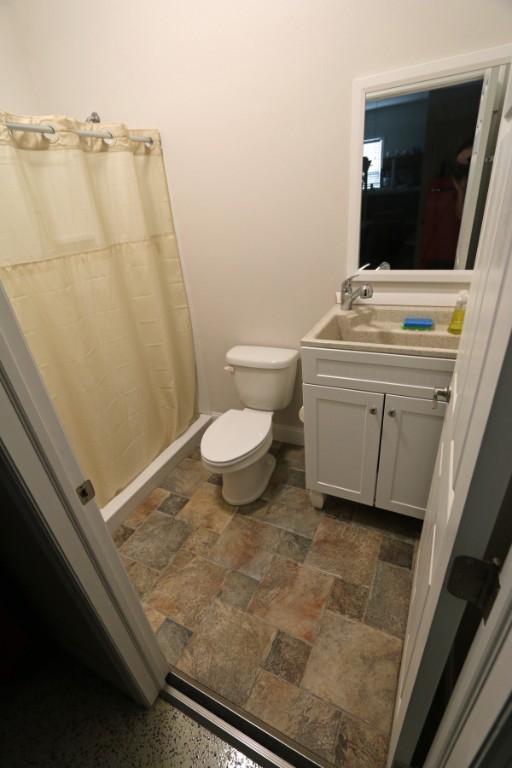 315 The floor looks very nice. |
 316 |
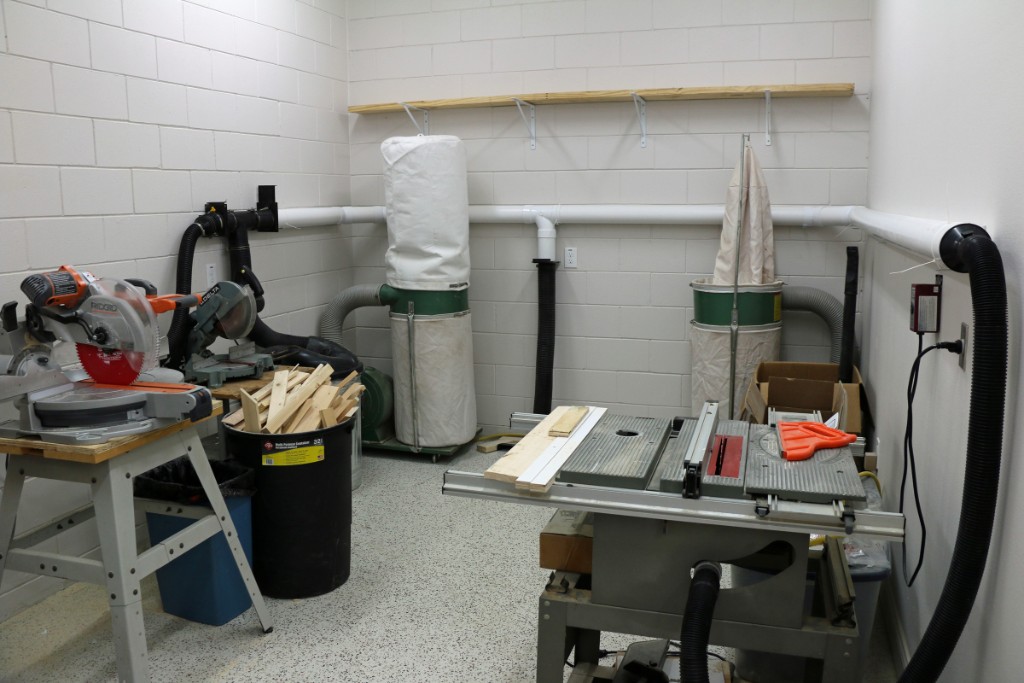 317 November 29 2015 - I made improvements to the dust collection system and added a shelf on the back wall to store lumber. |